

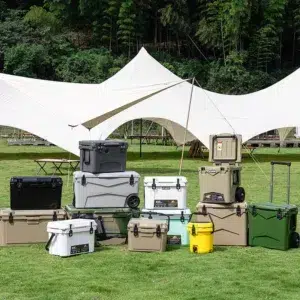
You can change a plastic box into a cooler by following some simple steps. First, collect your materials. Next, put in insulation. Then, seal the edges well. You can also add upgrades to make it easier to use. This guide shows you how to keep food and drinks cold for more time. It also helps stop leaks.
Anyone with simple tools can make a cheap and useful cooler. It will work for trips, picnics, or daily use.
Key Takeaways
- Gather essential components like a sturdy plastic box, high-quality insulation, and proper sealing tools before beginning your DIY cooler build.
- Utilize superior insulation materials like polyurethane foam to ensure your homemade cooler maintains cold temperatures for an extended period.
- Seal all container edges and the lid tightly to prevent cold air from escaping and to eliminate any potential leaks.
- Pre-chill your custom cooler before loading it, and keep the lid closed tightly during use to maximize ice retention.
- Incorporate practical features like sturdy carrying handles and convenient drain plugs to make the cooler much easier to use on trips.
Materials for Your Plastic Box Cooler
Essential Tools and Supplies
Before you begin, collect these things:
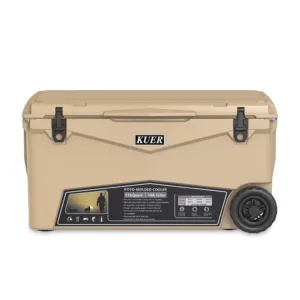
- You need a strong plastic box with a lid that fits tight. It is best to use a box made from high-density polyethylene (HDPE). The KUER plastic cooler box is tough and does not break easily. It also protects from sunlight, so it is good for outside.
- Use aluminum foil to cover the inside.
- Get bubble wrap, foam sheets, or thick fabric for insulation.
- You will need heavy-duty scissors or a utility knife.
- Bring strong glue or double-sided tape.
- Weather stripping or silicone sealant helps seal the edges.
- Use a measuring tape and marker to make straight cuts.
Tip: Pick a plastic box with a lid that closes well. This helps stop leaks and keeps things cold.
Choosing Insulation
Insulation is crucial for maintaining the good performance of a refrigerator. Polyurethane foam offers the best insulation, forming strong walls, much like high-end refrigerators. Bubble wrap and thick fabric are suitable for short trips. Aluminum foil reflects heat and provides extra protection. Never use thin polystyrene foam, as it is prone to breakage and does not insulate as well as polyurethane foam.
| Material | Insulation Quality | Durability |
|---|---|---|
| Polyurethane Foam | Excellent | High |
| Bubble Wrap | Good | Moderate |
| Thick Fabric | Moderate | Moderate |
| Aluminum Foil | Supportive Layer | High |
Optional Add-ons
You can make your cooler better with these extras:
- Add handles to carry the box when it is heavy.
- Put in a drain plug to let melted ice out fast.
- Use ice packs with different melting points to control how long things stay cold.
- Non-slip feet help the box stay in place on many surfaces.
These extras make your cooler easier to use and work better for any trip.
Prepare the Plastic Box
Clean and Inspect
First, clean the plastic box. Remove dust, dirt, and old labels from both the inside and outside surfaces. Use warm water and mild soap. Scrub all surfaces with a soft sponge. Rinse the box thoroughly. Dry it with a towel or let it air dry. Make sure the lid is clean as well. A clean surface helps the insulation material adhere better and prevents mold.
Tip: Pay extra attention to corners and edges. These areas often trap dirt and moisture.
Check that the lid is airtight. Place the lid on the box and press down. If you find any gaps or feel any air leakage, adjust the lid or consider adding a sealing strip. A tight-fitting lid will prevent cold air from leaking in.
Check for Cracks
Check the plastic box for cracks or weak points. Hold the box up to the light and observe for cracks or holes. Gently press the sides and bottom of the box. If you hear a squeak or see it wobble, there may be a problem with the plastic.
Please refer to the table below for inspection:
| Area | What to Look For | Action Needed |
|---|---|---|
| Corners | Cracks or splits | Seal or reinforce |
| Bottom | Soft spots | Add extra insulation |
| Lid | Loose fit | Use weather stripping |
| Edges | Gaps or holes | Apply sealant |
If any damage is found, repair it before adding insulation. Repair small cracks with silicone sealant or strong adhesive. For larger issues, reinforce with additional material or consider replacing the junction box.
Note: A strong plastic box with a secure lid improves insulation and prevents leaks. This step ensures your cooler lasts longer and works better.
Step-by-Step Guide to Insulating and Sealing Your Plastic Box Cooler
Add Insulation Layers
First, you can line the inside of the plastic box with a layer of aluminum foil. This foil reflects heat and acts as a barrier against temperature changes. Cut the foil to fit the bottom, sides, and lid of the box. Flatten it and secure it with strong glue or double-sided tape.
Next, add the main insulation material. Foam board is best suited for keeping items at low temperatures for extended periods. Bubble wrap and thick cloth also help, but foam board works better for temperature-sensitive items. Foam board remains stable at different temperatures, while bubble wrap leaks at extreme temperatures, reducing its insulation effectiveness.
Tip: Use at least 4 inches of foam in the walls for the best cooling performance. Thicker insulation keeps ice from melting quickly.
For added protection, you can layer bubble wrap or fabric over the foam layer. If you prefer a lighter feel, you can fill any gaps between the layers with filler. Ensure each layer is tightly fitted to the box walls and lid.
Once complete, check that the insulation covers all surfaces. Gaps or weak points will allow warm air to enter and cold air to escape. A well-insulated box will keep your food and drinks cold for longer.
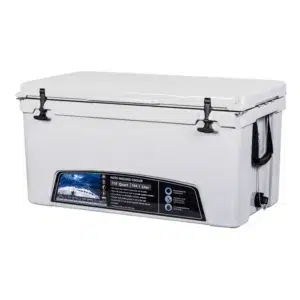
Note: KUER coolers use thick polyurethane foam for insulation. This material keeps ice for days and works well in hot weather. You can follow this example for your own project.
Seal Edges and Lid
After adding insulation, the focus shifts to sealing the edges and lid. Proper sealing prevents leaks and keeps cold air inside the refrigerator. First, cover the seams with aluminum foil or thick plastic sheeting. Press the material into the corners and edges.
Apply sealing strips around the edges of the refrigerator and around the lid. This will create a tight seal when the refrigerator is closed. You can also use thick foam strips for added protection. Make sure the lid is firmly pressed against the sealing strip.
For an even stronger seal, use caulking compound to cover the edges of the tape and seal any cracks or gaps. The caulking compound dries quickly, forming a waterproof layer. Check all corners and seams for small holes. If any are found, fill them in to prevent leaks.
Here are some effective sealing materials and techniques:
- Use thick foam or heavy-duty plastic sheets for sealing.
- Reinforce the structure with supports or a sturdy container.
- Apply caulk to cover the edges of tape and seal all cracks and gaps.
Tip: A well-sealed cooler keeps ice from melting and stops water from leaking out. This step is just as important as adding insulation.
Once finished, close the lid and press down to test the seal. You should not feel any air leakage. If there is leakage, add more sealing strips or adjust the sealing ring. A tight-fitting lid will allow your refrigerator to perform professionally.
By following these steps, you can transform a simple plastic box into a high-performance refrigerator. Enjoy chilled drinks and fresh food on every trip.
Pro Tips for Your DIY Plastic Box Cooler
Packing and Pre-Chilling
Packing your cooler the right way helps you keep food and drinks cold for longer. You can use these best practices to get the most out of your DIY cooler:
- Organize items by how often you need them. Place things you use less at the bottom.
- Keep the lid closed as much as possible. This keeps cold air inside.
- Avoid over-packing. Leave space for air to move around the contents.
- Pre-chill your cooler with ice or frozen gel packs before adding food. This lowers the inside temperature.
- Chill all food and drinks before packing. Warm items make ice melt faster.
- Use block ice instead of cubes. Blocks last longer and keep things cold for days.
- Layer items so cold air can move evenly.
- Freeze water bottles to use as ice packs. They keep things cold and give you cold water to drink later.
- Do not drain melted ice water. The cold water helps keep everything chilled.
- Keep your cooler in the shade to reduce heat from the sun.
- Limit how often you open the lid. Each time you open it, warm air gets in.
Tip: Use two coolers if you have a lot of drinks and food. This helps keep the main cooler colder for longer.
Fixing Leaks and Lid Issues
Leaks and poor lid seals can ruin your cooler’s performance. You can fix these problems with a few simple steps:
- Apply pipe thread sealant to all threaded parts, like drain plugs, to stop leaks.
- Use caulk on the inside seams and corners. This creates a waterproof seal.
- Cover any gaps with foil tape. Add caulk where the tape meets the plastic for extra protection.
- If the lid does not fit tightly, add weather stripping or foam tape around the rim.
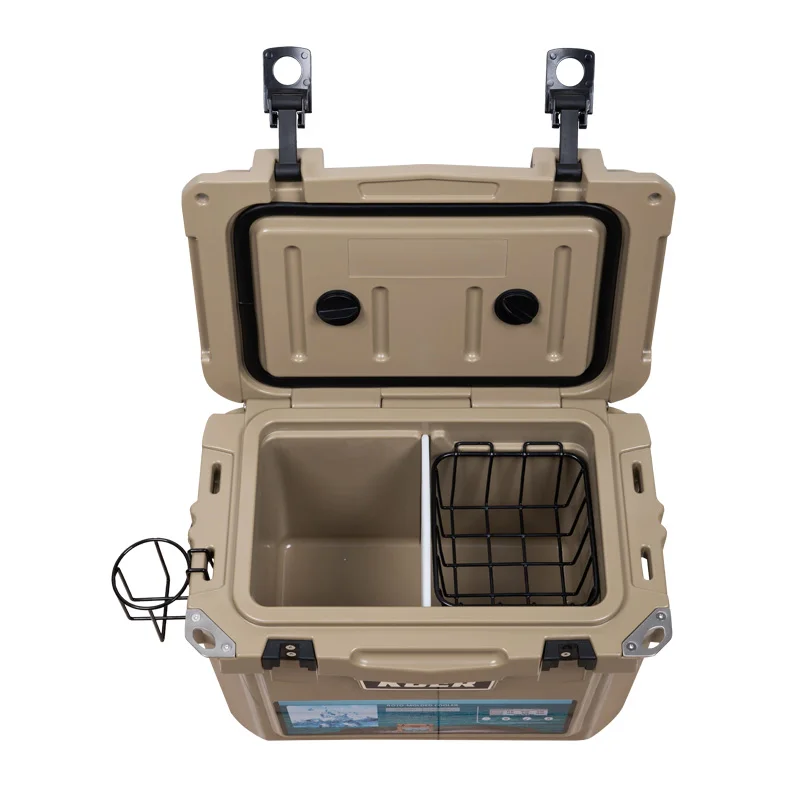
The non-slip base ensures your cooler remains stable even on uneven ground or in a moving vehicle. This feature keeps your cooler stable and safe during transport. UV-resistant materials protect your cooler from sun damage, preventing cracking and fading, ensuring it remains durable and looks brand new even after multiple outdoor uses. These upgraded designs are common in high-quality coolers like KUER, making your DIY projects more durable and performing better in various environments.
With just a few simple steps, you can make a basic insulated box out of a plastic box. First, gather all the materials. Then, line the box with insulation. Next, seal all the edges to prevent air from getting in. Try placing the insulated box outdoors to see how long it keeps the ice at a low temperature. To ensure food safety, be sure to fill it with enough ice. Place the food in a waterproof container. Measure the temperature with a thermometer. Clean the insulated box after use. Try not to open the lid too often. You can also add your own creative touches to make it even better. Share your creation to help others.
FAQ
How long can my DIY cooler keep ice cold?
Your insulated plastic box can keep things cold for 24-48 hours. If you use thick polyurethane foam, the cold-keeping time can be extended to 5-7 days, similar to the performance of KUER insulated boxes.
What insulation works best for a homemade cooler?
Polyurethane foam provides the best insulation. Bubble wrap and thick fabric offer moderate insulation. Aluminum foil can be used as a support layer. For optimal cooling, the foam should be at least 4 inches (approximately 10 cm) thick.
Can I use any plastic box for this project?
You should choose high-quality, durable plastic crates. High-density polyethylene (HDPE) crates are less prone to cracking and resist UV damage. A sealed lid improves insulation and prevents leaks.
How do I prevent leaks in my cooler?
Seal all edges and seams with sealing strips or silicone sealant. Apply caulking compound to corners and crevices. Check that the lid is tight to prevent leaks.
Are there any upgrades to make my cooler last longer?
You can add non-slip feet, UV-resistant materials, and drain plugs. These features improve durability and make your cooler more suitable for outdoor use.

 Request a quote
