
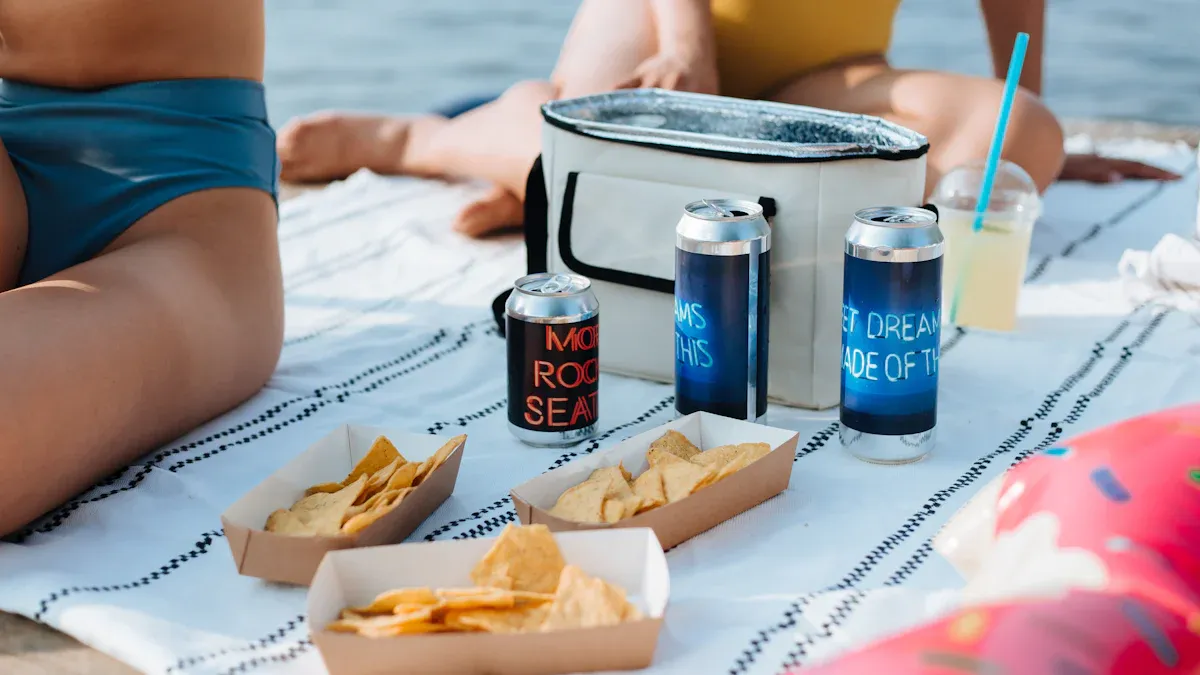
An amazing beach day starts before you even leave the house. It all comes down to mastering a few simple packing tips. You are one of the 180 million Americans who make 2 billion visits to beaches annually. You deserve a perfect trip every time! A great plan keeps your food fresh, your drinks ice-cold, and your essentials sand-free. Let’s unlock the full potential of your beach bag with insulated cooler and make your next outing the best one yet. ☀️
Key Takeaways
- Chill your cooler bag and all food items before packing. This helps everything stay cold longer.
- Pack your cooler in layers. Put ice and frozen items at the bottom, then drinks and sturdy foods, and delicate snacks on top.
- Fill all empty spaces in your cooler. Use extra ice or small items to keep cold air in and warm air out.
- Keep wet and dry items separate. Use waterproof pouches for electronics and sealed containers for food to prevent messes.
- Choose strong, sealed containers for your food. This protects snacks from getting crushed or soggy.
Tip 1: Pre-Chill Everything for All-Day Cold
Want to know the secret to ice that lasts until sunset? You need to give your cooler a head start. A warm cooler zaps the energy from your ice just to cool itself down. You can beat the heat by preparing your bag and its contents before you even start packing.
Chill the Cooler Bag Itself
Think of this step as warming up before a workout. You need to prepare your cooler to hold the cold. The easiest way to do this is by using “sacrificial ice” the night before your trip. This initial ice cools the cooler’s insulation. Your fresh ice then only has to worry about keeping your food cold, not the bag itself.
Pro Tip: For flexible, soft insulated cooler bags, you can simply place the entire empty bag in your freezer overnight. If you’re short on time, even filling it with ice for 20-30 minutes before you pack makes a huge difference.
Refrigerate All Food and Drinks Overnight
Never put warm or room-temperature items into a cold cooler. This forces your ice to work overtime and melt much faster. Get everything you plan to pack—from soda cans and water to fruit salads and pasta—into the refrigerator the night before. Starting with chilled items is a non-negotiable step for achieving all-day cold.
Freeze What You Can
Turn your food and drinks into extra ice packs! This is one of the smartest ways to maximize your cooler’s efficiency.
- Water Bottles: Freeze a few water bottles. They will act as solid blocks of ice and give you ice-cold water to drink as they thaw.
- Juice Boxes: These are perfect for freezing and will be slushy and delicious by the afternoon.
- Grapes: Frozen grapes are a refreshing and healthy beach snack.
By freezing what you can, you add more cooling power without taking up extra space.
Tip 2: Pack Your Beach Bag with Insulated Cooler in Strategic Layers
How you pack your beach bag with insulated cooler is just as important as what you pack. Think of it like a game of Tetris, but for keeping things cold! A smart layering strategy protects your food, keeps everything chilled longer, and makes it easy to grab what you need without digging around.
The Foundation: Ice Packs and Frozen Items
You should always build your cooler from the bottom up. Cold air sinks, so the bottom of your cooler is the coldest zone. This is where you will create a super-chilled foundation.
- Start with a solid layer of block ice or frozen ice packs on the very bottom.
- Next, add your frozen water bottles or juice boxes from Tip 1.
- Place any perishable foods you’ll eat last, like raw meat for grilling, directly on this frozen base.
This solid foundation of cold will work its way up, keeping the entire bag chilled.
The Middle Layer: Drinks and Hearty Foods
Now you can build the next level of your beach bag with insulated cooler. This middle layer is for drinks and sturdy foods that can handle the cold without getting damaged. Place your drinks on top of the frozen foundation. This makes them easy to grab. Next, add your heartier food items. Good choices include:
- Pasta or potato salads (especially those with a vinaigrette dressing)
- Hearty bean or grain salads
- Cold fried chicken
- Corn on the cob
These items hold up well and won’t get soggy. Fill any gaps between items with loose ice cubes to eliminate empty air space.
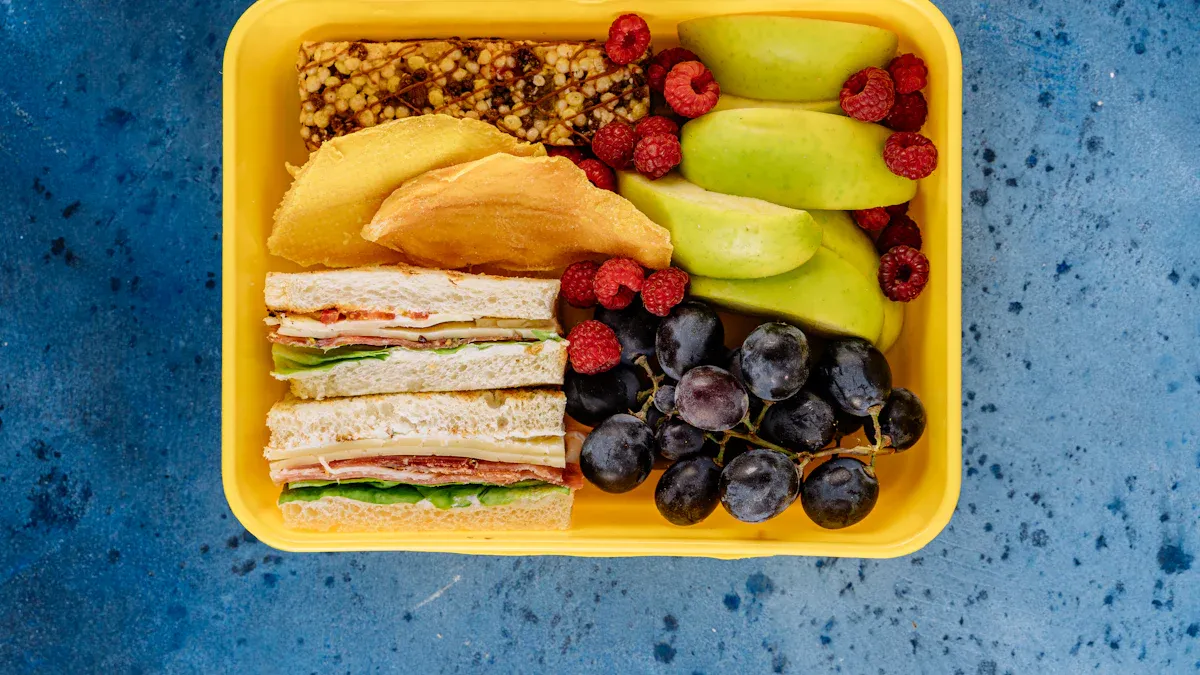
The Top Layer: Delicate Snacks and Sandwiches
The very top layer is prime real estate for items that are either delicate or that you’ll want to access first. This keeps them safe from being crushed and slightly less frigid than the items at the bottom. This is the perfect spot for your sandwiches, wraps, soft fruits, bags of chips, and leafy green salads.
Pro Tip: For a fully loaded cooler, make a quick “cooler map” on your phone. A simple note like “Drinks on the right, sandwiches on the left” saves you from having to hold the lid open while you search.
Tip 3: Eliminate Air Space to Beat the Heat
You’ve chilled your food and layered your cooler perfectly. Now, it’s time for the final pro move: getting rid of empty space. Air is the number one enemy of a cold cooler, and defeating it is the key to making your ice last for hours.
Why Empty Space is the Enemy of Cold
Think of your cooler as a small refrigerator. Every time you pack it, you want it to be as full as possible. Any empty space inside is filled with warm air. Your ice has to work extra hard to cool down that air, which makes it melt much faster. This dead space basically absorbs the cooling power that should be going to your food and drinks. The less air you have, the longer everything stays frosty.
Use Smart Fillers for Gaps
So, how do you fill those pesky gaps? You can get creative with items you’re already bringing.
- Tuck a small bag of extra snacks into an open corner.
- Roll up a kitchen towel and place it on top. It will absorb any condensation and can be used for cleanup later.
- Add more ice! Loose ice cubes are perfect for filling in small nooks and crannies between your drinks and containers.
Pro Tip: For the ultimate space-saving solution, look for lightweight thermal liners. These collapsible inserts can fill large voids in your cooler, dramatically improving thermal performance without adding bulk or weight. They are a fantastic upgrade for many insulated cooler bags.
Seal the Bag Tightly
Your final step is simple but crucial: zip it up and keep it shut! A tightly sealed bag traps the cold air inside and keeps the warm air out. Make sure your zippers are fully closed and any latches are secured. This creates a closed system where the cold has nowhere to escape. By eliminating air and sealing the bag, you’ve created the perfect environment for all-day chill. 🧊
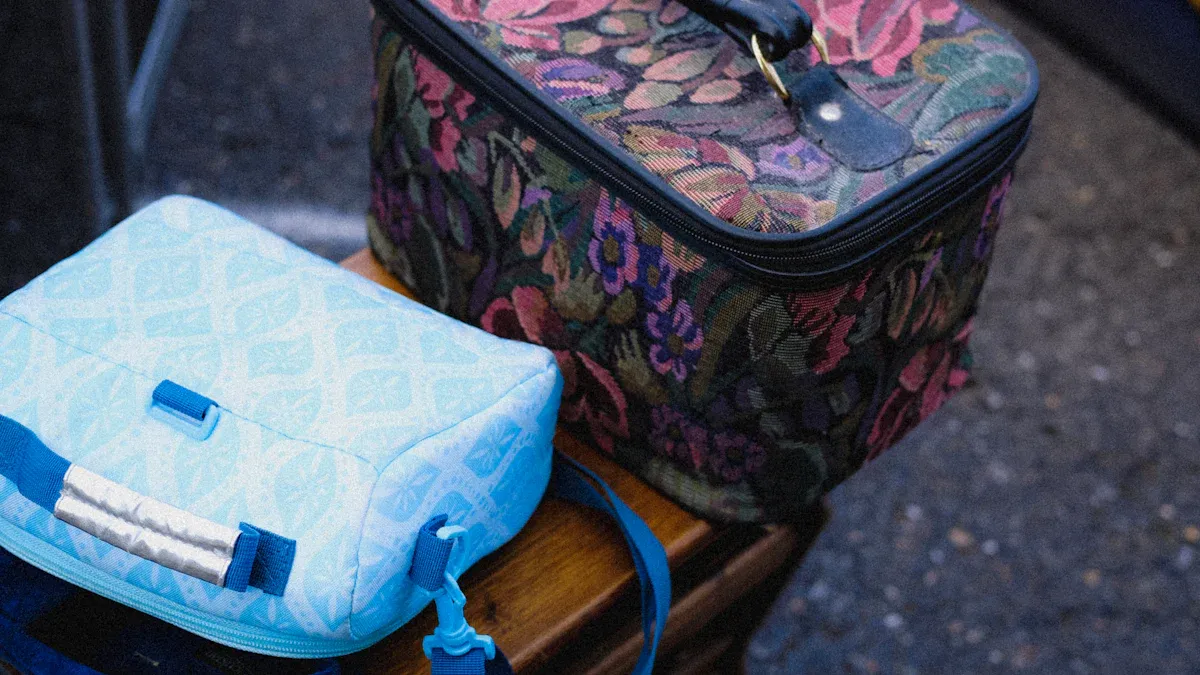
Tip 4: Master the Art of Separating Wet and Dry Items
Ever had a wet towel make your book soggy? Or worse, has condensation from a cold can leaked all over your phone? A great beach bag with an insulated cooler has separate zones for a reason. Let’s fix that by mastering the art of separation. This simple rule will keep your sandwiches dry and your electronics safe.
Dedicate the Cooler to Consumables
Think of your insulated cooler compartment as a food-and-drink-only zone. This is the single most important step to prevent a messy, soggy disaster. Condensation is inevitable, so keeping your dry gear far away from it is a must.
Here’s how you can create a perfectly organized, leak-proof cooler:
- Create distinct compartments inside your cooler for different items.
- Use separate, sealed containers for liquids and food to prevent messy spills.
- Store snacks in Ziploc bags to protect them from any moisture, sand, or water.
This strategy ensures your lunch stays fresh and your cooler stays clean.
Use the Main Compartment for Dry Goods
Your bag’s main compartment is now free for all your other beach essentials. This is the perfect spot for items that need to stay completely dry. You can confidently pack your towels, a change of clothes, books, and magazines without worrying about them getting damp. 📚
Pro Tip: Bring an extra plastic bag or a small dry bag. On your way home, you can toss your wet swimsuits and towels inside it. This keeps the rest of your bag from getting soaked and sandy.
Protect Electronics with Waterproof Pouches
Your phone, keys, and wallet are the items most at risk from water and sand. Don’t just toss them in a pocket and hope for the best! A high-quality waterproof pouch is a small investment that offers total peace of mind. 📱🔑
These pouches are designed to be durable and easy to use, even with sandy hands. Many allow you to operate your phone’s screen or car key buttons right through the clear material. Here’s a quick comparison of some popular options for keeping keys safe:
| Pouch Name | Durability | Ease of Use | Comfort While Surfing | Overall Rating |
|---|---|---|---|---|
| KGUARD | 5/5 | 4/5 | 5/5 | 4.7/5 |
| Aquapac Keymaster | 4/5 | 5/5 | 5/5 | 4.7/5 |
| DRFT Waterproof Wallet | 4/5 | 5/5 | 4/5 | 4.3/5 |

Look for pouches with strong seals and a secure way to attach them to your bag or yourself. Protecting your valuables means you can relax and enjoy the waves without worry.
Tip 5: Choose the Right Containers for Perfect Beach Food
Nothing ruins a beach picnic faster than a squished, soggy sandwich or a bag of chip crumbs. The right containers are your secret weapon against these common frustrations. Choosing smart storage protects your food from condensation, sand, and being crushed at the bottom of the bag. This ensures every bite is as delicious as you intended.
Prevent Soggy Sandwiches and Crushed Chips
You packed the perfect lunch, so make sure it stays that way. Soggy bread is a major letdown. Luckily, you can easily avoid it. Instead of flimsy plastic bags, you can upgrade your food storage game. Consider these options that keep bread fresh and firm:
- Hard sandwich containers are a top choice. They create a protective shell that keeps bread soft and prevents it from getting damp, even after a full day.
- Beeswax wraps are another great solution. They keep sandwiches surprisingly fresh, with the bread staying nice on the outside and only slightly moist inside.
- Specialty containers like SubSafe use an air-tight seal to lock in freshness and are specifically designed to stop sogginess in its tracks.
Select Hard, Sealed, and Waterproof Containers
Your container choice makes all the difference for a successful beach day. You should look for containers that are hard, sealed, and waterproof. Hard-sided containers prevent your delicate items like chips and fruits from getting crushed. A tight seal is crucial. It locks out moisture from melting ice and keeps sand away from your food. Containers like the OXO Prep & Go are excellent because they have locking clips and silicone seals to prevent leaks. They even have separate compartments to keep wet and dry ingredients apart until you’re ready to eat. This simple step keeps everything from salads to sandwiches perfectly crisp.
Why We Recommend KUER Coolers
While good containers are key, the bag they go in matters just as much. When it comes to insulated cooler bags, we recommend KUER Coolers. Their products are made with a tough rotomolded process, the same method used for high-performance kayaks. This makes them incredibly durable and impact-resistant. With thick polyurethane foam insulation, KUER coolers can keep ice solid for days, not just hours. Customers consistently give them high marks for performance and reliability, as you can see from their reviews.

Their combination of rugged construction and superior cooling power makes them a fantastic investment for any outdoor enthusiast.
Tip 6: Position Your Bag for Maximum Coolness and Efficiency
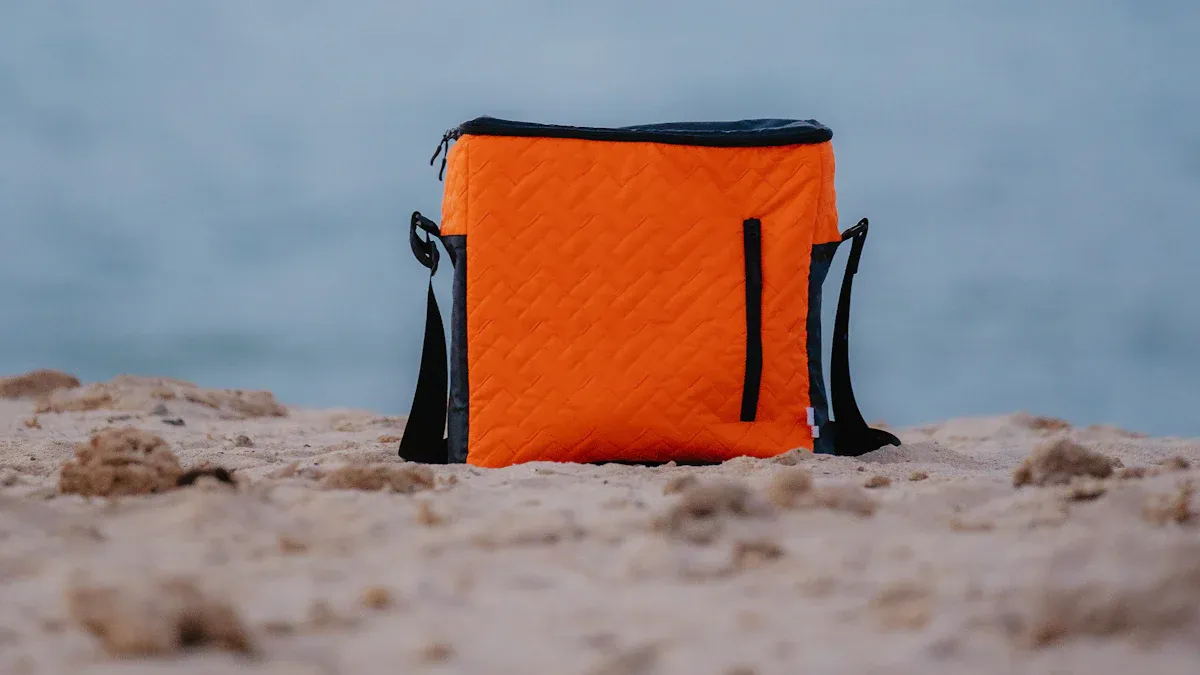
You’ve packed your cooler like a pro. Now, where you put it on the sand makes a huge difference. A little bit of strategy will keep your ice solid and your drinks frosty for hours longer. Think of your cooler’s location as its defense against the sun. ☀️
Find or Create Shade
The sun is your cooler’s biggest enemy. The most effective way to protect it is to keep it out of direct sunlight completely.
- Tuck your bag under a beach umbrella or tent.
- Place it in the shadow of your beach chair.
- Even covering it with a light-colored towel can provide a surprising amount of protection.
Any barrier you create between your bag and the sun’s rays will help it stay cool.
Limit How Often You Open the Lid
Every time you open your cooler, you let precious cold air escape and invite warm air in. This is similar to leaving an oven door open while baking—it loses heat fast. Your ice then has to work much harder to cool down the new, warm air, causing it to melt quicker.
Pro Tip: Try to grab what you need quickly. If you packed your bag in layers (like in Tip 2), you already know where everything is. This minimizes the time the lid stays open and keeps the cold locked inside.
Orient the Bag Away from Direct Sun
Sometimes, you just can’t find any shade. In that case, you can use a clever trick. Just like animals turn their bodies to avoid the sun’s heat, you can position your cooler to absorb less energy. Point the bag’s shortest or narrowest side directly toward the sun. This simple action reduces the surface area getting blasted by direct sunlight, which significantly lowers heat gain.
The color of your bag also plays a big role. Darker colors absorb more heat, making the surface and the inside much warmer. Just look at how much hotter a dark cooler can get compared to a white one.
| Cooler Color | Internal Air Temperature Increase (compared to white) | Lid Surface Temperature (peak) |
|---|---|---|
| Black | 10°F warmer | 174°F |
| Blue | 8°F warmer | (closer to black than white) |
| White | Baseline (coldest) | 109°F |
Positioning your bag smartly is a free and easy way to extend the life of your ice.
Tip 7: Go Beyond the Cooler: Sand, Sun, and Safety Prep
A perfect beach day involves more than just cold drinks and great snacks. You also need to prepare for the little challenges the beach throws at you. A few extra items in your bag can make a huge difference in your comfort and safety. Let’s get you ready for sand, sun, and minor scrapes.
Use Baby Powder to Remove Sand Easily
Sand is fun until it’s stuck everywhere. Here’s a magical trick: use baby powder. It absorbs moisture from your skin, which allows sand to brush right off. This is a game-changer before getting back in the car. Baby powder is one of those simple things people often forget to pack. Other commonly forgotten items include:
- Bug spray
- Aloe for sunburns
- Hair ties
- A warm sweatshirt for the evening
- Hats
A quick checklist of these small essentials can save you a lot of hassle.
Pack a Compact, Waterproof First-Aid Kit
Minor injuries can happen, but they don’t have to ruin your day. You can handle most small issues with a simple first-aid kit. The beach has unique hazards, like sharp seashells that cause cuts or jellyfish that can sting. A well-stocked kit helps you deal with these problems quickly.
Beach First-Aid Essentials: Your kit should include waterproof bandages, antiseptic wipes, pain relievers, and a small tube of hydrocortisone cream for bug bites or stings. Tweezers are also great for splinters or shell fragments.
Keep your kit in a waterproof pouch to protect it from water and sand.
Keep Sunscreen Accessible but Separate
Sunscreen is your most important tool for sun safety. You need to reapply it often, so it should be easy to grab. However, you should never store it inside your insulated cooler. A leaky bottle could ruin your food, and nobody wants a sandwich that tastes like SPF 50. 🧴
Instead, place your sunscreen in an outer pocket of your beach bag. This keeps it away from your lunch but still within reach. This simple habit protects both your skin and your snacks.
Your beach bag with insulated cooler is now your ticket to a perfect, stress-free beach day. You learned how to keep food fresh and drinks ice-cold. Your other essentials are also safe and sound.
- Quick-dry towels stay sand-free.
- Sunscreen is accessible but not leaky.
- Waterproof phone cases protect your tech.
With a perfectly packed beach bag with insulated cooler, you are ready for anything. Now go out and enjoy the sun, sand, and surf! 🌊
FAQ
Can I use regular ice instead of ice packs?
Absolutely! You can use regular ice cubes. Just remember that they melt into water, which can make things wet. For best results, you might try using a combination of ice packs for long-lasting cold and loose ice to fill in the gaps.
How do I clean my cooler bag after the beach?
Cleaning your bag is simple. First, you should empty it completely. Next, wipe the interior with a cloth using mild soap and warm water. Most importantly, leave the bag open to air dry completely. This prevents any musty smells before your next adventure.
What makes rotomolded construction special?
Rotomolding creates the cooler’s body in one single, seamless piece. This process makes the cooler incredibly strong and durable because there are no weak points. It also means KUER coolers are excellent at trapping cold air inside for superior insulation. 💪

 Request a quote