You can master your ice pack cooler box with one key strategy. This is one of the best ways to keep food cold for longer trips. The secret is simple but powerful.
The most effective method is to pre-chill everything. Chill your cooler. Chill your contents. Then, layer large, solid ice packs on the bottom and top of your tightly packed items.
Following this single rule dramatically improves your cooler’s performance.
Key Takeaways
- Always pre-chill your cooler and all items before packing them.
- Pack your cooler tightly with large ice packs on the bottom and top.
- Fill all empty spaces in your cooler to stop warm air from entering.
- Use large, solid block ice packs and a good quality cooler.
- Keep your cooler in the shade and do not open the lid often.
Way #1: Start Cold to Stay Cold
The first rule of effective cooling is to never put cold items into a warm cooler. Your cooler’s insulation traps heat just as well as it traps cold. If you start with a warm cooler, your ice packs will waste their energy fighting that trapped heat instead of cooling your food. A cold start is your best strategy for long-term ice preservation.
Pre-Chill Your Cooler 24 Hours Ahead
You should always pre-chill your cooler the night before a trip. This simple step removes trapped heat from the insulation. It prepares your cooler to do its job effectively from the very beginning. You have several easy options to do this:
- Use Sacrificial Ice: Place a bag of ice inside your cooler for at least 12-24 hours. Dump the water and old ice before you pack for your trip.
- Try Reusable Cold Packs: Put several frozen cold packs from your freezer into the empty cooler overnight.
- Find a Cool Space: If you have a walk-in refrigerator or a cool basement, store your open cooler there overnight.
Pro Tip: Even bringing your cooler inside to room temperature is better than leaving it in a hot garage or car. A cooler starting at 70°F is much better than one starting at 100°F.
Refrigerate or Freeze All Food and Drinks
Your cooler’s job is to keep things cold, not make them cold. Help it succeed by chilling everything before you pack. This is a critical step for keeping food cold while camping. Place all drinks and food items in the refrigerator for several hours before your trip.
For even better results, freeze certain items. This turns your food into extra ice packs.
- Pack raw meat, poultry, and fish while they are still frozen. They will thaw slowly and safely inside the cooler.
- Partially freeze drinks like water bottles and juice boxes. They will act as ice blocks and be ready to drink later.
Following this method will help you keep food cold for the entire duration of your adventure.
Way #2: The Secrets to Packing the Perfect Cooler
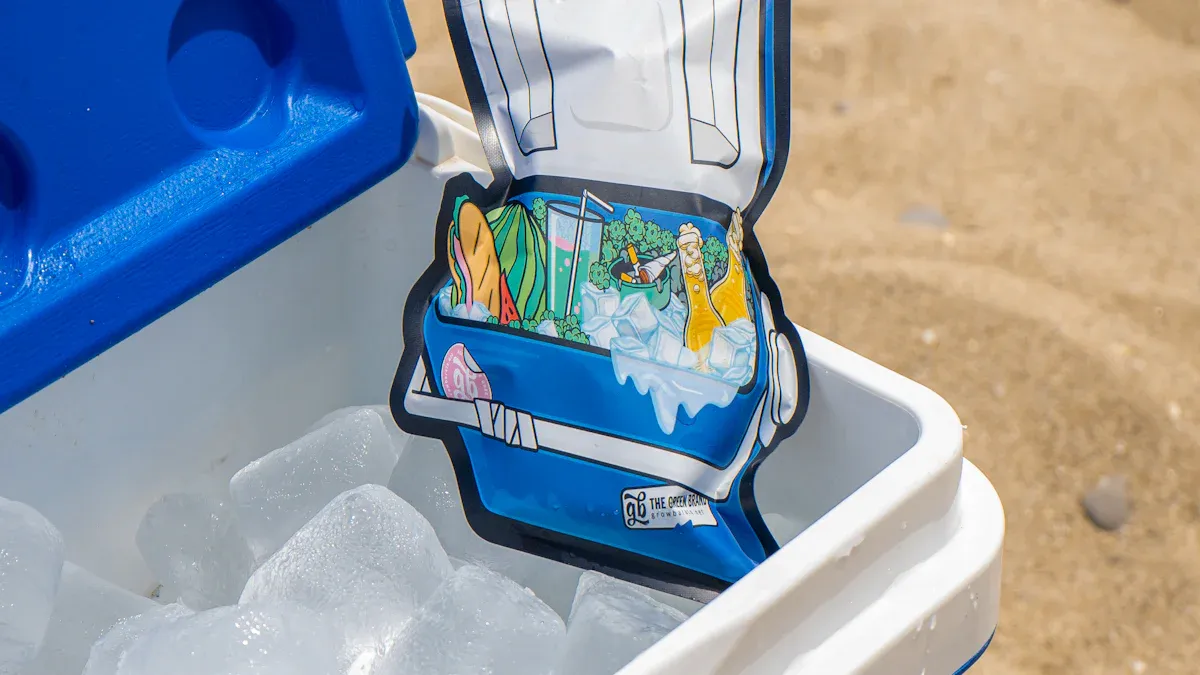
How you pack your cooler is just as important as pre-chilling it. A well-organized cooler keeps food safer and colder for much longer. Proper packing is a science, but you can easily master it with a few simple techniques.
Create a Solid Ice Pack Base
Always begin by creating a solid foundation of large, frozen ice packs at the bottom of your cooler. This cold base works from the bottom up, chilling the entire space. A great rule for maximum ice preservation is the 2:1 ratio.
- Two-thirds of your cooler should be ice packs.
- One-third should be your food and drinks.
This strategy ensures you have enough cooling power to last your entire trip. Starting with a strong ice base is the first step toward perfect packing.
Pack Contents Tightly
Strategic cooler packing prevents items from shifting and helps everything stay cold. You should pack your cooler tightly to reduce air pockets and maintain a consistent temperature. Follow a logical order based on when you will need each item.
- Bottom Layer: Place frozen meats and other items you’ll use later in your trip directly on the bottom ice packs.
- Middle Layer: Add refrigerated items like condiments and dairy products next.
- Top Layer: Position drinks and ready-to-eat snacks on top for quick and easy access.
This method minimizes the need to dig around, which lets warm air in.
Add a Top Layer of Ice Packs
The final step to pack a cooler correctly is adding a top layer of ice packs. Empty space is the enemy of cold. Air pockets inside your cooler cause ice to melt much faster. Covering your contents with a final layer of ice eliminates this dead air.
Pro Tip: Fill every gap. Use smaller gel packs or frozen water bottles to plug any empty spaces. This eliminates warm air pockets and keeps the internal temperature consistent throughout your trip.
This final layer acts as a protective cold shield, ensuring your food and drinks stay chilled.
Way #3: Eliminate Air, the Enemy of Cold
Warm air is the biggest threat to your cooler’s performance. Every empty space inside your cooler is filled with air that makes your ice melt faster. Your goal is to remove as much of this air as possible. This simple action is a key part of effective ice preservation. A cooler packed without air gaps stays colder for much longer.
Fill Every Empty Space
You should treat every gap inside your cooler as an opportunity to add more cooling power. After you pack your main items, look for any open areas. Filling these spaces prevents air from circulating and warming the contents. You can get creative with your fillers to make your trip even more fun.
- Use frozen water bottles to fill larger gaps.
- Freeze water balloons and tuck them into small corners. You can have a water balloon fight later!
- Pour cubed ice over everything to fill the tiniest remaining spaces.
Pro Tip: You can also use folded towels or crumpled newspaper to fill large, empty voids if you run out of cold fillers. This is better than leaving the space empty.
Use Frozen Water Bottles as Fillers
Frozen water bottles are one of the smartest tools for any cooler. They serve two important jobs on your trip. First, they act as solid ice blocks, keeping everything chilled. Second, they provide a source of cold drinking water as they thaw. This dual-purpose approach is highly efficient.
- They provide refrigeration for your food and drinks.
- They become cool, drinkable water once they melt, which means no dirty cooler water.
The length of time a frozen bottle lasts depends on your cooler’s quality. A high-end cooler can keep items frozen for up to a week. A standard cooler might keep them solid for two or three days. Using them ensures you have cold drinks ready for your entire adventure.
Way #4: Choose the Right Gear for Your Ice Pack Cooler Box
The gear you choose has a huge impact on your cooler‘s performance. Selecting the right ice packs and a well-built cooler is essential for effective ice preservation. Your choices can be the difference between a successful trip and a spoiled one.
Prioritize Large, Solid Block Ice Packs
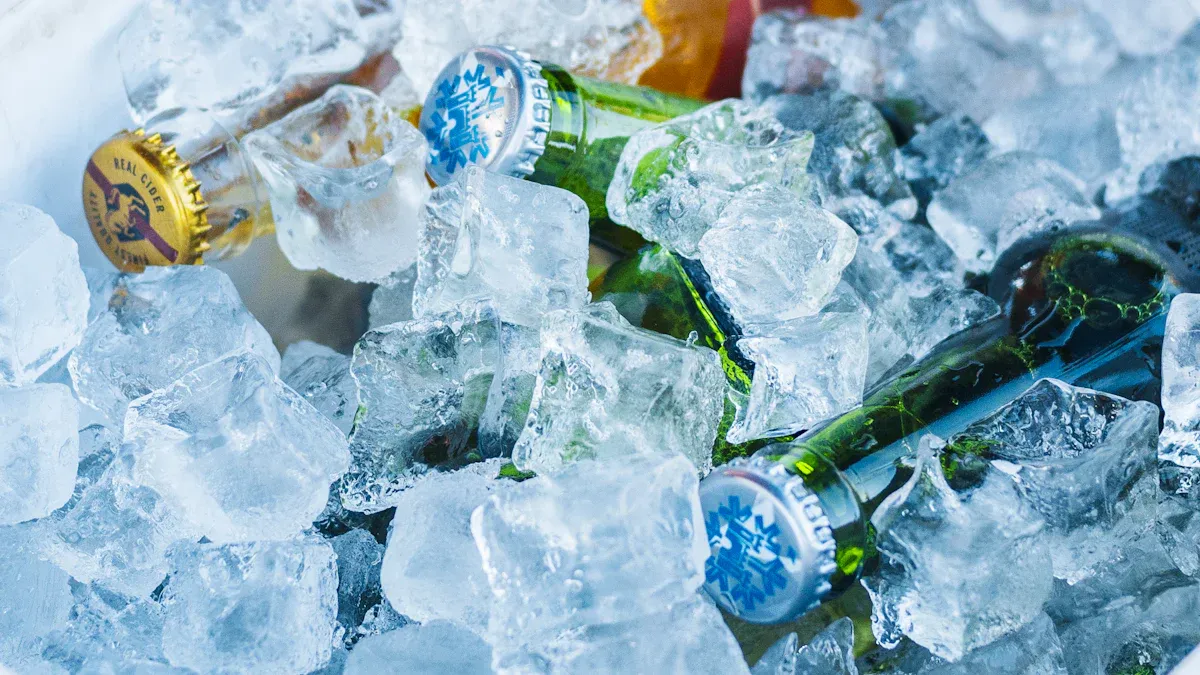
You should always choose large, solid block ice packs over small cubed ice for long-term cooling. Block ice has less surface area, so it melts much more slowly. This provides sustained cold for your entire trip. While cubed ice is great for pre-chilling your cooler, it will not last as long.
| Ice Type | Melting Rate | Primary Use | Cooling Duration Performance |
|---|---|---|---|
| Cubed Ice | Faster | Pre-chilling coolers | Shorter, rapid cooling |
| Block Ice | Slower | Ice retention longevity | Longer, sustained cooling |
Brands like Yeti Ice and Igloo Maxcold offer excellent large block options. Investing in a few solid blocks is a smart move for any serious outing.
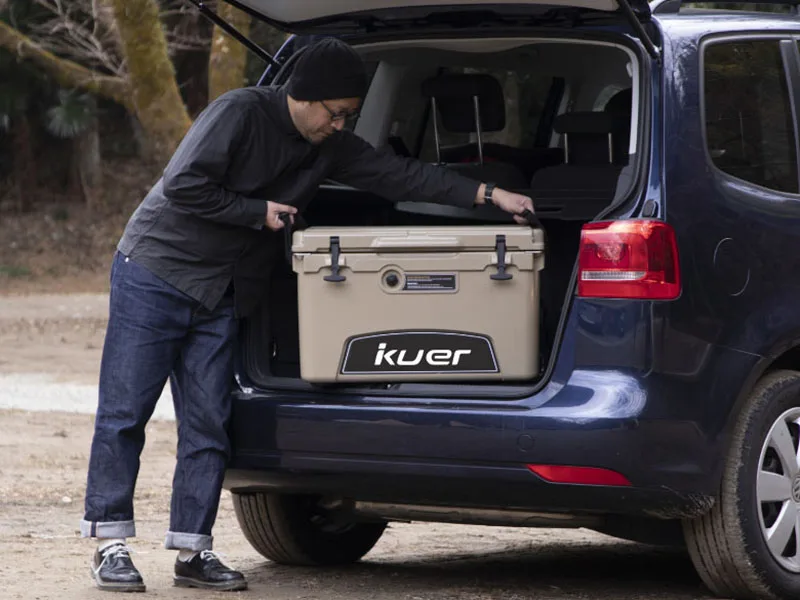
Use Quality Coolers like KUER
Your ice pack cooler box is only as good as its insulation. High-quality coolers are designed to keep the cold in and the heat out. KUER coolers, for example, use advanced technology to maximize ice retention.
KUER Cooler Features:
- Rotational-molded technology creates a seamless, one-piece structure.
- Extra-thick walls are filled with PU foam for superior insulation.
- An InterLock lid system and a freeze-style gasket create an airtight seal.
These features allow KUER coolers to keep contents frozen and cold for five days or more. When compared to other brands, KUER holds its own as a top performer.
| Brand/Model | Ice Retention |
|---|---|
| KUER Large Cooler Box | Up to 7 days |
| Pelican Elite Cooler | Up to 10 days |
| Igloo MaxCold Cooler | About 5 days |
Combine Block and Flexible Gel Packs
For the best results, you should use freeze packs of different shapes and sizes. Combining large block packs with smaller, flexible gel packs allows you to eliminate all air gaps. This creates a “frozen sandwich” effect that surrounds your food.
- Place large block ice packs on the bottom of the cooler.
- Stack your food and drinks on top of the base layer.
- Use slim or flexible gel packs to fill gaps between items.
- Finish with another layer of block or flexible packs on top.
This strategy ensures even cold distribution throughout your ice pack cooler box.
Way #5: Protect Your Cooler from the Elements
You can pack your cooler perfectly, but the environment can still ruin your efforts. Protecting your cooler from heat and sun is a critical final step. These simple habits will make a huge difference in your ice preservation. A little protection goes a long way on any trip.
Keep It in the Shade
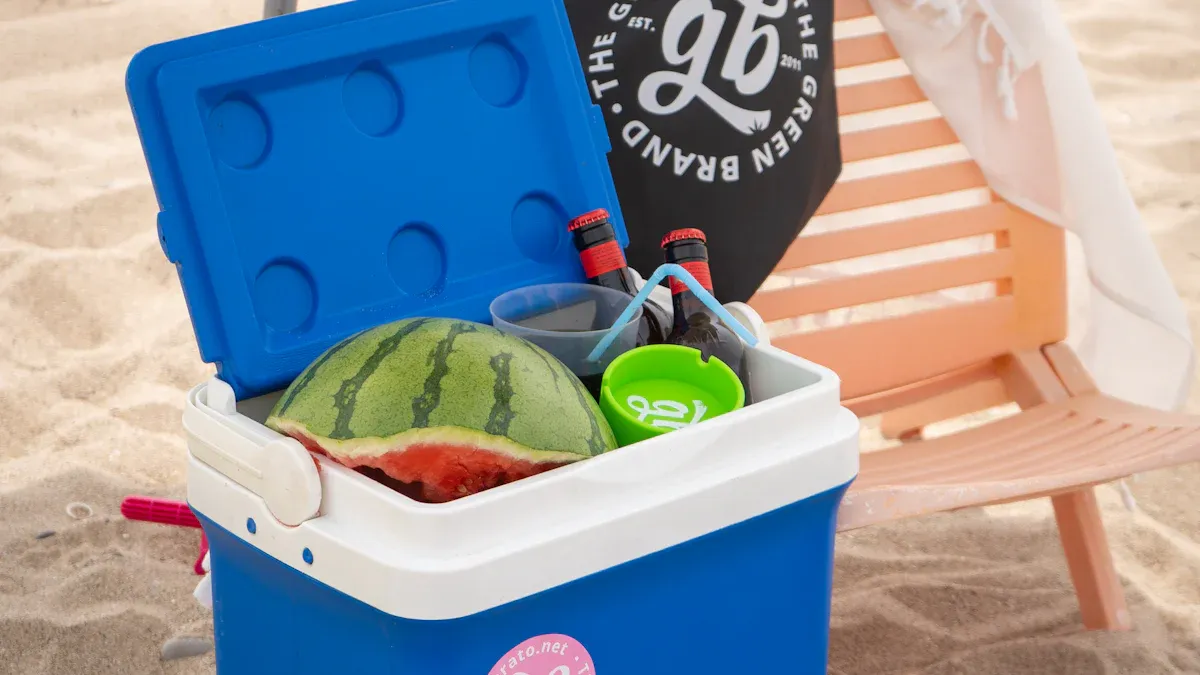
Direct sunlight is your cooler’s worst enemy. The sun’s heat will warm the exterior and force your ice packs to work overtime. You should always keep the cooler in the shade. If you are at a campsite or park, find a spot under a tree. For open areas like a beach, you can create your own shade.
- Bring a large beach umbrella or a pop-up canopy.
- Set up a beach tent for full-body shade and UV protection.
- Use specialized products like an Otentik sunshade or a Shibumi Shade for lightweight, portable coverage.
Pro Tip: You can also cover your cooler with a light-colored towel or blanket. This reflects sunlight and adds an extra layer of insulation.
Limit How Often You Open the Lid
Every time you open your cooler, you let cold air escape and warm air rush in. This exchange forces your ice to melt faster. You can protect your ice by limiting how often you open the lid during your trip. Plan ahead to minimize access.
- Close the lid immediately after you grab what you need.
- Avoid constantly searching for items. Pack smartly so you know where everything is.
- Do not drain the cold water until your trip is over. The water is still colder than the outside air and helps insulate the remaining ice.
Ensure the Lid is Always Latched Tight
A loose lid is just as bad as an open one. High-quality coolers have gaskets that create an airtight seal, but they only work when the lid is latched securely. An unlatched lid allows a constant exchange of air, which quickly melts your ice.
Make it a rule to check the latches every time you close the cooler. You should hear or feel them lock into place. This simple action ensures the cold air stays trapped inside, keeping your food and drinks chilled for the longest possible time.
You can easily master your ice pack cooler box. Following a few smart habits makes a huge difference. These tips will help you keep food cold and your drinks perfectly chilled for longer.
Your Checklist for Success: 📝
- Always pre-chill your cooler and its contents.
- Master your cooler packing by layering items and filling all air gaps.
- Choose large, solid block ice packs for the best performance.
- Keep your cooler in the shade and limit opening the lid.
These simple steps guarantee the best results for your ice pack cooler box on every adventure.
FAQ
Should I drain the melted ice water from my cooler?
You should not drain the water until your trip is over. The cold water is still colder than the outside air. It helps insulate the remaining ice and keeps your contents chilled for longer.
How long will ice last in a quality cooler?
Ice retention depends on the cooler’s quality and how you use it.
A high-performance rotomolded cooler, like one from KUER, can keep ice for 5-7 days. You must pre-chill the cooler and pack it correctly to achieve this.
Is block ice really better than cubed ice?
Yes, block ice is the best choice for long-term cooling. It has less surface area, so it melts much more slowly than cubed ice. You should use large block ice packs as your base.
Does the color of my cooler matter? ☀️
Yes, color can have an impact. A lighter-colored cooler reflects more sunlight and absorbs less heat than a dark one. However, keeping any cooler in the shade is always the most effective strategy.


