Packing an ice cooler container the right way can make or break your trip. Nobody wants warm drinks or spoiled food, right? That’s where plastic ice box ice packs come in handy. These reusable packs keep everything chilled for hours. With a little planning, you can keep your food fresh and your drinks ice-cold.Kuer cooler box manufacturers will provide you with a variety of cooler solutions.
Prepping the Cooler

Pre-chill the Cooler for Maximum Efficiency
Before you start packing, take a moment to pre-chill your cooler. This step makes a big difference in how long your food and drinks stay cold. A warm cooler can absorb the cold from your ice packs, making them less effective. To avoid this, place a bag of ice or frozen items inside the cooler for about an hour before packing. Once the cooler is chilled, remove the ice and start loading your items.
Pre-chilling works similarly to how air conditioning systems operate more efficiently when the air is pre-cooled. By reducing the initial temperature inside the cooler, you’re helping it maintain cold temperatures longer. This small step can save you from worrying about spoiled food or warm drinks during your trip.
Choose the Right Cooler for Your Needs
Not all coolers are created equal, so picking the right one is key. Think about the size of your group and the length of your trip. For a day trip, a smaller cooler might work just fine. But for longer adventures, you’ll need a larger, more insulated option. Some coolers are designed to keep ice frozen for days, which is perfect for camping or road trips.
If you’re packing both food and drinks, consider using separate coolers. This way, you won’t have to open the food cooler every time someone wants a drink. Keeping the cooler closed as much as possible helps maintain its temperature. Also, make sure your cooler has enough space to fit everything without overpacking. A full cooler stays colder longer, but you still need room for ice packs and proper air circulation.
Preparing and Organizing Contents
Freeze or Pre-chill Food and Drinks
Before you start packing, make sure to freeze or pre-chill your food and drinks. This step helps maintain the cooler’s temperature and improves ice retention. Frozen items act as additional cooling agents, keeping everything colder for longer. For example, if you’re bringing water bottles, freeze them overnight. They’ll double as ice packs and provide refreshing, cold water as they thaw.
Pre-chilling works wonders for perishable items like meat, dairy, or pre-cooked meals. If these items are already cold, your cooler won’t have to work as hard to keep them fresh. This simple step can make a big difference, especially on longer trips. Think of it as giving your cooler a head start in the cooling process.
Organize Items for Easy Access
When you properly pack a cooler, organization is key. Start by grouping similar items together. For instance, keep all your drinks in one section and your food in another. This way, you won’t have to rummage through the cooler every time you need something. Less digging means less warm air entering the cooler, which helps with ice preservation.
Place items you’ll use first, like snacks or drinks, on top. Heavier and less frequently used items, such as frozen meat, should go at the bottom. This layering strategy not only makes it easier to find things but also maximizes cooling efficiency. Research shows that reducing gaps and defects in cooling systems improves performance. Similarly, minimizing empty spaces in your cooler enhances its ability to retain cold temperatures.
To make things even easier, consider using clear, resealable bags or containers. They keep your food organized and prevent meltwater from spoiling your items. A well-organized cooler saves time and keeps everything fresh, so you can focus on enjoying your trip.
Best Way to Pack a Cooler
Layer Items Strategically
When you pack a cooler, think of it as building a lasagna—layer by layer. Start with a base layer of cool box ice packs at the bottom. These reusable ice packs are perfect for keeping your items cold without the mess of melting ice. Next, place heavier, frozen items like meat or pre-chilled drinks directly on top. This keeps them colder for longer and prevents squishing lighter items.
Add another layer of ice packs over the frozen items to create a cooling barrier. Then, place perishable foods like dairy or pre-cooked meals in the middle. Finally, top it off with snacks or items you’ll need first. This way, you won’t have to dig through the cooler and let warm air in. Packing in layers not only keeps everything organized but also helps maximize ice retention.
Pro Tip: Use sturdy containers or resealable bags to separate food from ice packs. This keeps everything dry and prevents meltwater from spoiling your food.
Minimize Air Gaps for Better Cooling
Air gaps are the enemy of efficient cooler packing. They allow warm air to circulate, reducing the cooling effect. To avoid air gaps, pack your cooler tightly. Fill empty spaces with small items like juice boxes or even extra ice packs. The tighter the fit, the better the cooling performance.
Scientific studies show that minimizing air gaps reduces thermal resistance, which improves heat transfer. Think of it like insulating your home—fewer gaps mean better temperature control. By packing your cooler snugly, you’ll avoid air gaps and keep everything colder for longer.
Use Cool Box Ice Packs Effectively
Cool box ice packs are a game-changer for cooler packing. These reusable ice packs are designed to stay cold for hours, making them ideal for any trip. To get the most out of them, freeze the ice packs overnight before use. Place them strategically throughout the cooler—at the bottom, in the middle, and on top. This creates an even cooling effect and helps maintain a consistent temperature.
Customers rave about these ice packs for their moisture-resistant design and versatility. They fit perfectly in lunch bags, coolers, and even kids’ lunch boxes. Plus, they don’t sweat like regular ice, so your food stays dry. Whether you’re heading to the beach or on a camping trip, these ice packs are your best bet for keeping everything fresh.
Quick Tip: For longer trips, bring extra ice packs in a separate cooler. Swap them out as needed to maintain cooling efficiency.
Maintaining Cooling Efficiency
Keep the Cooler in a Shaded Area
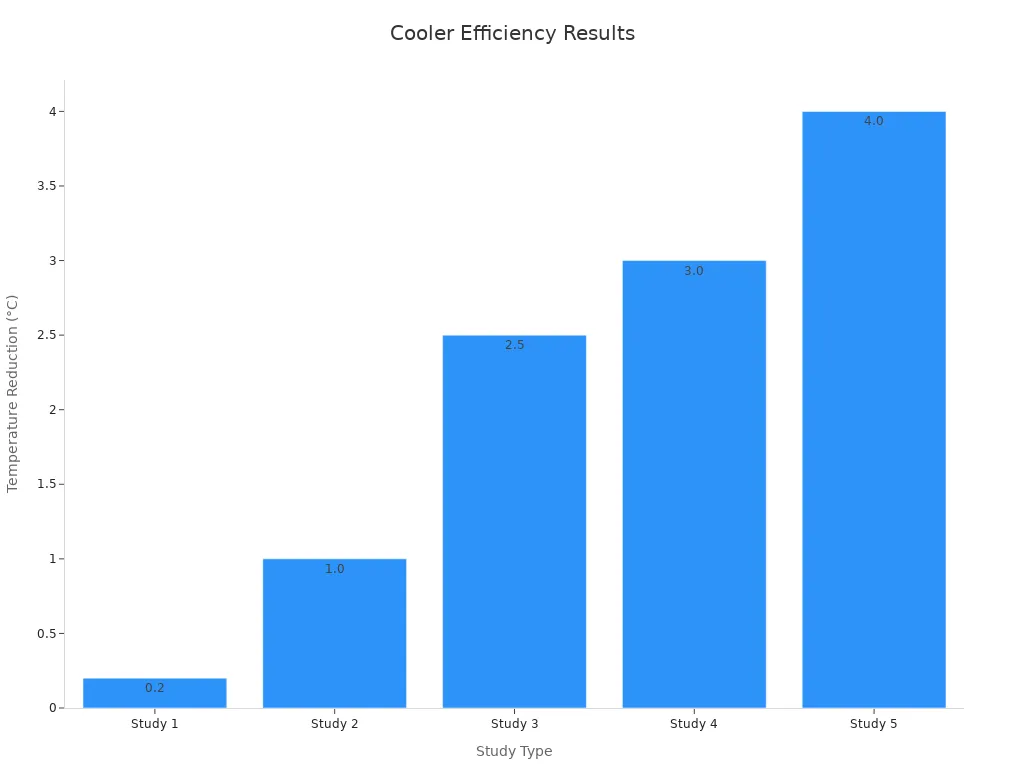
Placing your cooler in a shaded area can make a huge difference in maintaining its temperature. Direct sunlight heats the cooler’s exterior, causing the ice packs to melt faster. By keeping it shaded, you reduce the heat exposure and extend the cooling time. For instance, studies show that shaded areas can be up to 20 degrees cooler than unshaded ones. This temperature difference significantly slows down the warming process inside the cooler.
If you’re outdoors, look for natural shade like trees or set up a canopy. Research highlights the cooling benefits of vegetation, with trees reducing surrounding temperatures and improving energy efficiency. Here’s a quick look at findings from environmental studies:
| Study Title | Findings |
|---|---|
| The Wind-Shielding and Shading Effects of Trees on Residential Heating and Cooling Requirements | Emphasizes the cooling benefits of trees in shaded areas. |
| Temperature Differences in Shaded Areas | Reports at least 20 degrees cooler temperatures in shaded areas compared to unshaded areas. |
So, keep your cooler shaded to maximize its efficiency and keep your food and drinks cold longer.
Limit Openings to Retain Cold Air
Every time you open the cooler, warm air rushes in, and cold air escapes. This disrupts the cooling process and forces the ice packs to work harder. To avoid this, plan ahead. Group items you’ll need together and place them at the top for easy access. This way, you won’t have to rummage through the cooler repeatedly.
Think of it like opening a refrigerator door. The less you open it, the colder it stays. By limiting openings, you help the cooler maintain a consistent temperature. A well-organized cooler also makes this easier, so take a few extra minutes to pack it thoughtfully.
Manage Meltwater to Prevent Spoilage
Meltwater can quickly turn your cooler into a soggy mess. It not only affects the freshness of your food but also reduces the cooling efficiency. To manage this, use cool box ice packs instead of loose ice. These packs don’t melt into water, keeping everything dry and fresh.
If you do use ice, drain the meltwater periodically. Meltwater absorbs heat faster than ice, which speeds up the melting process. Removing it helps the remaining ice last longer. For longer trips, consider bringing extra ice packs to swap out as needed. This simple step ensures your cooler stays clean and efficient throughout your adventure.
By following these tips, you can chill the cooler effectively and enjoy fresh food and cold drinks on your trip.
Knowing how to pack a cooler efficiently can make your trips stress-free and enjoyable. By using cool box ice packs strategically, you’ll keep your food fresh and your drink cold for hours. These tips aren’t just practical—they’re proven. High-performance cooling strategies, like those used in data centers, show how proper organization and cooling methods improve efficiency. Apply these techniques on your next adventure, and you’ll spend less time worrying about spoiled food and more time making memories.
FAQ
How many ice cubes should I use in my cooler?
Use enough ice cubes to fill gaps between items. This minimizes air gaps and keeps everything colder for longer.
Can I reuse cool box ice packs?
Yes, you can reuse them. Freeze them overnight before your trip to maximize their cooling efficiency.
Should I pack a cooler differently for short trips?
For short trips, focus on pre-chilled items and fewer ice cubes. Use cool box ice packs for quick and efficient cooling.


 Request a quote