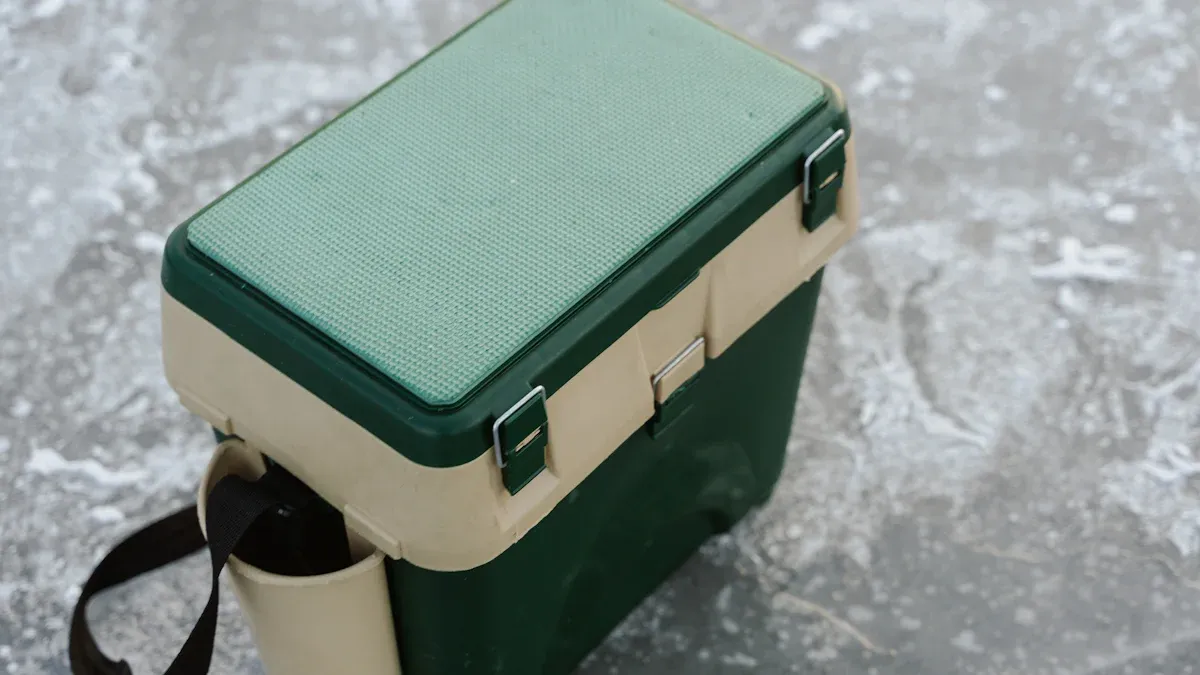
Taking care of your rotomolded cooler box ensures it performs at its best and lasts for years. Proper maintenance helps retain ice longer, saving you money and keeping your contents fresh. With its durable construction and thick insulation, this ice chest can handle tough conditions while staying reliable for all your adventures.
Preparation Tips for Your Rotomolded Cooler Box
Pre-Chill the Cooler for Better Ice Retention
Pre-chilling your cooler is one of the most effective ways to maximize ice retention. Before you fill your outdoor ice chest cooler with food and drinks, take a moment to cool it down. Why? A warm cooler absorbs the cold from your ice, causing it to melt faster. By pre-chilling, you remove the thermal energy from the insulation, allowing it to stay colder for longer.
Here’s how you can do it: Add 10–20 pounds of sacrificial ice to your cooler and let it sit for a few hours. Once the ice has melted, drain the water and dry the cooler. Now, you have a pre-chilled cooler ready to keep your contents cold for an extended period. This simple step can make a big difference, especially if you’re aiming for long-term ice retention.
Choose the Right Ice Type for Maximum Insulation
When it comes to ice, not all types are created equal. Block ice vs. cube ice—what’s the better choice? Block ice melts slower, making it ideal for long trips or when you need extended cooling. Cube ice, on the other hand, cools items faster but melts quicker. For the best results, use a combination of both. Place block ice at the bottom for long-lasting insulation and cube ice on top to chill your items quickly.
Remember, more ice is better. Aim for an ice-to-content ratio of 2:1. This ensures your cooler stays cold and maintains its insulation for as long as possible.
Pack the Cooler Efficiently to Minimize Air Space
Effective packing strategies can significantly improve your cooler’s performance. Start by pre-chilling the cooler, then layer your items strategically. Place block ice or ice packs at the bottom, followed by a layer of food or drinks. Repeat this process until you fill your cooler. Top it off with frozen ice sheets to trap the cold air inside.
To minimize air space, remove unnecessary packaging and prepare your food at home. This not only saves space but also prevents sogginess. Cover air space by ensuring the cooler is packed tightly. A full cooler retains cold better than one with gaps, so pack your cooler efficiently for the best results.
Best Practices for Using Your Cooler
Keep the Cooler Out of Direct Sunlight
Keeping your cooler away from heat is one of the simplest ways to improve its performance. Direct sunlight can warm up the exterior, reducing the insulation’s effectiveness and shortening ice retention. So, how can you protect your cooler from the sun? Here are a few tips:
- Place it under a tree or shrub for natural shade.
- Use an awning or overhang to block sunlight.
- Try exterior shades like solar screens, which can cut heat gain by up to 70%.
If none of these options are available, cover your cooler with a light-colored towel or blanket. This helps reflect sunlight and keeps the cooler’s surface cool. A little effort goes a long way in maintaining the cold inside.
Limit Lid Openings to Retain Cold Air
Every time you open the lid, warm air rushes in, and cold air escapes. This disrupts the cooler’s temperature and melts the ice faster. To avoid this, plan ahead. Pack your cooler with frequently used items on top so you don’t have to dig around. Group similar items together to make them easier to find. When you limit opening the cooler, you’ll notice better ice retention and longer-lasting cold.
Here’s a pro tip: Don’t drain the cold water inside the cooler unless absolutely necessary. The icy water helps maintain a low temperature and slows down the melting process.
Maintain a Proper Ice-to-Contents Ratio
The ice-to-contents ratio plays a big role in how well your cooler performs. For optimal cooling, aim for a 2:1 ratio. This means two-thirds of the cooler should be filled with ice, while the remaining one-third holds your food and drinks. The more ice you use, the longer it will last. Block ice works great for long-term cooling, while cube ice chills items faster. Combining both types gives you the best of both worlds.
Packing your cooler with the right ratio ensures consistent insulation and keeps your items cold for extended periods. Remember, a well-packed cooler is your best friend on any adventure.
Cleaning and Maintaining Your Rotomolded Cooler Box
Clean the Cooler with Safe, Non-Harsh Chemicals
Keeping your cooler clean is essential for protecting its insulation efficiency and ensuring it’s ready for your next adventure. Avoid using harsh chemicals that can damage the interior or leave behind harmful residues. Instead, opt for mild dish soap and warm water. A soft sponge or cloth works best for scrubbing away dirt and stains without scratching the surface.
For stubborn odors or stains, mix a solution of baking soda and water. Apply it to the affected areas, let it sit for a few minutes, and then rinse thoroughly. This method not only cleans but also helps neutralize any lingering smells. Regular cleaning is a key part of cooler care and ensures your cooler stays in top condition for keeping food warm or cold.
Inspect and Maintain Seals for Optimal Insulation
The seals on your cooler play a crucial role in maintaining thermal insulation. Over time, seals can wear out or collect debris, reducing their effectiveness. Inspect the seals regularly for cracks, tears, or dirt buildup. If you notice any damage, replace the seals promptly to restore insulation efficiency.
To keep the seals in good shape, clean them with a damp cloth and mild soap. Avoid using sharp tools or abrasive cleaners that could harm the material. Well-maintained seals ensure your cooler performs at its best, whether you’re protecting perishable foods or focusing on hot food retention.
Prevent Odors with Proper Drying and Storage
Proper drying and storage are vital for preventing odors and mold growth in your cooler. After each use, follow these steps:
- Empty and Clean: Remove all contents and clean the cooler thoroughly.
- Air Dry: Prop the lid open and let the cooler air dry completely.
- Towel Off: If you’re short on time, use a clean towel to speed up the drying process.
- Dry Thoroughly: Ensure no moisture remains before storing.
- Store with Lid Open: Keep the lid slightly open during storage to allow air circulation.
These steps help maintain your cooler’s cleanliness and insulation efficiency. A dry, odor-free cooler is always ready to protect perishable foods or keep your meals warm on your next outing.
Advanced Tips for Cooler Performance
Use Dry Ice Safely for Extended Cooling
Dry ice can be a game-changer when you need extended cooling for your rotomolded cooler. It keeps your contents colder for longer and doesn’t leave behind water as it sublimates. However, handling dry ice requires caution to ensure safety and maintain your cooler’s insulation.
Here are some essential safety tips:
- Always wear gloves or use tongs to handle dry ice. Direct contact can cause burns.
- Wrap the dry ice in newspaper to prevent it from damaging the cooler walls or coming into direct contact with food.
- Place the dry ice at the top of the cooler. Cold air sinks, so this placement ensures even cooling.
- Keep the cooler in a well-ventilated area. Carbon dioxide from the dry ice needs to escape to avoid buildup. Open the drain plug slightly to allow gas to vent.
By following these precautions, you can safely use dry ice to maximize cooling performance without compromising your cooler’s durability.
Utilize Cooler Packs for Enhanced Ice Retention
Cooler packs are a fantastic alternative to traditional ice. They freeze at a lower temperature of 28°F, which is 4°F colder than regular ice. This lower freezing point enhances the cooler’s insulation and keeps your contents colder for longer. Unlike ice, cooler packs don’t melt into water, so they help maintain a dry environment inside the cooler.
To get the best results, use cooler packs alongside a sacrificial bag of ice. The ice cools items quickly, while the packs sustain the cold temperature. This combination ensures optimal retention and keeps your food and drinks fresh throughout your trip.
Store the Cooler Correctly to Avoid Damage
Proper storage is key to preserving your cooler’s insulation and extending its lifespan. After each use, let the cooler dry completely in a well-ventilated area. This prevents mold and odors from developing. For long-term storage, place a dish towel under the lid to maintain airflow and avoid a musty smell.
Store the cooler in a shaded, temperature-stable space. Extreme heat or cold can damage the insulation and distort the cooler’s shape. Avoid placing it on hot surfaces by using a protective barrier. These simple steps will keep your cooler in top condition, ready for your next adventure.
Taking care of your rotomolded cooler box doesn’t have to be complicated. By following a few simple steps, you can keep it performing like new for years. Here’s a quick recap of the most important tips:
- Dry Your Cooler Completely: Prevent mold and odors by ensuring it’s fully dried after each use.
- Pre-chill Your Cooler: Boost cooling efficiency by chilling the cooler before adding items.
- Pack Efficiently: Layer ice and contents properly to maximize ice retention.
- Limit Lid Openings: Keep the cold air in by opening the lid only when necessary.
- Clean and Store Correctly: Wash with warm, soapy water and store in a dry, ventilated space.
These practices not only improve cooling performance but also extend your cooler’s lifespan. Start using them today, and you’ll always have a reliable companion for your adventures! 😊
FAQ
How do you prevent your cooler from smelling bad after use?
Tip: Always clean and dry your cooler thoroughly after each use. Store it with the lid slightly open to allow airflow and prevent odors.
Can you use salt to improve ice retention in your cooler?
Yes! Adding salt to your ice lowers its melting point, keeping it colder longer. Sprinkle salt over the ice for better cooling performance.
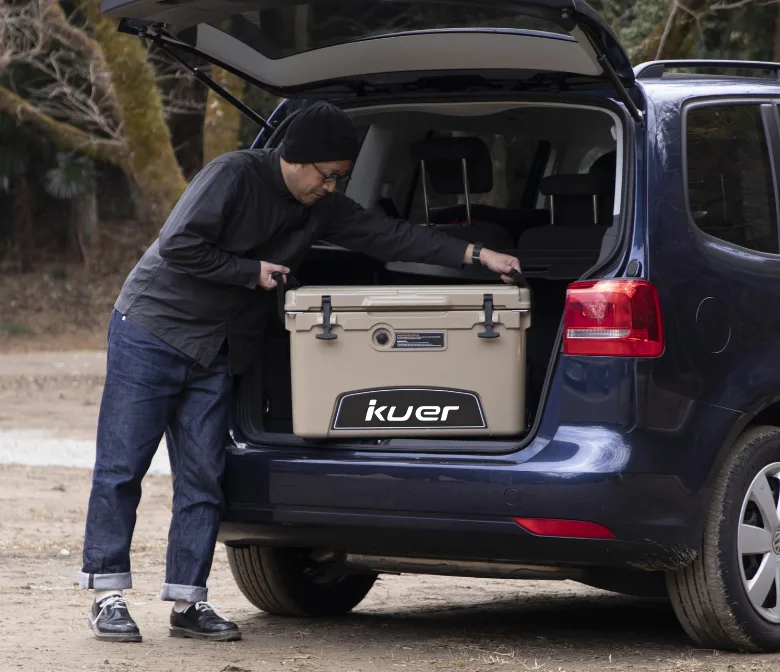
What’s the best way to transport a fully packed cooler?
- Keep it level to avoid spills.
- Secure it in your vehicle to prevent shifting.
- Avoid placing it in direct sunlight during transport.


 Request a quote