
Taking care of your bottle carry cooler bag isn’t just about keeping it clean—it’s about making it last longer and work better. Did you know frozen water bottles can stay cold for up to 98 hours per dollar per kilogram? That’s way more efficient than most cold packs! Regular maintenance helps you save money and keeps your custom lunch cooler portable and ready for any adventure.
Why Maintenance Matters
Extending the Lifespan
Taking care of your bottle cooler bag ensures it stays with you for years. Regular maintenance prevents wear and tear, keeping it durable for all your adventures. Whether you’re heading to the beach or planning picnic outings, a well-maintained cooler can handle the demands of your trips. Neglecting care can lead to cracks, leaks, or damaged insulation, cutting its lifespan short. By cleaning and storing it properly, you protect your investment and avoid the hassle of replacing it too soon.
Improving Cooling Efficiency
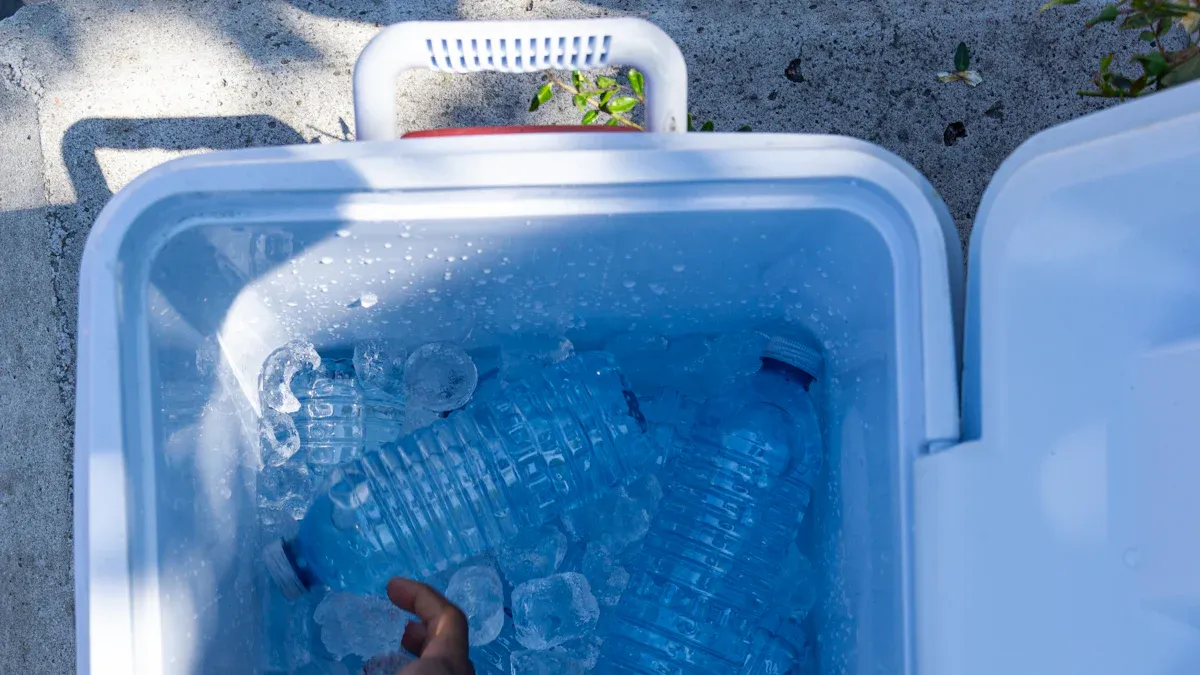
A clean and well-maintained cooler performs better. Dirt, grime, or leftover ice residue can block the insulation, reducing its ability to keep things cold. Did you know that adding a single frozen water bottle can extend cooling time by up to 8 hours in rotomolded coolers? For injection-molded ones, it adds about 4.6 hours. Keeping your cooler in top shape ensures it retains ice longer, making it perfect for travel or a day at the beach. Pre-chilling your insulated cooler and using the right amount of frozen water (around 0.45 kg) can maximize cold retention, keeping your drinks and snacks fresh.
Preventing Odors and Bacteria
No one wants a smelly cooler! Leftover spills or melted ice can create the perfect environment for bacteria to grow. Over time, this leads to unpleasant odors that are hard to remove. Regular cleaning stops this from happening. After each use, empty your cooler, wipe it down, and let it dry completely. This simple habit keeps it fresh and ready for your next adventure, whether it’s a picnic or a weekend trip. A clean cooler also ensures your food and drinks stay safe to consume.
Cleaning Your Bottle Cooler Bag
Keeping your bottle cooler bag clean is essential for maintaining its performance and hygiene. Let’s dive into how you can do it effectively.
Step-by-Step Instructions
Cleaning your cooler doesn’t have to be complicated. Follow these simple steps to keep it in top shape:
- Empty the bag: Remove all items and shake out crumbs or debris.
- Wipe it down: Use a damp cloth to clean the interior and exterior after each use.
- Spot clean stains: For oil-based stains, apply a degreaser, let it sit, and scrub gently. For ink stains, dab with rubbing alcohol and rinse with warm water.
- Thorough cleaning: Mix mild detergent with warm water and use a soft sponge to scrub the bag, focusing on corners and crevices.
- Dry completely: Air dry the bag in a well-ventilated area to prevent mold or mildew.
By following these steps, you’ll keep your cooler fresh and ready for your next adventure.
Recommended Cleaning Tools
Having the right tools makes cleaning easier and more effective. Here’s what you’ll need:
- A soft sponge or cloth for gentle scrubbing.
- Mild detergent for thorough cleaning.
- Rubbing alcohol for tough stains like ink.
- A degreaser for oil-based stains.
- A bucket of warm water for rinsing.
These tools are gentle on your cooler while ensuring it stays spotless.
Cleaning Frequency
How often should you clean your cooler? It depends on how frequently you use it. After every use, wipe it down to remove spills and crumbs. For thorough cleaning, aim to do it every few weeks if you use the bag regularly. Deep cleaning every few months is also a good idea, especially if you notice any lingering odors or stains.
Pro Tip: Always let your cooler air dry completely after cleaning. This prevents mold and keeps it smelling fresh.
By sticking to a regular cleaning routine, you’ll extend the life of your bottle cooler bag and ensure it performs at its best.
Proper Storage Tips
Storing your bottle cooler bag the right way can make a big difference in how well it performs over time. Let’s explore some simple yet effective tips to keep your cooler in top shape.
Preventing Damage During Storage
You want your cooler to last, right? Proper storage is key. Always keep the bag closed when not in use. This helps maintain the integrity of the insulation and prevents dust or debris from getting inside. If you’re storing it for a while, avoid placing it on hot surfaces, as heat can weaken the material. Instead, find a cool, dry spot to store it.
For extra protection, consider insulating the cooler with a towel or blanket. This adds a layer of defense against accidental bumps or scratches. And remember, never crumple or fold the bag. Store it flat or upright to preserve its shape and insulation quality.
Avoiding Odors
No one likes opening a cooler only to be greeted by a musty smell. To avoid this, always make sure your bag is completely dry before storing it. Even a little moisture can lead to mold or mildew. Wipe down the interior and seams after cleaning to remove any lingering dampness.
For long-term freshness, store the bag in a well-ventilated area. You can also toss in a desiccant packet to absorb any residual moisture. This simple step keeps your cooler smelling fresh and ready for your next adventure.
Pro Tip: Keep your cooler out of direct sunlight during storage. Sunlight can degrade the material and reduce its cooling efficiency.
Long-Term Storage Guidelines
When it’s time to put your portable cooler bags away for the season, follow these guidelines to keep them in great condition:
- Store the bag in a cool, dry place to prevent insulation degradation.
- Ensure it’s completely dry to avoid mold and mildew.
- Avoid folding or crumpling the bag; store it flat or upright.
- Use desiccant packets to absorb any leftover moisture.
- Clean the bag thoroughly with mild soap and water before storing it.
By following these tips, you’ll ensure your cooler is always ready to perform when you need it most.
Usage Best Practices
Pre-Chilling for Efficiency
Pre-chilling your bottle cooler bag is a game-changer when it comes to keeping your items cold for longer. Before you pack anything, place your cooler in a cold environment or add a few ice packs to lower its internal temperature. This simple step prevents the ice from melting too quickly once you start packing. Think of it this way: when you use a room-temperature cooler, it absorbs the cold from the ice, causing it to melt faster. Pre-chilling ensures the ice stays frozen longer, giving you maximum cooling efficiency.
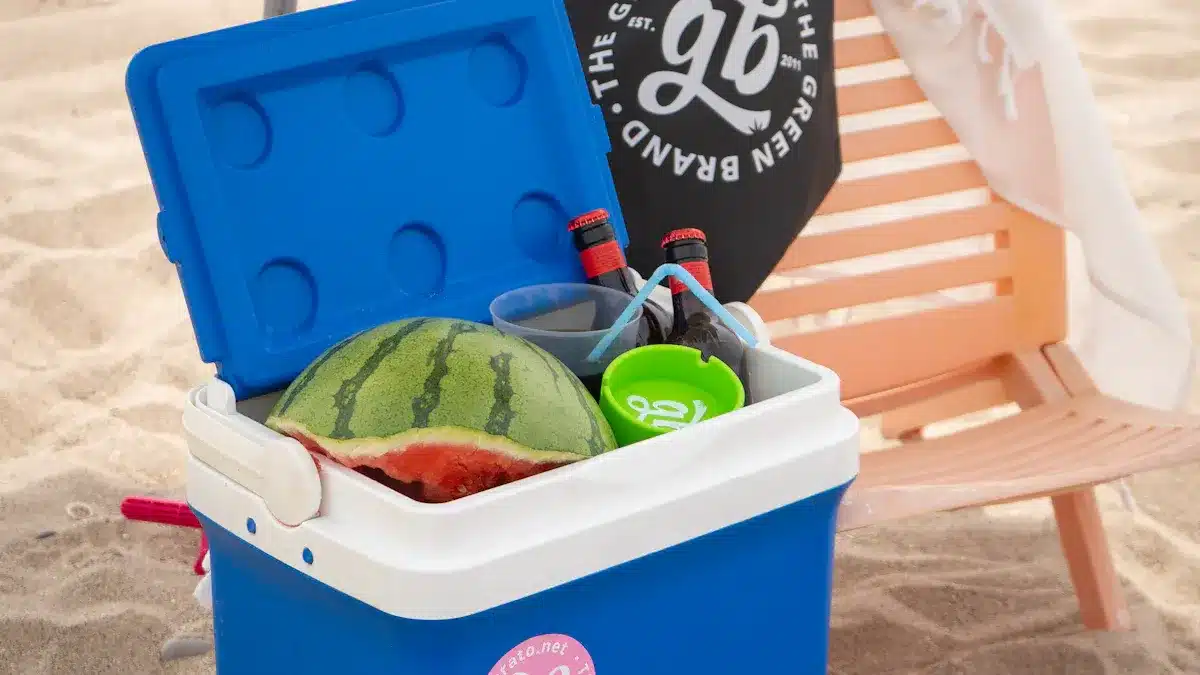
If you’re heading to the beach or planning a picnic, pre-chilling becomes even more important. It helps your cooler handle the heat better, keeping your drinks and snacks fresh throughout the day. So, take a few minutes to pre-chill—it’s worth the effort!
Packing Tips
Packing your cooler the right way can make all the difference. Start by layering cold items strategically. Place frozen items at the bottom to create a cold foundation, then add perishable foods, and finally, drinks on top. This setup allows the cold air to rise and keeps everything chilled evenly.
Use ice packs between layers to maintain consistent cold zones. Tight packing is key—minimize empty spaces to reduce air circulation. For longer trips, consider using block ice instead of cubes. Larger blocks melt slower, keeping your cooler cold for extended periods. And remember, don’t mix hot and cold items. Warm items can raise the temperature inside, melting the ice faster.
| Technique | Description |
|---|---|
| Layer Cold Items Strategically | Start with frozen items at the bottom, followed by perishable foods, and drinks on top. |
| Use Ice Packs Between Layers | Place ice packs between food and drinks to create evenly distributed cold zones. |
| Keep Hot and Cold Items Separate | Avoid packing warm items with cold ones to prevent temperature rise. |
| Not Packing Enough Ice | Maintain an ice-to-content ratio of about 2:1 for optimal cooling. |
| Use Block Ice | Larger ice blocks melt slower than small cubes, extending cooling time. |
Avoiding Overloading
It’s tempting to stuff your cooler with everything you need, but overloading can backfire. When you pack too much, air circulation inside the cooler decreases. This reduces its cooling efficiency and makes it harder for the ice to keep everything cold. Instead, leave some space for ice packs or airflow. This ensures the cold air can circulate and maintain a consistent temperature.
For portable coolers like a beach cooler bag, overloading can also strain the material and zippers, potentially causing damage. Pack only what you need for your trips, and let the cooler do its job. A well-packed cooler performs better and lasts longer, making your travel or picnic experience much more enjoyable.
Pro Tip: Always keep the cooler closed as much as possible. Every time you open it, warm air enters, and cold air escapes, reducing its efficiency.
Common Mistakes to Avoid
Even with the best intentions, a few common mistakes can reduce your cooler’s performance. Let’s look at what to avoid so your trips stay cool and hassle-free.
Using Harsh Cleaning Chemicals
It might seem like a strong cleaner will get the job done faster, but harsh chemicals can damage your cooler. These cleaners can weaken the material, harm the insulation, or leave behind residues that affect food safety. Stick to mild detergents and warm water for cleaning. If you’re dealing with tough stains, use a soft sponge and a little patience. This approach keeps your cooler in great shape without compromising its performance.
Tip: Avoid bleach or abrasive scrubbers. They can scratch the surface and reduce the bag’s cooling efficiency.
Storing While Wet
Storing your cooler while it’s still damp is a recipe for trouble. Moisture trapped inside creates the perfect environment for mold and mildew. Over time, this can lead to unpleasant odors and even damage the insulation. Always let your cooler air dry completely before putting it away. Wipe down the seams and corners, as these areas often hold hidden moisture.
For long-term storage, consider placing a desiccant packet inside. It absorbs any leftover moisture and keeps your cooler fresh for your next adventure. A dry cooler is a happy cooler!
Overpacking Issues
Overloading your cooler might seem like a good idea, but it actually reduces its cooling efficiency. When you pack too much, there’s less room for air circulation, which makes it harder for the ice to keep everything cold. Instead, pack only what you need and leave some space for airflow. This ensures your cooler stays cold longer.
On the flip side, not packing enough ice can also be a problem. Without enough ice, your cooler won’t maintain low temperatures effectively. Aim for an ice-to-content ratio of about 2:1 for the best results. Whether you’re using a portable cooler for travel or an insulated cooler for longer trips, proper packing makes all the difference.
Pro Tip: Choose the right size cooler for your needs. A cooler that’s too large or too small can lead to inefficient cooling.
Taking care of your bottle cooler bag keeps it ready for every picnic or beach day. Regular cleaning, smart storage, and proper packing ensure your cooler stays efficient. You’ll save money, keep ice lasting longer, and enjoy fresh snacks every time. Start using these tips today for better adventures tomorrow! 🌊❄️
FAQ
How do I know if my bottle cooler bag needs cleaning?
If you notice odors, stains, or leftover crumbs, it’s time to clean. Regular cleaning after each use prevents bacteria and keeps your cooler fresh.
Tip: Always inspect your cooler after every trip to catch issues early.
Can I use my cooler bag for hot items?
Yes, but it’s designed for cold storage. Using it for hot items may reduce its cooling efficiency over time. Stick to its primary purpose for the best results.
What’s the best way to dry my cooler bag?
Air drying is the safest method. Open the bag fully and place it in a well-ventilated area. Avoid direct sunlight to protect the material.
Pro Tip: Use a fan to speed up drying if needed.

 Request a quote