

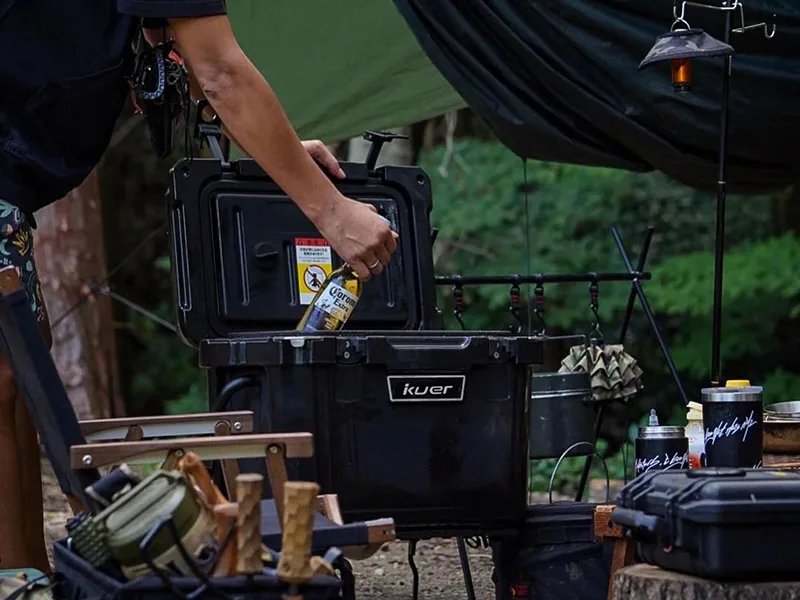
Taking care of your 20l cool box is essential if you want it to perform at its best. A well-maintained cooler keeps your drinks and food cold longer, making every outing more enjoyable. Regular cleaning and proper storage also extend its lifespan, ensuring you get the most out of your investment.
Preparation Tips to Keep a Cooler Cold

Pre-chill Your 20L Cool Box
Pre-chilling your cooler is one of the best ways to maximize its cooling efficiency. Before you pack anything, clean the box thoroughly. Then, place frozen water bottles or gel packs inside the night before your trip. This step lowers the internal temperature, creating a cold cooler ready to keep your items fresh. Aim to fill about one-third of the box with ice to minimize air space. If you’re using gel packs, freeze them at least 24 hours in advance.
Here’s a pro tip: Store the cooler in a shaded area while pre-chilling. This prevents ice from melting too quickly. Also, avoid emptying the cold water that forms inside—it helps insulate the remaining ice and keeps the contents colder for longer.
Choose the Right Type of Ice
Not all ice is created equal when it comes to keeping a cooler cold. For extended trips, dry ice is your best bet. It’s incredibly effective at maintaining freezing temperatures but requires careful handling due to its extreme cold. Large ice blocks are another great option, as they melt slower than standard cubes. If you need quick cooling, crushed ice works well, though it doesn’t last as long. Ice packs are a clean and convenient alternative, especially if you want to avoid the mess of melting ice.
For weekend getaways, consider combining block ice with smaller cubes. This mix provides both long-lasting cooling and quick temperature drops for your chilled contents.
Cool Items Before Packing
Packing warm items into your cooler can quickly melt the ice and reduce its efficiency. To avoid this, chill or freeze your food and beverages before loading them. Frozen items like meat or juice can double as ice blocks, keeping everything colder for longer. If you’re layering food, use damp towels between layers to prevent air pockets. This simple trick helps maintain a consistent temperature throughout the cooler.
By following these steps, you’ll ensure your cooler stays cold and your contents remain fresh, no matter how long your adventure lasts.
Packing Strategies to Retain Ice
Layer Ice and Items Effectively
The way you layer ice and items in your cooler can make a big difference in how long it stays cold. Follow these steps to get the best results:
- Start with a pre-chilled cooler. This helps the ice last longer.
- Use cold or frozen contents. This reduces the amount of work the ice has to do.
- Pack items densely and layer ice on top. This minimizes airspace and keeps everything colder.
Here’s a tip: Place frozen food like meat or juice at the bottom since it stays cold the longest. Then, add a layer of ice, followed by perishable items like dairy or vegetables. Finally, top it off with another layer of ice. This method ensures your contents stay fresh throughout your trip.
Minimize Air Gaps in the Cooler
Air gaps are the enemy of cold temperatures. When you pack your cooler, try to fill every inch of space. Empty spaces allow warm air to circulate, which melts the ice faster. Use smaller items like snacks or even towels to fill gaps. If you’re packing drinks, lay them flat to save space and keep them colder.
Pro tip: Keep the cooler as full as possible, even if you’re not using all 20 liters. A packed cooler retains cold better than a half-empty one.
Use Frozen Bottles or Ice Packs
Frozen bottles and ice packs are excellent alternatives to loose ice. They’re less messy and provide consistent cooling. Reusable gel packs work well because they don’t melt into water. Phase change material packs are another great option, offering precise temperature control. You can even make your own ice packs by freezing water in resealable bags. For emergencies, air-activated packs provide instant cooling.
If you’re using frozen bottles, they can double as drinking water once they thaw. This saves space and keeps your contents cold for longer. Combine these with dry ice for maximum efficiency on longer trips.
Quick Tip: Always place ice packs or frozen bottles on top of your food. Cold air sinks, so this keeps everything chilled evenly.
Maintenance Practices for Your 20L Cool Box

Clean the Cooler After Each Use
Keeping your cooler clean is essential for maintaining its efficiency and hygiene. After every use, empty the cooler completely. Remove any leftover food, melted ice, or debris. Use warm water and mild dish soap to scrub the interior and exterior. A soft sponge works best to avoid scratching the surface. For stubborn stains or odors, mix baking soda with water to create a paste and apply it to the affected areas. Let it sit for a few minutes before rinsing thoroughly.
Don’t forget to dry the cooler completely before storing it. Moisture can lead to mold or mildew, which can ruin the cooler and affect your food’s freshness. A clean, dry cooler ensures your next adventure starts on the right foot.
Inspect and Maintain the Seals
The seal around your cooler’s lid plays a crucial role in keeping the cold air inside. Regularly check the seal for any signs of wear, such as cracks or tears. A damaged seal can let warm air in, melting the ice faster and compromising the freshness of your contents. If you notice any issues, replace the seal promptly to maintain a tight seal.
To keep the seal in good condition, wipe it down with a damp cloth after each use. Avoid using harsh chemicals that could degrade the material. A well-maintained seal ensures your cooler performs at its best, keeping your food and drinks cold for longer.
Store the Cool Box in a Cool, Dry Place
Proper storage is key to extending the life of your cooler. Always store it in a cool, dry place away from direct sunlight. Excessive heat can warp the cooler’s structure and weaken its insulation. If you have used dry ice, ensure the cooler is completely aired out before storing it. This prevents any lingering odors or residue from affecting future use.
Keep the lid slightly open during storage to allow air circulation. This prevents any trapped moisture from causing unpleasant smells. By storing your cooler correctly, you’ll keep it ready for your next adventure and ensure it stays in top condition for years to come.
Additional Tips for Maximum Efficiency
Insulate the Exterior of the Cool Box
If you want to extend the cooling power of your 20L cooler, consider adding an extra layer of insulation. You can insulate the cooler exterior using materials like reflective blankets or foam pads. These help block heat from the sun and keep the ice from melting too quickly. For even better results, place the cooler in the shade whenever possible. This simple step reduces heat exposure and keeps your food cold for longer.
If you’re camping or on a long road trip, wrapping the cooler in a sleeping bag or thick towel can also work wonders. These materials trap cold air inside and slow down the warming process. By insulating the cooler exterior, you’ll enjoy fresher food and drinks throughout your adventure.
Limit Lid Openings to Retain Cold Air
Every time you open the lid of your cooler, cold air escapes, and warm air rushes in. To keep the ice chest closed as much as possible, plan ahead. Pack your cooler strategically so you can grab what you need quickly. For example, place frequently used items like drinks or snacks on top, while frozen food stays at the bottom.
You can also use a checklist to remember what’s inside, reducing unnecessary lid openings. If you’re traveling with others, remind them to close the lid tightly after each use. These small habits go a long way in keeping food warm or cold, depending on your needs.
Pro Tip: Use a separate cooler for drinks if you’re on a group trip. This minimizes lid openings for the main cooler, preserving its cold temperature.
Use Advanced Cooling Accessories
Modern coolers come with advanced features that make them more efficient. If you’re looking to upgrade your 20L cooler, here are some accessories to consider:
| Feature | Description |
|---|---|
| Insulation Layer | 2-inch-thick insulation keeps ice for 5-7 days. |
| Vacuum Release Valve | Allows easy access without releasing the drain plug. |
| Built-in Bottle Openers | Convenient for opening beverages. |
| Non-skid Feet | Prevents the cooler from sliding around. |
| Lockable | Can be secured with up to two standard-sized padlocks. |
| Dual Drain Plugs | Facilitates faster and more convenient draining. |
| Aluminum T-tracks | For installation of additional accessories. |
| Ruler on Lid | Etched ruler in inches and centimeters for measuring. |
These features not only enhance cooling efficiency but also make your cooler more versatile. For example, dual drain plugs make it easier to remove melted ice, while non-skid feet keep the cooler stable during transport. By investing in these accessories, you’ll get the most out of your cooler and enjoy additional tips for optimal warmth retention or cooling.
Maintaining your 20L cool box doesn’t have to be complicated. Pre-chill it, pack smartly, and clean it after every use. These simple steps keep your cooler efficient and long-lasting.
Pro Tip: Apply these strategies on your next trip. You’ll enjoy fresher food, colder drinks, and a cooler that performs like new!
FAQ
How often should you clean your 20L cool box?
You should clean it after every use. This prevents odors, mold, and bacteria from building up, ensuring your cooler stays fresh and ready for the next trip.
Can you use dry ice in a 20L cool box?
Yes, you can! Dry ice works great for keeping items frozen. Just handle it carefully and ensure proper ventilation to avoid pressure buildup inside the cooler.
What’s the best way to prevent ice from melting quickly?
Pre-chill your cooler, use large ice blocks, and minimize lid openings. You can also insulate the exterior with towels or reflective blankets for extra cooling power.
Quick Tip: Always pack your cooler tightly to reduce air gaps and keep everything colder for longer.

 Request a quote