Keeping ice cream frozen can feel like a challenge, especially when you’re using a food cooler box ice cream setup. You want every scoop to stay creamy and cold, not melting into a sticky mess. The good news? With the right pvc ice box, you can keep your ice cream perfectly frozen while ensuring it’s ready to serve.
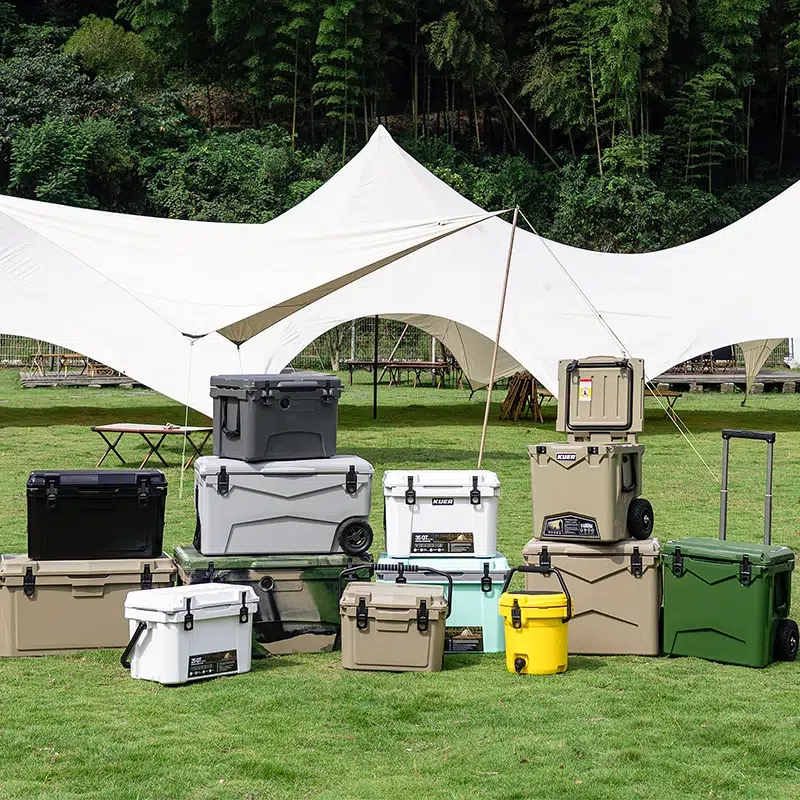
Kuer, one of the leading cooler box manufacturers will provide you with a variety of cooler solutions.
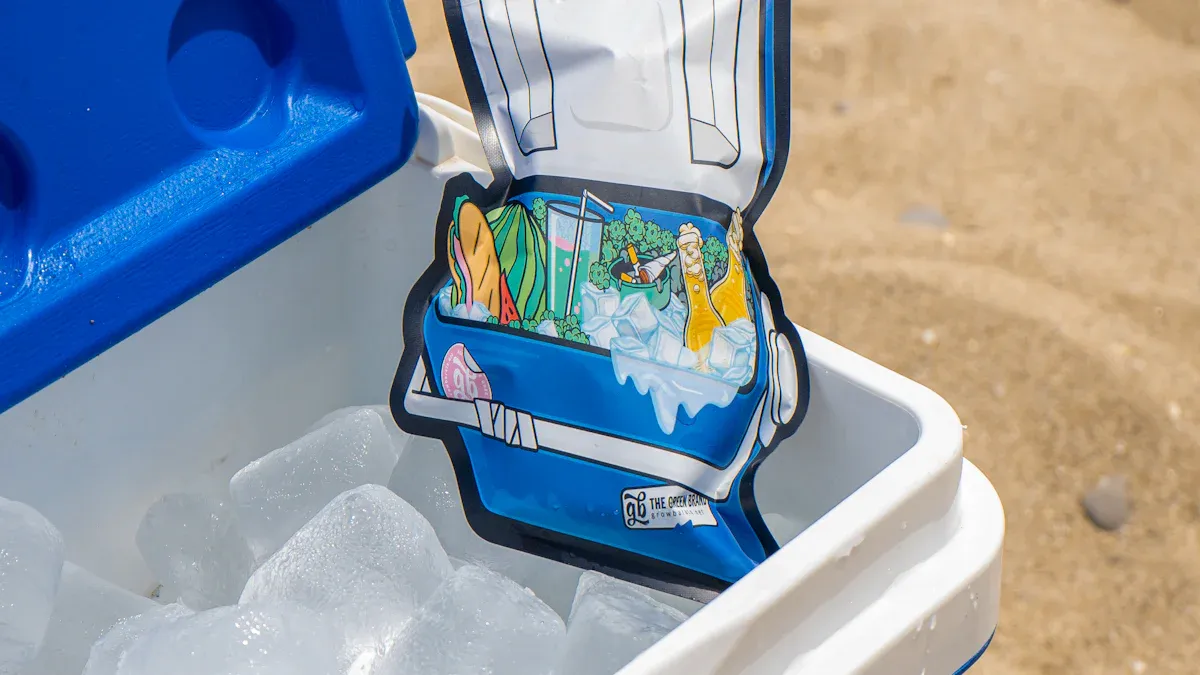
Choosing the Right Cooler Box Ice Cream Solution
Importance of High-Quality Insulation
When it comes to keeping ice cream frozen, insulation is your best friend. High-quality insulation ensures your cooler maintains low temperatures, even in warm environments. Materials with high R-values, like those used in Michigan, offer excellent thermal performance. They trap cold air inside and block heat from sneaking in. Think of it like wearing a down jacket in winter—it keeps you warm by preventing heat loss. Similarly, a well-insulated cooler keeps your ice cream cold by preventing heat gain.
If you’re wondering how insulation impacts performance, here’s a quick comparison: in Florida, coolers with low R-values struggle to maintain cold temperatures, while those with higher R-values perform much better. So, when you pick the right cooler, always check its insulation rating.
Comparing Hard-Sided and Soft-Sided Coolers
Choosing between hard-sided and soft-sided coolers depends on your needs. Hard-sided coolers are the heavyweights of temperature retention. They can keep ice cream frozen for days or even weeks, making them ideal for long trips or vending events. Soft-sided coolers, on the other hand, are lightweight and portable but only maintain cold temperatures for a day or two. If you’re planning a short outing, a soft-sided cooler might work. For extended use, hard-sided coolers are the way to go.
Features to Look For in a Cooler (Seals, Size, and Durability)
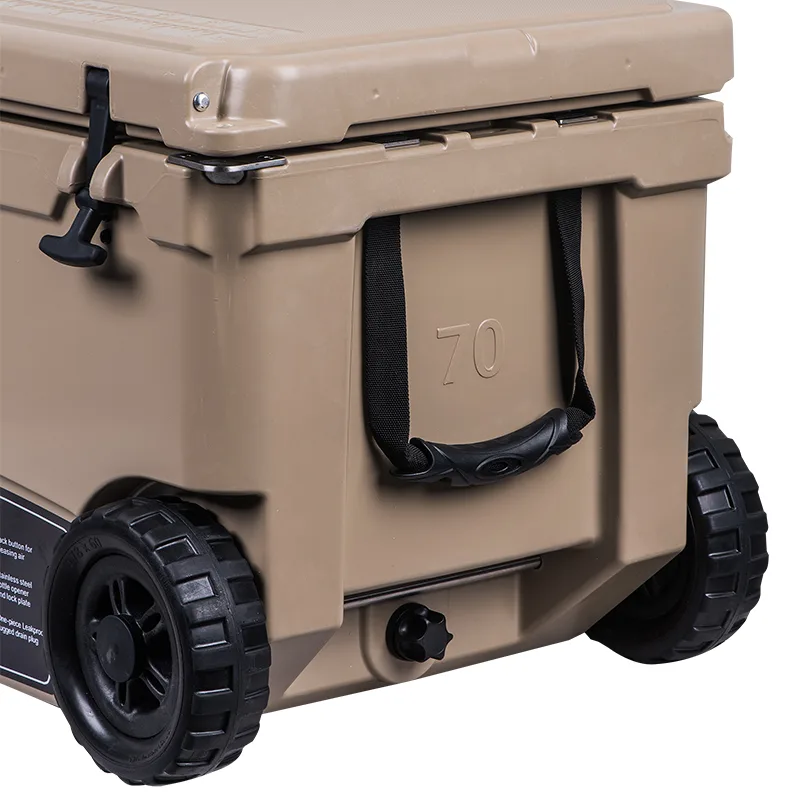
The right cooler has features that make all the difference. Rubber seals create an airtight barrier, locking in cold air and keeping your ice cream frozen. Thick gaskets around the lid prevent leaks and ensure consistent performance. Size matters too—pick a cooler that fits your ice cream containers snugly without leaving air gaps. Durability is equally important. Rotomolded coolers, made with heat-softened plastic, are tough and built to last. They can handle rough transport while keeping your ice cream safe and frozen.
Preparing to Keep Ice Cream Frozen
Pre-Chilling the Cooler for Maximum Efficiency
Before you even think about packing your ice cream, pre-chill the cooler. This step is crucial for keeping ice cream frozen for longer periods. When you pre-chill the cooler, you lower its internal temperature, reducing the amount of work your cooling agents need to do. It’s like giving your cooler a head start in the race against heat.
To pre-chill the cooler, place ice packs or bags of ice inside for a few hours before adding your ice cream. This process ensures the cooler is already cold when you load it up. Studies show that pre-chilling can significantly improve cooling efficiency. For example, cooling methods like EC Pad combined with mist cooling reduce the condensing temperature by up to 5°C when pre-chilled.
Here’s a quick comparison of cooling methods with and without pre-chilling:
| Cooling Method | Condenser Inlet-Outlet Temp Difference (°C) | Condensing Temperature (°C) | Temperature Reduction (°C) |
|---|---|---|---|
| EC Pad (without precooling) | 2.64 | 44 | N/A |
| Mist Cooling (without precooling) | 1.78 | 44 | N/A |
| EC Pad + Mist Cooling (without precooling) | 1.82 | 44 | N/A |
| EC Pad (with precooling) | 2.56 | 39 | 5 |
| Mist Cooling (with precooling) | 1.92 | 41 | 3 |
| EC Pad + Mist Cooling (with precooling) | 1.92 | 39.5 | 4.5 |

By pre-chilling the cooler, you’re setting yourself up for success. It’s a simple step that makes a big difference in how long your ice cream stays frozen.
Freezing Ice Cream to the Ideal Temperature
The temperature of your ice cream matters more than you might think. Freezing it to the ideal temperature ensures it stays frozen longer and maintains its creamy texture. So, what temperature should you store ice cream? Experts recommend keeping it at -32°C (-25.6°F) or lower. This slows down recrystallization, which is the process where ice crystals grow larger and ruin the texture.
Research shows that drawing ice cream at colder temperatures, like -9°C (16°F) or even -15°C (5°F), results in smaller ice crystals. Smaller crystals mean smoother ice cream and a longer shelf life. Experiments also confirm that maintaining lower draw temperatures during freezing prevents the formation of larger ice crystals, which can lead to melting and a grainy texture.
To freeze your ice cream effectively:
- Set your freezer to the lowest possible temperature.
- Avoid frequent opening of the freezer door to maintain consistent cold air.
- Disable the auto-defrost feature if possible, as temperature fluctuations can increase recrystallization.
By freezing your ice cream to the ideal temperature, you’re not just preserving its texture—you’re also extending its longevity.
Selecting the Best Cooling Agents (Dry Ice, Ice Packs, or Rock Salt)
Choosing the right cooling agent is key to keeping ice cream frozen in a cooler. Each option has its pros and cons, so it’s important to pick the one that suits your needs.
- Dry Ice: This is the powerhouse of cooling agents. It keeps ice cream frozen solid and can maintain temperatures as low as -78°C (-108°F). Dry ice is perfect for long trips or vending events, but handle it carefully—it can cause burns if touched directly.
- Ice Packs: These are convenient and reusable. They’re great for short outings and can keep ice cream frozen for several hours. Ice packs are also safer to handle than dry ice.
- Rock Salt: When combined with regular ice, rock salt lowers the melting point of ice, creating a super-cold environment. This method is cost-effective and works well for keeping ice cream frozen during shorter trips.
To maximize efficiency, position your cooling agents strategically. Place your ice cream container in the center of the cooler, surrounded by dry ice or ice packs. This setup ensures even cooling and prevents melting.
By selecting the right cooling agent and using it effectively, you’ll keep ice cream frozen and ready to serve, no matter the occasion.
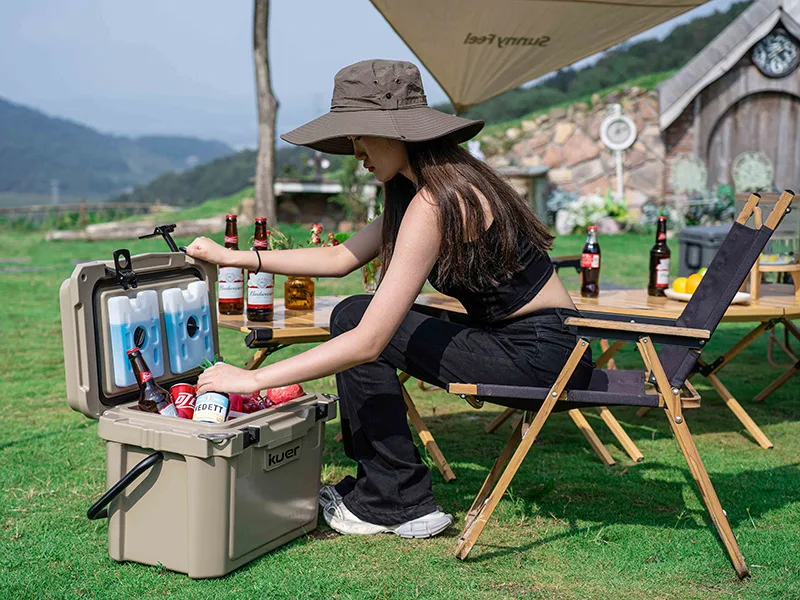
Best Way to Pack Ice Cream in a Cooler
Packing your cooler the right way can make all the difference when it comes to keeping your ice cream frozen. Let’s dive into the best way to pack ice cream and ensure it stays cold and creamy.
Layering Techniques to Prevent Ice Cream from Melting
Layering is one of the most effective ways to prevent ice cream from melting. Think of it as creating a protective barrier around your ice cream. Start by placing a layer of ice at the bottom of the cooler. This acts as the foundation for keeping everything cold. Next, add a layer of cooling agents like dry ice or ice packs. These will help maintain the low temperature needed to keep your ice cream frozen.
Once you’ve got your base layers, place your ice cream containers on top. Make sure they’re tightly packed together. This minimizes air circulation, which can cause the temperature to rise. After that, add another layer of ice or cooling agents on top of the ice cream. Finally, fill any remaining gaps with more ice or even towels to trap the cold air inside.
Tip: Use crushed ice for layering. It fills gaps more effectively than large ice cubes, creating a more consistent cold environment.
Positioning Ice Cream and Cooling Agents Strategically
Where you place your ice cream and cooling agents inside the cooler matters. Always position the ice cream in the center of the cooler. This keeps it surrounded by cold air on all sides. Place dry ice or ice packs around the ice cream, ensuring even cooling. If you’re using dry ice, keep it on top of the ice cream. Cold air sinks, so this setup helps distribute the chill downward.
Avoid placing the ice cream near the cooler lid. Every time you open the lid, warm air enters, which can cause the ice cream to soften. Instead, keep frequently used items like drinks or snacks near the top. This way, you won’t have to dig through the cooler and expose your ice cream to warm air.
Note: If you’re using dry ice, handle it with gloves and keep it ventilated. It releases carbon dioxide gas, which can build up in a sealed cooler.
Avoiding Air Gaps to Maintain Low Temperatures
Air gaps are the enemy of a well-packed cooler. They allow warm air to circulate, which can speed up the melting process. To avoid this, pack your cooler as tightly as possible. Use towels, crumpled paper, or even extra ice to fill any empty spaces. The goal is to create a compact environment where cold air stays trapped.
When you pack your cooler, make sure the lid closes tightly. A loose lid can let warm air in and cold air out. Check the seals around the lid to ensure they’re in good condition. If you notice any gaps, use duct tape to secure the lid temporarily.
Pro Tip: Pre-chill your ice cream containers before placing them in the cooler. This reduces the amount of work your cooling agents need to do and helps maintain a consistent temperature.
By following these steps, you’ll master the best way to pack ice cream in a cooler. Not only will this keep your ice cream frozen, but it’ll also make serving it a breeze.
Maintaining the Cooler’s Temperature
Keeping the Cooler in a Shaded Area
Keeping your cooler in a shaded area is one of the simplest ways to maintain its internal temperature. Direct sunlight can quickly heat up the exterior, causing the ice inside to melt faster. When you keep it away from direct sunlight, you reduce the heat exposure, allowing the cooler to retain its cold environment for longer.
Research shows that shading can significantly lower temperatures. For example, on a 43ºC day, shaded areas were up to 7ºC cooler than the surrounding ambient air. This principle applies to your cooler as well. By placing it under a tree, canopy, or even a beach umbrella, you can slow down the melting process and keep your ice cream frozen longer.
| Evidence Description | Temperature Reduction | Context |
|---|---|---|
| Shading walls and ceiling vents | Significant reductions in internal temperatures | Hot climates |
| Shaded ambient air temperature on a 43ºC day | 7ºC cooler | Hot dry climate |
| Blockwork house installations | 2.5ºC cooler | Air-conditioned room |
Using Additional Insulation Materials (Aluminum Foil or Towels)
Adding extra insulation to your cooler can make a big difference in how long it keeps ice frozen. Materials like aluminum foil and towels are excellent at minimizing heat transfer. Aluminum foil reflects radiant heat, bouncing it away from the cooler. Towels, on the other hand, act as a barrier, slowing down the heat that tries to seep in.
A study comparing insulation materials found that aluminum foil and dish towels reduced temperatures by 23ºF and 24ºF, respectively. Wrapping your cooler or lining its interior with these materials can help maintain a low temperature, even in warm conditions.
| Type of Insulation | Beginning Temperature | Ending Temperature | Temperature Difference |
|---|---|---|---|
| Styrofoam | 114ºF/45ºC | 91ºF/33ºC | 23ºF/12ºC |
| Plastic Bag | 114ºF/45ºC | 93ºF/34ºC | 21ºF/11ºC |
| Dish Towel | 114ºF/45ºC | 90ºF/32ºC | 24ºF/13ºC |
| Aluminum Foil | 114ºF/45ºC | 91ºF/33ºC | 23ºF/12ºC |

Minimizing Lid Openings to Retain Cold Air
Every time you open the cooler lid, warm air rushes in, and cold air escapes. This disrupts the internal temperature and speeds up the melting of ice. To keep your cooler cold, limit how often you open it. Plan ahead by organizing the contents so you can grab what you need quickly without rummaging around.
You can also use a separate cooler for frequently accessed items like drinks or snacks. This way, the cooler holding your ice cream stays sealed most of the time. A tightly closed lid with good seals ensures that the cold air stays trapped inside, keeping your ice cream frozen for longer.
Pro Tip: Check the seals on your cooler lid regularly. If they’re worn out, replace them to maintain an airtight closure.
Exploring Alternative Cooling Methods

Using Portable Freezers for Ice Cream Vending
If you’re serious about keeping ice cream frozen, portable freezers are a game-changer. These compact devices act like mini refrigerators, maintaining consistent temperatures as low as -18°C (0°F). Unlike a traditional cooler, a portable freezer doesn’t rely on ice, so you won’t have to worry about melting. They’re perfect for vending events or long trips where you need reliable cooling.
Many portable freezers come with dual power options—AC for plugging into outlets and DC for connecting to your car. This flexibility makes them ideal for outdoor use. Some models even feature digital temperature controls, letting you set the exact temperature you need. While they’re more expensive than a standard cooler, their efficiency and convenience make them worth considering.
Combining Ice Packs with Reflective Materials
For a budget-friendly alternative, try pairing ice packs with reflective materials. Ice packs are reusable and easy to handle, while reflective materials like aluminum foil or thermal blankets help bounce heat away from the cooler. This combination creates a super-chilled environment that slows down melting.
To use this method, line the inside of your cooler with reflective material. Place ice packs around your ice cream containers, ensuring they’re evenly distributed. Cover the top layer with more reflective material before closing the lid. This setup keeps the cold air trapped and prevents heat from sneaking in.
Solar-Powered Cooling Options for Outdoor Vending
When you’re vending outdoors, solar-powered coolers offer an eco-friendly solution. These coolers use solar panels to generate energy, powering a built-in cooling system. They’re perfect for sunny locations where traditional cooling methods might struggle.
Solar-powered coolers can maintain temperatures below freezing, keeping your ice cream solid for hours. Some models even include USB ports for charging devices, adding extra convenience. While they require an upfront investment, they save money in the long run by eliminating the need for ice or electricity.
Keeping ice cream frozen in a cooler box doesn’t have to be complicated. Start by choosing a hard-sided cooler with excellent insulation that can maintain cold temperatures for hours. Pre-chill the cooler with regular ice for at least four hours to give it a head start. Line the interior with aluminum foil to block heat and keep the temperature consistent. Place your ice cream at the bottom, where it’s coldest, and surround it with dry ice packs and regular ice.
By following these steps, you’ll create the perfect environment to keep your ice cream frozen and ready to serve. Whether you’re vending at an event or enjoying a day outdoors, maintaining the right temperature ensures your ice cream stays creamy and delicious.
| Step | Method Description |
|---|---|
| 1 | Use a hard-sided plastic cooler that can keep food cold for at least 16 hours. |
| 2 | Pre-chill the cooler with regular ice for at least 4 hours before adding ice cream. |
| 3 | Line the interior of the cooler with aluminum foil to keep heat out. |
| 4 | Place the ice cream container at the bottom of the cooler where it’s coldest. |
| 5 | Pack the cooler with dry ice packs and regular ice to maintain the ideal temperature. |
Tip: Keep the cooler in a shaded area and minimize lid openings to retain cold air. These small adjustments make a big difference in maintaining the temperature.
FAQ
How long can ice cream stay frozen in a cooler?
Ice cream can stay frozen for up to 24 hours in a well-packed cooler with dry ice. Regular ice may keep it frozen for 6–12 hours.
Can I use regular ice instead of dry ice?
Yes, regular ice works for short trips. Combine it with rock salt to lower the temperature and keep your ice cream frozen longer.
What’s the safest way to handle dry ice?
Use gloves to avoid burns. Store dry ice in a ventilated area to prevent carbon dioxide buildup. Never touch it directly.
 Request a quote