
You want your items to stay cold all day. The secret to a perfectly chilled mini cooler box is not one single trick. It is a proven, three-part strategy.
The Definitive Method:
- Pre-cool the cooler and its contents.
- Pack using a smart ice-to-content ratio.
- Minimize air exposure during use.
The demand for portability and performance has the cooler market growing fast. Mastering your cooler is more important than ever.
| Metric | 2024-2032 Forecast |
|---|---|
| CAGR | ~5.6% |
| Market Growth | ~$2.1B to ~$3.2B |
Following these steps ensures your cooler performs at its best for any adventure.
PRE-CHILLING YOUR MINI COOLER BOX
You must prepare your cooler before you pack it. This first step, pre-chilling, is the most important factor for long-lasting ice retention. It sets the stage for successful temperature control all day long.
WHY PRE-CHILLING MATTERS
Think of your cooler as a battery for cold, not a refrigerator. Its job is to keep things cold, not make them cold. A warm cooler’s insulation will actually hold heat. When you add ice to a warm cooler, the ice must first fight the heat stored in the cooler’s walls. This initial battle wastes a significant amount of your ice’s cooling power.
Pre-chilling gives your cooler a head start. The process cools down the interior insulation itself. A high-quality insulated ice box, like those from KUER made with advanced rotomolding and foaming equipment, is designed to lock in temperature. When you pre-chill it, that advanced insulation works for you, retaining the cold just as effectively as it would have retained heat. This simple preparation dramatically improves cooling efficiency and is essential for excellent performance.
Pro Tip: The 24-Hour Rule For the best results, pre-chill your cooler for at least 24 hours. You can do this by filling the icebox with sacrificial ice or placing it in a cool basement. If you have space, putting the empty cooler in a chest freezer for up to 48 hours delivers maximum performance.
CHILLING YOUR CONTENTS
Putting warm items into your pre-chilled cooler defeats the purpose. Every room-temperature can or container you add introduces heat, forcing your ice to work harder and melt faster. You can achieve the optimal temperature inside your mini cooler box by chilling everything first.
Follow these simple rules for your contents:
- Refrigerate Everything: You should place all food and drinks you plan to pack in the refrigerator for at least a few hours, but overnight is ideal.
- Freeze When Possible: Freeze water bottles to act as large blocks of ice. You can also pack meats while they are still frozen. They will thaw slowly inside the icebox and contribute to the overall cold environment.
- Never Add Warm Items: Do not compromise the cold environment inside your pre-chilled cooler with warm contents. Make sure every item going into your cooler is as cold as possible to maximize ice retention.
PACKING YOUR COOLER FOR FOOD STORAGE

Once you pre-chill your cooler, your next step is packing it correctly. How you pack your cooler for food storage determines not only how long your ice lasts but also the safety of your food. A smart packing strategy separates your items, maximizes space, and maintains the ideal temperature.
CHOOSING THE RIGHT ICE
The type of ice you choose has a major impact on ice retention. Not all ice is created equal.
- Block Ice: This is your best choice for long-term cooling. A large block of ice melts much slower than smaller cubes. In a quality icebox, one or two blocks can last for 5-7 days. You can buy block ice or make your own by freezing water in large food-safe containers.
- Cubed Ice: This ice is perfect for filling the empty spaces around your food and drinks. It cools items quickly and ensures no air pockets are left to warm up your cooler.
For the best cooling efficiency, you should follow the 2:1 rule. This means your cooler should be two-thirds ice and one-third contents. This ratio gives you the power you need to make ice last longer and keep your food safe.
Ice Packs vs. Traditional Ice Reusable ice packs and gel packs are great alternatives. They don’t create meltwater, which helps keep food dry. You can decide which is best for your needs.
| Feature | Reusable Ice Packs | Traditional Ice (Cubes) |
|---|---|---|
| Mess | Leakproof and clean | Creates meltwater |
| Flexibility | Rigid and bulky | Fills all empty space |
| Cost | Higher initial cost, but reusable | Cheaper per trip |
| Convenience | Must be pre-frozen | Can be bought anywhere |
STRATEGIC LAYERING FOR FOOD
Layering is the key to an organized and effective cooler for food storage. Cold air sinks, so you should place the items that need to stay coldest at the bottom. This method also helps you keep food on ice and prevent cross-contamination.
Here is how you can set up an ice box cooler for your food:
- Bottom Layer (The Coldest Zone): Start with a layer of block ice or large frozen water bottles. Place your raw meats directly on this layer. Pack meats when they are still frozen. They will act as another source of ice and thaw slowly.
- Middle Layer (Perishables): Add another layer of cubed ice. On top of this, place other perishable food items like dairy and pre-made dishes.
- Top Layer (Less Sensitive Items): This is the best spot for your produce. Put fruits and vegetables in hard containers or bins to protect them from getting crushed or waterlogged. This keeps your produce fresh.
- Fill All Gaps: Pour cubed ice over everything to fill any remaining air pockets. Air is the enemy of ice retention. A full cooler is an efficient cooler.
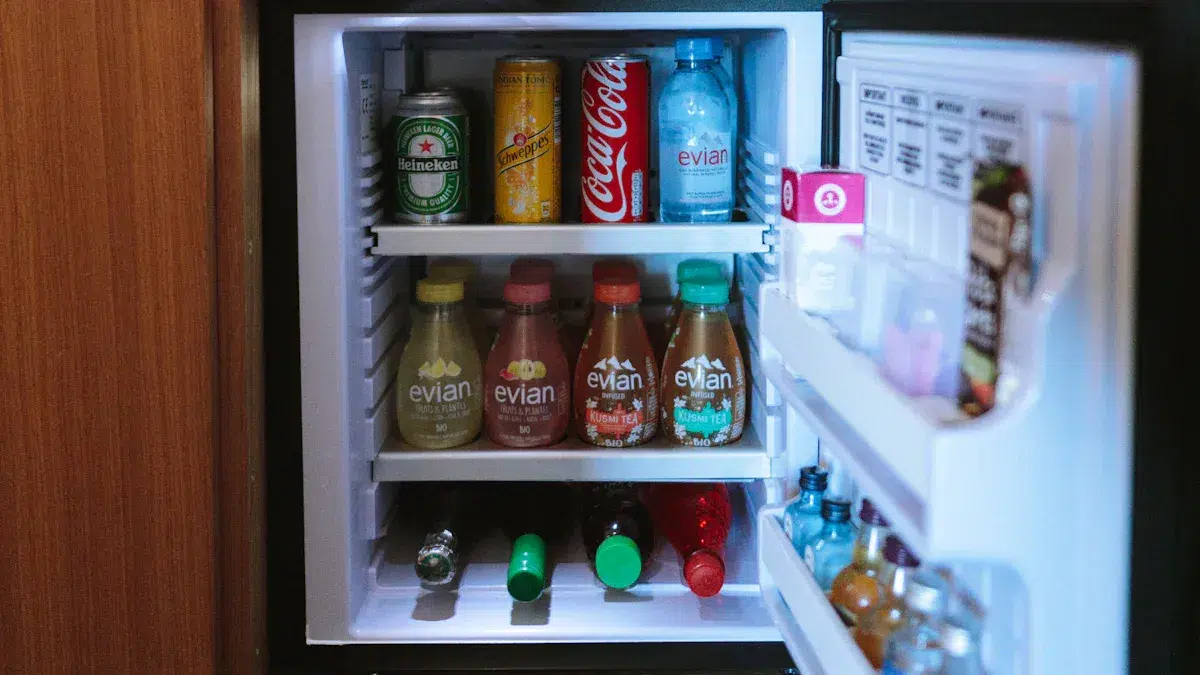
PACKING YOUR BEVERAGE COOLER BOX
If you are bringing a lot of drinks, using a dedicated beverage cooler box is a great idea. This prevents you from opening your main cooler for food storage every time someone wants a drink, which helps preserve the cold inside. Packing a beverage cooler box is simpler than packing one for food.
Your goal for a cooler for drinks is quick access and maximum coldness.
- Drinks on the Bottom: Place your drinks at the bottom of the beverage cooler box. They are heavy and will create a stable base.
- Lay Bottles Flat: Arrange bottles and cans flat to use space efficiently. This allows you to create even layers.
- Aluminum vs. Plastic: Aluminum cans will cool down faster than plastic bottles because the metal transfers cold more effectively. However, both will stay cold for about the same amount of time once chilled.
- Cover with Ice: Once your drinks are in the beverage cooler box, cover them completely with cubed ice. The ice will fall between the cans and bottles, ensuring every drink is surrounded by cold.
Using a separate beverage cooler box is a simple habit that significantly improves the performance of your main food cooler. You get colder drinks and safer food.
EFFECTIVE ON-THE-GO MANAGEMENT

Your preparation is complete. Now, you must manage your cooler effectively on your trip. Your habits during use are just as important as your packing method for maintaining the optimal temperature for your food and drinks. Good management ensures better cooling efficiency and makes your supplies last longer.
KEEP THE LID SHUT
You must resist the urge to open your cooler frequently. Every time you open the lid, you let cold air escape and allow warm air to rush in. This exchange forces your ice to work harder and melt faster. To keep your food safe, you should minimize how often you open the icebox.
Map Your Cooler 🗺️ Before your trip, plan where everything goes inside the cooler. Place frequently needed items like drinks and snacks on top. For ultimate organization, you can even tape a small map to the lid so everyone knows where to find their food without searching.
This simple strategy reduces lid-open time and is key for great ice retention. An organized cooler is an efficient cooler.
STAY OUT OF THE SUN
Where you place your cooler matters. You should always keep your cooler in the shade. Direct sunlight dramatically heats the exterior of the icebox, which affects its performance. The color of your cooler also plays a big role.
- In direct sun, a black cooler’s lid can reach 174°F, while a white cooler’s lid stays much cooler at 109°F.
- This heat absorption impacts the ice inside. A white cooler may hold ice for seven days, while a similar blue or black cooler might only last five to six days.
When you keep your cooler out of the sun, its color has a much smaller effect. Finding a shady spot is a simple action that protects your food and ice. This is especially important for a mini cooler box, where portability and easy transportation allow you to move it easily.
THE MELTWATER DEBATE
Many people wonder if they should drain the water from their melting ice. You should keep the meltwater in your cooler. That water is not waste; it is a key part of the cooling system. The water from melted ice remains extremely cold, often staying below 40°F. This icy water surrounds your food and drinks, helping to keep everything chilled. Draining the water removes this cold buffer and fills your cooler with warm air, which melts the remaining ice much faster. Keeping the meltwater is essential for keeping your food cold.
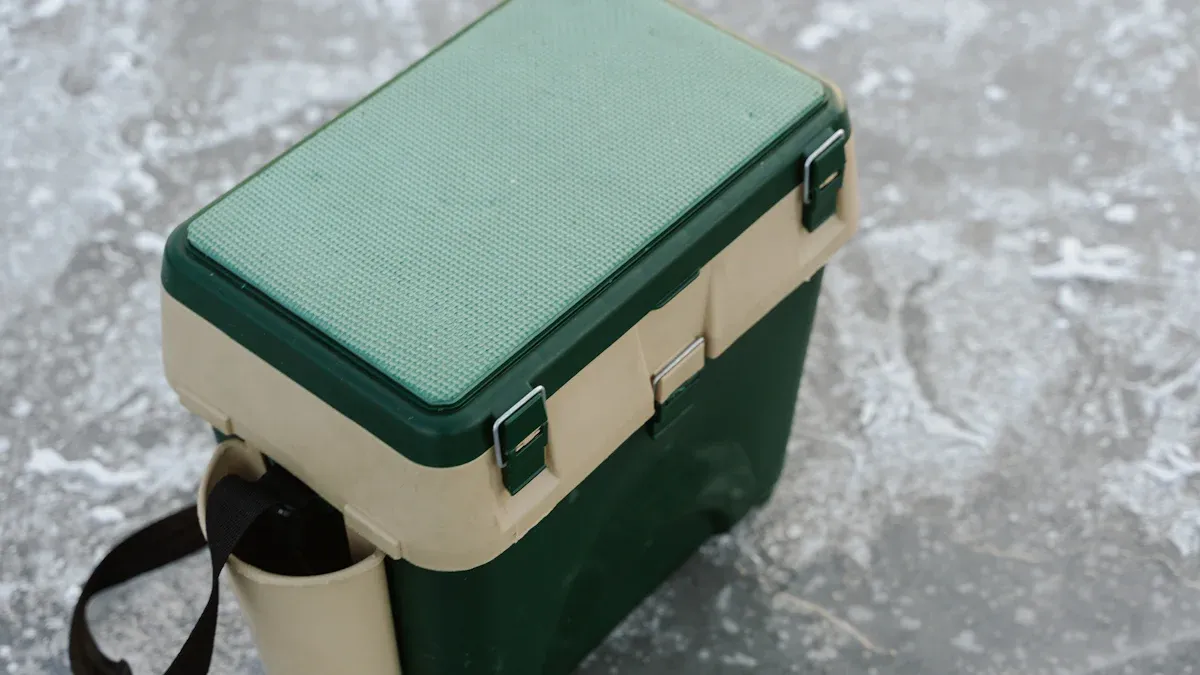
POST-TRIP CARE AND MAINTENANCE
Your adventure is over, but your cooler needs one last step. Proper care after your trip ensures your cooler is ready for the next one. Durable coolers from manufacturers like KUER, with over 50 patents and rigorous quality control, are built to last. However, even the toughest cooler requires good maintenance to protect your investment and keep your food safe.
PROPER CLEANING METHODS
You must clean your cooler after every use to remove leftover food particles and prevent bacteria. A clean cooler protects the quality of your future food. Start with a simple and safe cleaning solution.
- For General Cleaning: Use mild dish soap and warm water. This is usually all you need to clean your cooler.
- For Tough Odors or Stains: Sprinkle baking soda inside the icebox. Its mild abrasive nature cleans without causing damage. You can also wipe the interior with white vinegar or rub a cut lemon on smelly spots to break down odors before washing.
Caution: Avoid Harsh Chemicals You should never use abrasive cleaners or harsh chemicals like undiluted bleach. These can scratch or damage the interior surface of your cooler. This is especially true for soft coolers, where bleach can weaken the fabric and threads. Stick to gentle methods to maintain your cooler’s performance.
DRYING TO PREVENT MOLD
After cleaning, you must dry your cooler completely. Mold and mildew thrive in damp, warm environments. Research shows that mold growth can begin when humidity is over 65% in a warm cooler. Sealing a wet cooler creates the perfect conditions for mold, which can ruin your cooler and contaminate your food.
To prevent this, you should air-dry your cooler with the lid open. You can place it outside in the sun for a short time. Once it is mostly dry, wipe down the entire interior, including the lid and gasket, with a dry cloth. A completely dry cooler is essential for safe food storage.
PROPER COOLER STORAGE
How you store your cooler matters. Proper storage protects it from damage and keeps it fresh. First, make sure the icebox is completely clean and dry. Then, find a good storage spot.
You should store your cooler in a cool, dry, climate-controlled area like a basement or an insulated part of your home. Avoid attics or outdoor sheds where extreme temperatures can make the plastic brittle and cause cracks. Storing your cooler correctly keeps it ready for your next trip.
Pro Tip: Let It Breathe When you store your cooler, prop the lid open slightly or remove the drain plug. This allows air to circulate, which prevents musty odors from building up. A fresh-smelling cooler is always ready to hold your food.
Mastering your mini cooler box is simple. Effective cooling depends on your preparation and smart habits, not just the cooler itself. Your cooler will perform perfectly if you follow a few key rules. This checklist summarizes the most critical actions for keeping your cooler cold.
- Pre-chill your cooler and its contents.
- Use a 2:1 ice-to-food ratio and fill all air gaps.
- Keep the meltwater; do not drain it.
- Keep the cooler lid shut and place your cooler out of direct sun.
With these habits, you can trust your cooler on any adventure. The portability of your cooler means you can take it anywhere with confidence.
FAQ
How long can I safely keep food in a cooler?
You can keep food safe in a cooler as long as the internal temperature stays at or below 40°F (4°C). You should use a food thermometer to check your food. A quality cooler with enough ice can keep food safe for several days. This rule applies to all your food.
Should I use a separate beverage cooler box?
Yes, you should use a separate beverage cooler box. This strategy protects your main food cooler. You access the beverage cooler box for drinks. This keeps your food cooler closed. Your food stays colder longer. A dedicated beverage cooler box is smart for keeping food safe.
What is the best way to pack a beverage cooler box?
You should put your drinks in the beverage cooler box first. Then, you must cover the drinks completely with ice. This method ensures your drinks get very cold. A beverage cooler box packed this way gives you easy access to cold drinks without disturbing your food.
Pro Tip: Using a dedicated beverage cooler box for drinks keeps your main icebox for food colder. This simple habit makes a big difference for your food.
Can I mix different types of food in one cooler?
You can mix food, but you must do it safely. Always pack raw meat at the bottom of the cooler. Keep this food in sealed containers. This prevents juices from touching other food. Place ready-to-eat food and produce on top. This organization protects all your food.
 Request a quote