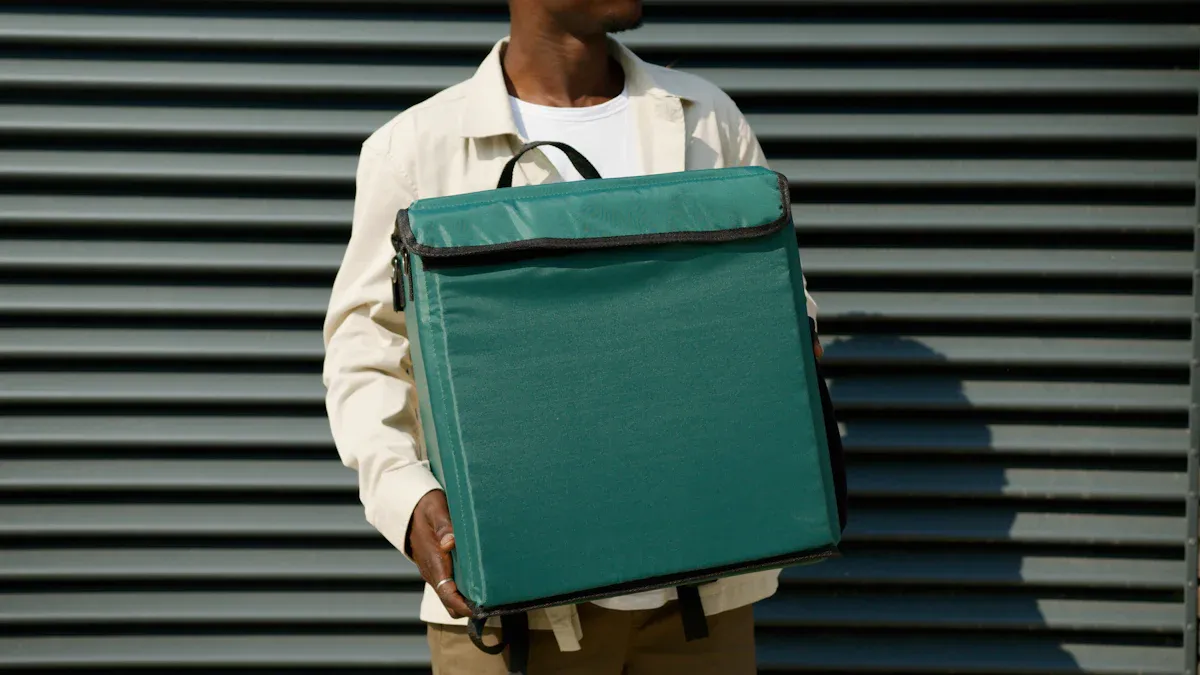
Is your personal cooler bag packed correctly? Yes, it is, if you follow four key steps. A well-packed cooler bag guarantees freshness for your food and drinks. The secret to how you pack a cooler involves more than just tossing items inside with some ice. Your packing method determines its performance.
You achieve success when you:
- Pre-chill everything.
- Use a solid ice foundation.
- Layer items strategically.
- Eliminate all empty space.
Use this guide to master your technique for every outing.
THE FOUNDATION OF A COLD PERSONAL COOLER BAG
A cold cooler starts long before you pack it. The first step, pre-chilling, is the most important rule for long-lasting ice. Skipping this step is the number one reason for poor performance. You must give your cooler a head start against the heat.
WHY PRE-CHILLING IS CRITICAL
Your ice has one job. It keeps things cold. Putting room-temperature items inside forces your ice to work overtime. It must first cool the cooler’s insulation and then cool your food and drinks. This process wastes your ice’s cooling power before your trip even begins.
More importantly, this affects food safety. Bacteria grow fastest in the “Danger Zone,” a temperature range between 40°F and 140°F. If perishable food stays in this zone for more than two hours, it can become unsafe to eat. Pre-chilling helps you avoid this risk entirely.
CHILLING YOUR COOLER
You should pre-chill your personal cooler bag for at least 12 to 24 hours before you need it. This brings the internal insulation down to a low temperature. The easiest method involves a “sacrificial” bag of ice.
- Place a 10- to 20-pound bag of ice inside your empty cooler.
- Close the lid tightly and let it sit overnight.
- Before packing, dump the sacrificial ice and any water.
If you have space, you can also place your open, empty cooler in a large chest freezer overnight. This achieves the same goal without using any ice.
CHILLING YOUR CONTENTS
Chilling your cooler is only half the battle. You must also chill everything that goes inside it. All food and drinks should come directly from your refrigerator, not your pantry. For maximum cold retention, freeze items ahead of time.
THE ART OF STRATEGIC PACKING
Once you pre-chill your cooler and its contents, you are ready for the most crucial step: the packing itself. How you arrange your items inside is just as important as the pre-chilling process. Proper cooler packing is a science that balances accessibility with temperature control. You can master this with a simple, layered approach.
BUILD A FROZEN FOUNDATION
Your cooler’s performance depends on a solid base of cold. This foundation is the engine that will drive the temperature down and keep it there. You have a few excellent options for creating this base layer.
The classic choice is ice. However, not all ice is created equal. The shape and size of your ice dramatically affect how long it lasts. The key is the surface-area-to-volume ratio. Ice with less surface area melts slower.
- Block Ice: A large block of ice has the least surface area, so it melts very slowly. This provides long-lasting, sustained cold.
- Cubed Ice: Smaller cubes have more surface area. They cool items down faster but also melt much more quickly.
Pro Tip: For the best results, use a combination. Start with a foundation of block ice or one of KUER’s durable, high-quality ice packs. Then, fill the gaps around it with cubed ice to cool everything down rapidly.
| Material/Method | Key Features | Why It Matters for You |
|---|---|---|
| Polyurethane (PU) Foam | High R-value insulation | Keeps the pack frozen for an extended period. |
| Heat/RF-Welded Seams | High leak resistance | Prevents messy leaks and waterlogged food. |
| Durable Exterior | Abrasion and UV resistance | Ensures your ice pack lasts for many trips. |
Using a solid, frozen foundation is the first rule of strategic packing.
LAYER TO MAINTAIN THE RIGHT TEMPERATURE
With your frozen foundation in place, you can begin layering. The goal is to place the most perishable items in the coldest part of the cooler—directly on top of the ice. This method helps you maintain the right temperature for food safety.
Follow this order for perfect layering:
- First Layer (Bottom): Place your most perishable foods directly on the ice foundation. This includes raw meats, poultry, and fish. Make sure they are in sealed, leak-proof containers to prevent cross-contamination.
- Second Layer (Middle): Add other items that need to stay very cold. This is the spot for dairy products like milk, cheese, and yogurt, as well as deli meats and prepared salads.
- Third Layer (Top): This layer is for less perishable foods. Fruits and vegetables that you want to keep crisp and cool belong here.
This layering strategy keeps your most sensitive foods in the coldest zone, ensuring they stay fresh and safe to eat throughout your trip.
PLACE DRINKS AND SNACKS ON TOP
The final layer of your personal cooler bag should contain the items you will access most frequently. Every time you open your cooler, you let cold air out and warm air in, forcing your ice to work harder.
By placing drinks, snacks, and condiments on top, you can grab what you need quickly without digging. This simple habit significantly reduces the amount of time the lid is open, preserving the cold temperature inside.
Think of your packing strategy in reverse order of use. The items you need last go in first, and the items you need first go in last. This final step in your packing process locks in the cold and makes your outing much more convenient.
THE ESSENTIALS OF ORGANIZING YOUR COOLER BAG
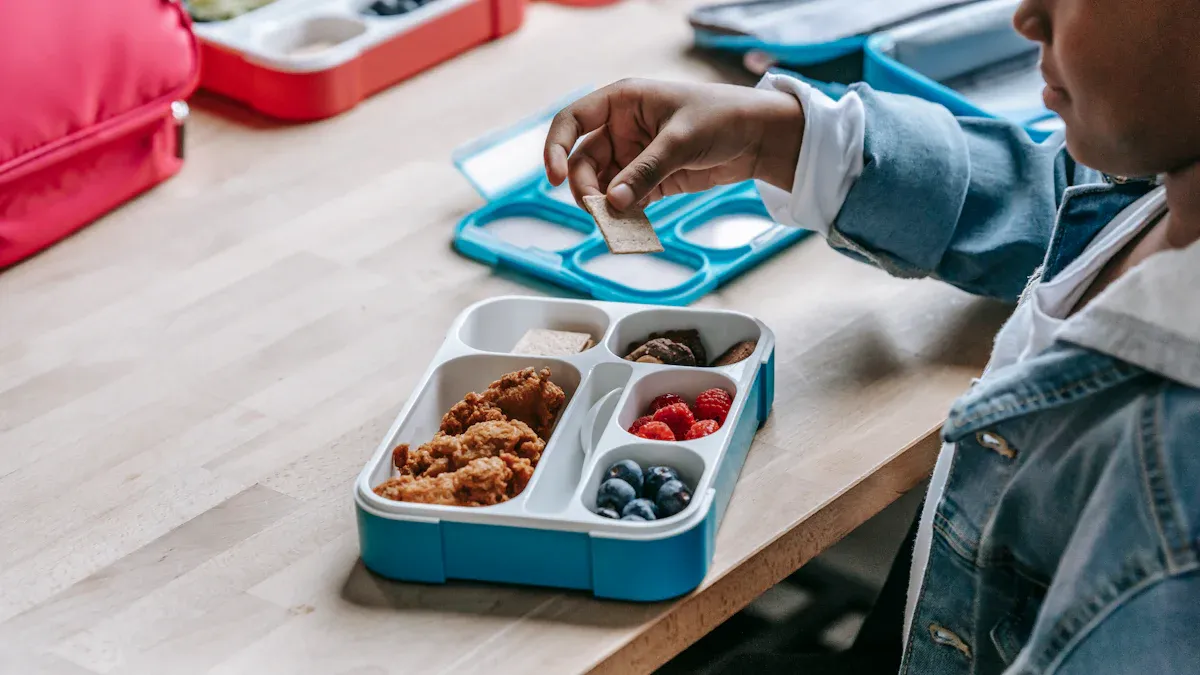
Strategic packing is only part of the equation. The next step is mastering the art of organizing your cooler bag. Proper organization protects your food from sogginess and crushing. It also makes your items easy to find. A well-organized personal cooler bag ensures everything stays fresh, dry, and intact. This is where high-quality construction and smart container choices make all the difference.
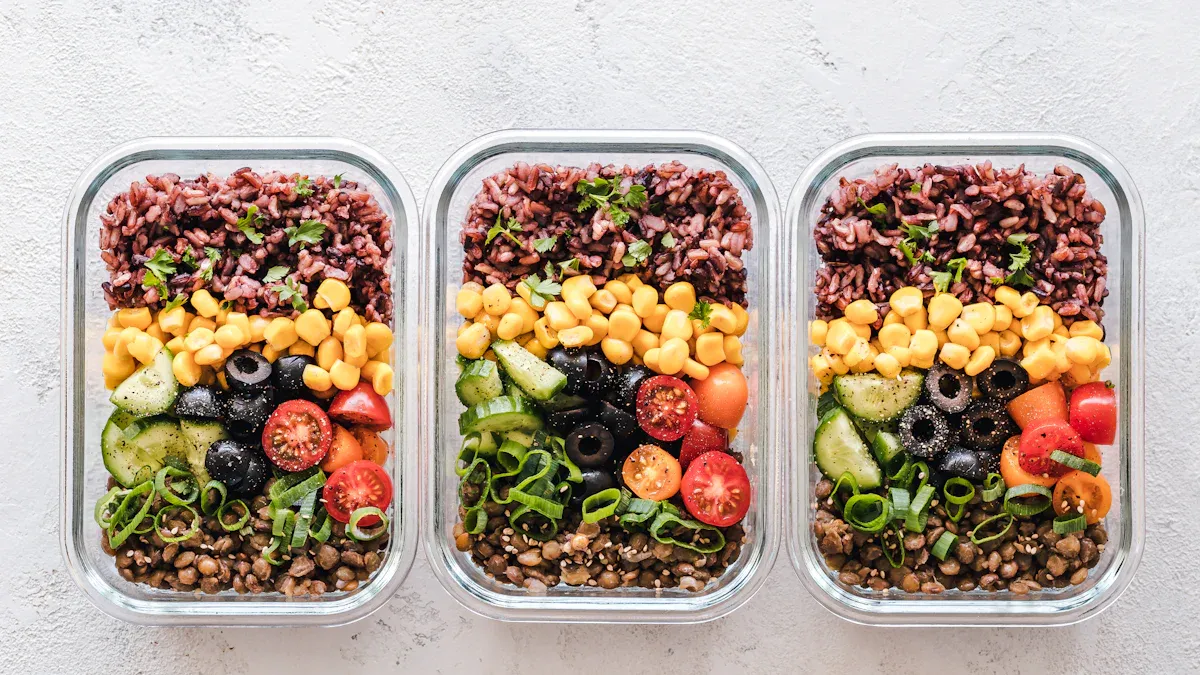
USE CONTAINERS TO PREVENT SOGGINESS
Melting ice is inevitable. The water it creates is the number one enemy of dry foods like sandwiches and chips. You must create a barrier between your food and this moisture. The best way to do this is to use compartments and containers.
Hard-sided, sealed containers are your best defense. They create waterproof compartments that protect food completely. You can place these containers directly on the ice without any risk. Modern packing solutions also offer innovative options. Some companies now create cooler bags from durable kraft paper, which replaces non-recyclable materials and improves cooling. Others have developed water-based ice packs that are 100% recyclable, so you can avoid messy gel leaks. Using the right containers is a key part of organizing your cooler bag.
SEPARATE WET FROM DRY
Your next goal is to keep dry and wet items separate. This prevents cross-contamination and preserves the texture of your food. You can achieve this separation with a few simple techniques.
- Use Cooler Baskets: Many high-quality coolers come with dry baskets or trays. These compartments sit above the ice, creating a dedicated zone for items that must stay dry.
- Create Dividers: You can make your own compartments. Use frozen water bottles or cardboard wrapped in plastic to build walls between different food types.
- Double-Wrap Items: For extra security, place items in a zip-top bag before putting them inside a larger container.
The construction of your cooler also plays a huge role. KUER coolers feature rotomolded construction and tight, freezer-grade gaskets. This design, a result of extensive R&D and over 50 patents, helps manage condensation and prevents external leaks. A reliable seal means that even if the cooler tips over, the water stays inside and away from your other gear.
“Used the Pro Model on a cross-state road trip with kids and dogs—absolute lifesaver. Kept yogurt cold for three days and ice mostly solid after 48 hours. The water-resistant seal prevented leaks when the dog knocked it over. At only 4 kg, it’s the lightest heavy-duty cooler I’ve owned.” ⭐⭐⭐⭐⭐ Elena Torres – Frequent Traveler
AVOID CRUSHED FOOD
The final step in organizing your cooler bag is protecting delicate items from being crushed. No one wants to eat a flattened sandwich or a bag of chip crumbs. Smart packing creates a rigid structure inside your cooler.
Start by placing hard-sided containers and durable items at the bottom to form a solid base. This creates stable compartments for your other food. Then, you can stack lighter items on top. Use a wire rack or a cooler tray to create an elevated shelf for the most fragile foods.
| Food Type | Why It Needs Protection | Best Container Solution |
|---|---|---|
| Chips & Pretzels | Easily crushed into small pieces. | Original bag inside a hard box. |
| Sandwiches & Buns | Become flat and soggy under weight. | Hard-sided sealed containers. |
| Berries & Tomatoes | Bruise and burst easily under pressure. | Shallow, rigid containers. |
| Lettuce & Greens | Wilt and bruise when compressed. | Firm plastic containers. |
By using sturdy containers and creating separate compartments, you ensure every item arrives at your destination in perfect condition.
MAXIMIZING EFFICIENCY AND SPACE
You have chilled your cooler, organized your food, and layered everything perfectly. The final step to guarantee long-lasting cold is efficient packing. You must manage the space inside your cooler to maximize its performance. This means declaring war on the most significant threat to your ice: empty air.
WHY EMPTY AIR IS THE ENEMY
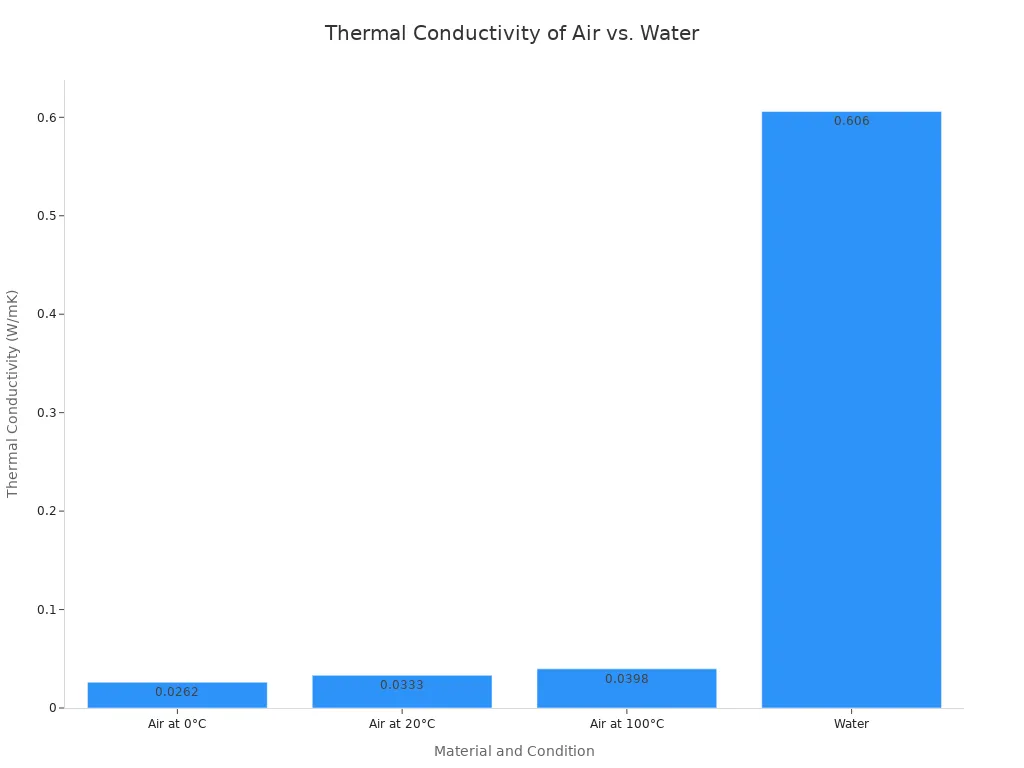
Every empty space inside your cooler is filled with air. Air is a terrible insulator when it can move around. Warm air from the outside rushes in each time you open the lid. This air circulates inside, transferring heat to your ice and causing it to melt much faster.
The science is clear. Air has a very low thermal conductivity, meaning it doesn’t transfer heat well on its own. However, when it circulates in a process called convection, it rapidly warms the cooler’s contents. The solid and liquid items in your cooler are much better at holding the cold temperature. Eliminating air pockets is key to better insulation.
HOW TO FILL EMPTY GAPS
Your goal is to fill every inch of your personal cooler bag. After you finish your main packing, you will likely see small gaps between containers. You must fill these spaces to stop air from circulating.
- Add More Ice: The best filler is more ice. Use cubed ice to fill the small nooks and crannies between your items. This ensures everything makes direct contact with a cold source.
- Use Frozen Water Bottles: Freeze several water bottles and tuck them into any open areas. They act as bonus ice blocks. As they thaw, they become cold drinking water.
- Pack with Towels: If you run out of ice, you can even use small, rolled-up towels to fill the remaining air gaps.
This final step in your packing process creates a solid block of cold, leaving no room for warm air to sabotage your efforts.
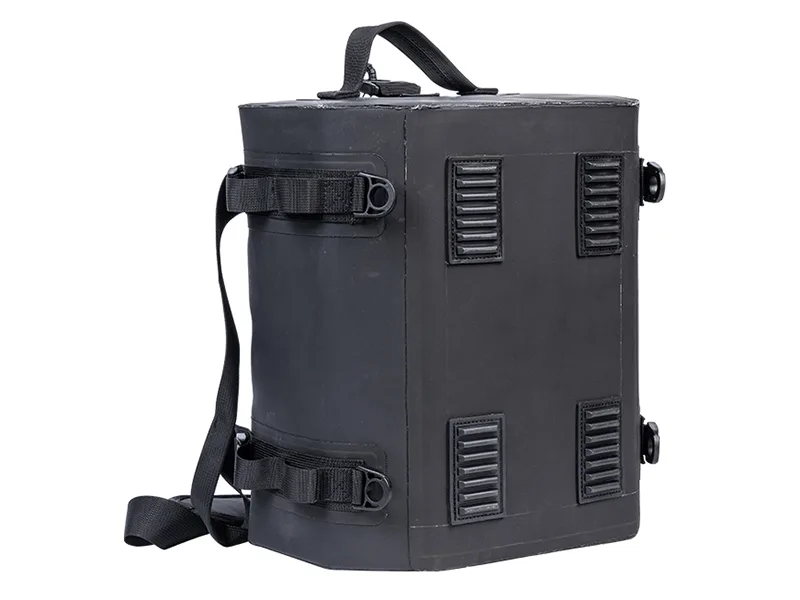
CHOOSE THE RIGHT SIZE COOLER
Maximizing space starts with choosing the right cooler. A cooler that is too large for your needs will always have too much empty air, making it inefficient. You want a cooler that will be almost full once you have packed your food, drinks, and ice.
For the best performance, aim for a 2:1 ice-to-contents ratio. This means your cooler should be about two-thirds ice and one-third food and drinks. This ratio provides enough thermal mass to keep everything cold for days.
If you only need a few items for a day trip, use a smaller cooler. If you are packing for a long weekend, you will need a larger one to accommodate the necessary amount of ice. Matching the cooler size to your trip is the foundation of efficient packing.
You now have the complete guide to perfect cooler packing. Your success rests on four key pillars. You must pre-chill, layer strategically, organize smartly, and optimize space. This expert packing method ensures your food stays fresh and your drinks remain ice-cold. Follow these steps, and you can be confident on every trip.
Now you’re not just packing a cooler; you’re engineering a perfect mobile refrigeration unit for your next adventure. 🚀
FAQ
What type of ice is best for my cooler?
You should use a mix of ice types for the best results. Each type serves a different purpose.
- Block Ice: Melts very slowly and provides long-lasting cold.
- Cubed Ice: Cools items quickly but also melts faster.
Use block ice for your foundation and cubed ice to fill gaps.
How long can food safely stay in a cooler?
Your food is safe as long as the cooler’s temperature stays below 40°F (4°C). The U.S. FDA states that perishable food left above this temperature for more than two hours can become unsafe. Pre-chilling and using enough ice helps you maintain this safe zone.
How should I clean my cooler bag after a trip?
You must clean your cooler to prevent mold and odors. First, empty the cooler completely. Next, wash the inside with mild soap and warm water. Finally, rinse it thoroughly and let it air dry completely with the lid open before you store it.
Can I use dry ice in my KUER cooler? 🧊
Yes, you can use dry ice in KUER’s rotomolded hard coolers. You must ensure proper ventilation because dry ice releases carbon dioxide gas. Never use dry ice in a completely sealed cooler. Always handle it with protective gloves to prevent skin burns.
 Request a quote