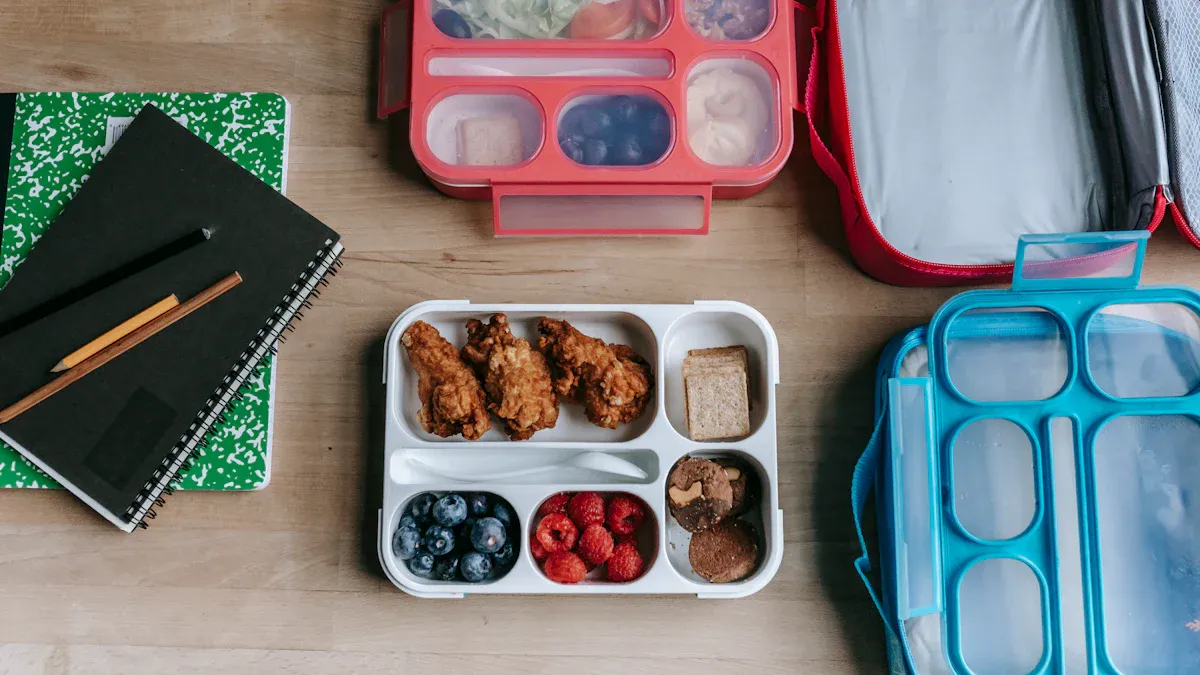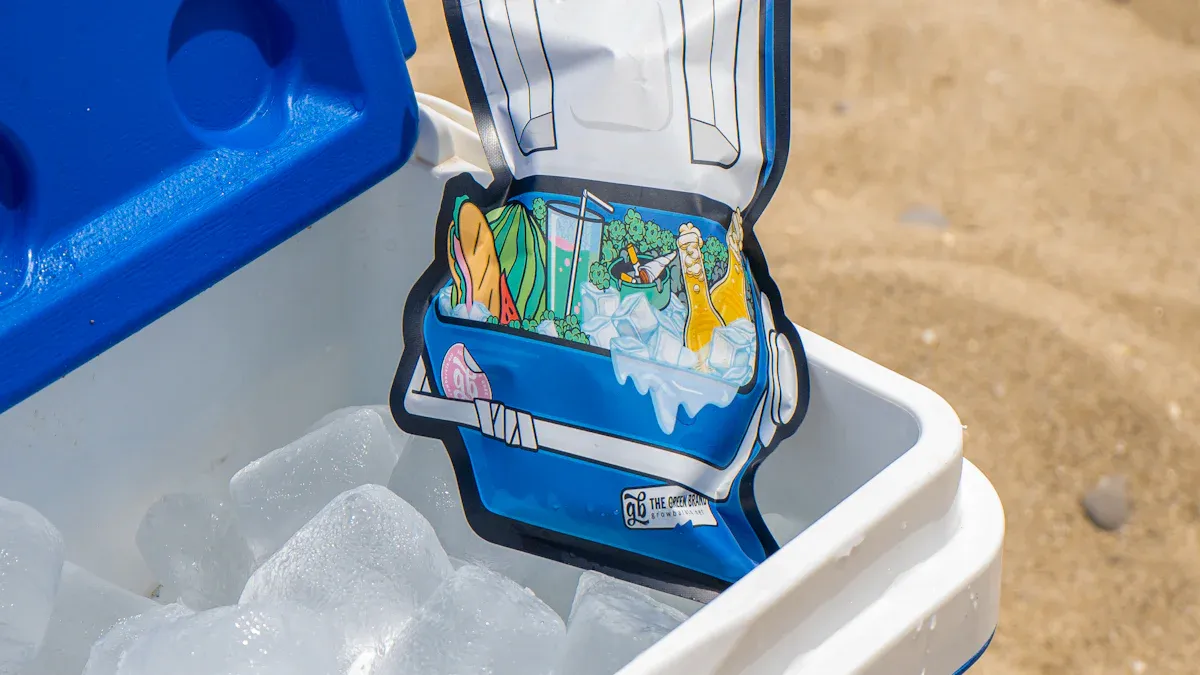
You grab your lunch bag with cooler every morning. This simple routine protects your food and is a smart financial choice.
Packing lunch at home can save you nearly $1,500 each year compared to buying it daily.
Your bag is an investment in fresh meals. You need effective ways to take care of it to protect that value. Proper care for your insulated cooler bag will prolong the lifespan and performance of well-made gear, like those from KUER. Simple habits are all it takes to extend its life for years of reliable use.
A Guide to Cleaning Insulated Lunch Bags
Proper cleaning is the most important step to protect your lunch bag. A consistent routine prevents stains, stops bad smells, and keeps your bag hygienic for daily use. This guide covers all aspects of cleaning insulated lunch bags, from quick daily wipes to deep cleaning methods.
Daily Cleaning Routine
You should clean out your lunch bag after every use. This simple habit takes less than a minute. It prevents crumbs and spills from becoming bigger problems. Old food left in the bag can lead to unpleasant odors and the growth of bacteria.
Pro Tip: Make it a habit to empty and wipe your bag as soon as you get home. This prevents food residue from setting in.
To clean it after each use, follow these simple steps:
- Empty the bag of all containers, wrappers, and crumbs.
- Use a soft cloth or sponge dipped in warm water and a little mild dish soap.
- Wipe the entire interior lining.
- Rinse the cloth with clean water and wipe the interior again to remove any soap residue.
- Leave the bag open to air dry completely.
For effective daily cleaning, you can use gentle, non-damaging materials.
- Mild Dish Soap: A few drops in water work perfectly.
- Soft Cloths: Microfiber towels are great for wiping and drying without leaving lint.
- White Vinegar: A diluted solution can help disinfect and neutralize odors.
Deep Cleaning and Stain Removal
Sometimes, your bag needs more than a quick wipe. Spills from sauces, dressings, or drinks can leave tough stains and lingering smells. A deep cleaning session every few weeks will keep your insulated cooler bag in top condition.
For general stains, a simple paste can work wonders.
- Mix three tablespoons of baking soda with one tablespoon of warm water to form a thick paste.
- Apply the paste directly to the stained area inside the bag.
- Let it sit for 15-20 minutes to lift the stain.
- Gently scrub the spot with a soft brush or cloth.
- Wipe the area clean with a damp cloth and let it air dry.
Some stains are harder to remove. Tomato sauce, for example, contains oils and pigments that bond quickly with fabric.
For tough tomato stains, a mix of dish detergent and white vinegar is often more effective than baking soda alone. Apply the solution, let it sit, and then gently blot the stain away.
Safe Washing Guidelines
Before you attempt a machine wash, always check the manufacturer’s care instructions. Some bags are not designed for machine washing. If your bag is machine-washable, follow these guidelines to protect its structure and insulation.
| Step | Guideline | Why It’s Important |
|---|---|---|
| Preparation | Turn the bag inside out. | This protects the exterior fabric and exposes the interior lining directly to the water. |
| Settings | Use a gentle cycle. | A gentle cycle prevents damage to seams, zippers, and the insulation material. |
| Detergent | Use cold water and mild detergent. | Hot water can warp or damage the bag’s lining and insulation. |
After washing, proper drying is crucial. Never put your lunch bag in a machine dryer. The high heat can melt the lining and ruin the insulation.
- After washing, gently reshape the bag.
- Open all zippers and pockets.
- Hang it or place it in a well-ventilated area to air dry completely.
- Avoid direct sunlight, which can fade the fabric and degrade the materials over time.
Dealing with Mold and Odors
Moisture and food particles create a perfect environment for bacteria and fungus. Mold can cause respiratory issues and allergic reactions. Some types even produce mycotoxins, which can lead to food poisoning.
Health Alert: Mold growth can introduce harmful bacteria like Staphylococci and Enterococci into your food environment. These can cause serious illnesses, including flu-like symptoms, vomiting, and diarrhea. Regular cleaning is your best defense.
If you find mold, you must address it immediately.
- Vinegar Soak: For a deep disinfection, soak the bag for an hour in a bucket of water with one cup of white vinegar. Afterward, wash it on a gentle cycle with cold water and mild detergent.
- Natural Disinfectant: White vinegar is a safe, natural disinfectant. It effectively kills mold spores without leaving behind harmful chemical residues.
For persistent odors, you can use natural absorbers.
- Baking Soda: Sprinkle a generous amount of baking soda inside the dry bag. Close it and let it sit overnight to absorb smells, then vacuum or wipe it out.
- Activated Charcoal: Place a few pieces of activated charcoal in a small pouch inside the bag and close it. The charcoal will effectively trap and neutralize stubborn odors.
Following these steps for cleaning insulated lunch bags will ensure your gear remains safe, fresh, and functional for years.
Smart Storage and Handling
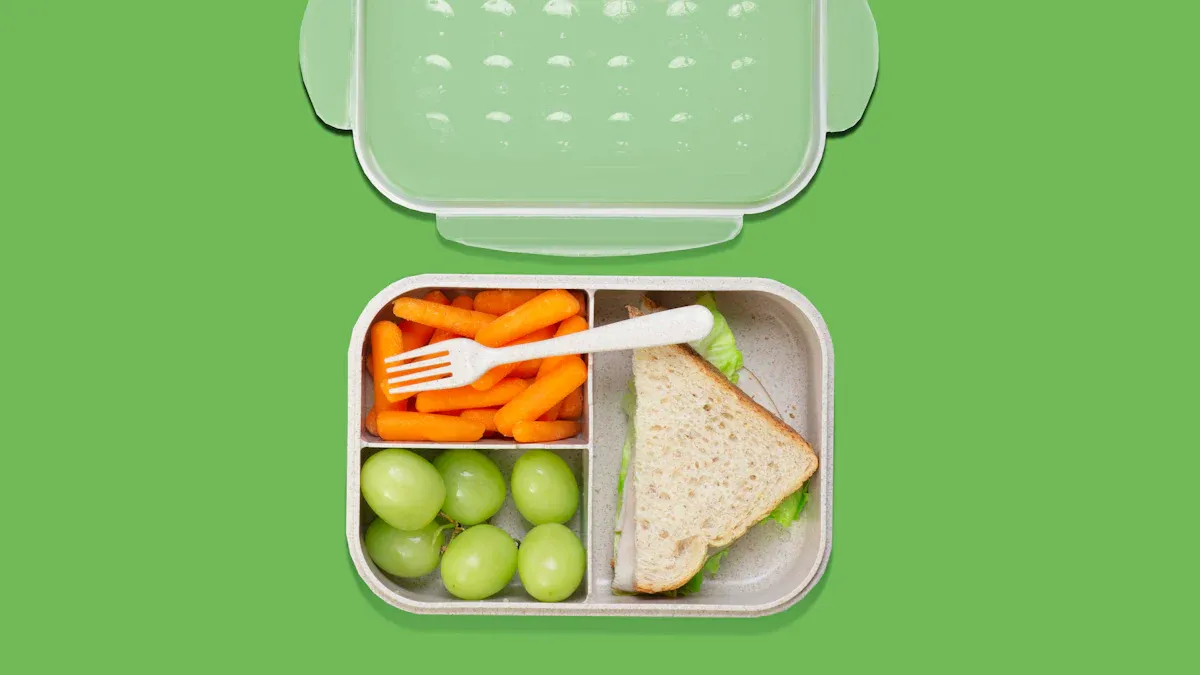
Beyond cleaning, how you store and handle your lunch bag with cooler directly impacts its lifespan. Proper care prevents physical damage to the insulation, zippers, and seams. High-quality gear, like KUER bags made with a robust rotomolded process, is built for durability. Protecting that investment ensures it performs well for years.
Proper Bag Storage
Where and how you store your bag matters. Improper storage can weaken materials and invite mildew. Always clean and dry your insulated cooler bag completely before putting it away.
Storage Tip: Leave the zipper slightly open when storing your bag. This allows air to circulate and prevents musty odors from developing inside.
Follow these steps to store your bag correctly:
- Dry It Completely: Never store a damp bag. Moisture trapped inside the insulation can lead to mold that is difficult to remove.
- Fold Gently: Avoid creating sharp creases that can damage the insulation. Fold the bag along its natural lines. Do not crush bags with rigid frames.
- Find the Right Spot: A cool, dry cabinet is ideal. Aim for a temperature between 50 and 85 degrees Fahrenheit. You should store it in a safe place away from direct sunlight, which can degrade the fabric over time.
Caring for Zippers and Seams
Zippers and seams are the most common points of failure on a lunch bag. Regular attention keeps them working smoothly and prevents tears.
A stuck zipper can be frustrating. You can keep it gliding smoothly with a simple lubricant.
- Clean the Zipper: Use a small brush to remove any dirt or food debris from the zipper teeth.
- Apply Lubricant: Gently rub a stick of paraffin wax or a purpose-designed zipper lubricant along the teeth.
- Work It In: Open and close the zipper a few times to distribute the wax evenly.
You should also inspect the seams for signs of stress. Catching issues early can prevent a small problem from becoming a major tear. Look for:
- Loose or broken threads.
- Uneven stitching or skipped stitches.
- Puckering, where the fabric bunches up along the seam.
Overstuffing is the primary cause of seam damage. Avoid forcing the zipper closed on a packed bag.
Packing Your Lunch Bag with Cooler
How you pack your lunch affects both your food and your bag. A well-organized bag prevents spills, keeps food from being crushed, and protects the interior lining.
Start by choosing the right containers. Look for options with tight-fitting lids and silicone seals to prevent leaks. Then, layer your items strategically.
| Placement | Item Type | Reason |
|---|---|---|
| Bottom | Heavy, sturdy items (e.g., meal prep containers, apples) | Creates a stable base and prevents crushing. |
| Middle | Softer items (e.g., sandwiches, bananas) | Protects them from the weight of heavier items. |
| Top | Light, delicate items (e.g., bags of chips, crackers) | Keeps them from getting squashed. |
For maximum cooling, use the “sandwich” method. Place one slim ice pack at the bottom of your insulated cooler bag and another on top of your food. This surrounds your meal with cold air.
Protecting the Inner Lining
The waterproof inner lining is essential for your bag’s performance. Punctures or tears can lead to leaks that damage the insulation and make cleaning difficult.
The best way to protect the lining is to prevent spills and punctures from happening in the first place.
- Use Leak-Proof Containers: Double-check that all lids are securely snapped shut before packing. For extra protection with liquids like soup or dressings, place the container inside a reusable silicone bag.
- Pack Utensils Safely: Sharp forks and knives can easily puncture the lining. Use a utensil wrap or a small, hard case to keep them contained. As a rule, don’t put sharp objects inside without a protective cover.
- Handle with Care: Avoid dropping or throwing your lunch bag with cooler. Also, keep it out of reach of pets or small children who might damage it.
Maximizing Cooling Performance
Your bag’s main job is to keep food cold. You can boost its cooling power with a few smart habits. These techniques also help protect the insulation, ensuring your bag works well for a long time.
Using Ice Packs Effectively
The right ice packs make a big difference. For best results, you want a high ratio of ice to food. While large coolers often need a two-thirds ice to one-third food ratio, a few solid ice packs are usually enough for your lunch. Gel packs and solid ice packs offer different benefits.
| Feature | Ice Packs (Water-Based) | Gel Packs |
|---|---|---|
| Cooling Speed | Cools down quickly but melts faster. | Provides longer, more consistent cooling. |
| Best For | Short-term cooling for a few hours. | Keeping food cold for a full day. |
Pro Tip: High-performance gel packs can keep contents chilled for over 12 hours. Choose the pack that best fits your daily needs.
Pre-chilling Your Insulated Cooler Bag
A warm bag makes your ice packs work harder and melt faster. You can give your insulated cooler bag a head start by pre-chilling it. This simple step adds a crucial safety margin, extending the time your food stays at a safe temperature.
- Place your empty lunch bag in the freezer for at least one hour the night before you use it.
- You should also chill your food and drinks in the refrigerator before packing them.
- Putting cold items into a cold bag maximizes the cooling window.
The Dangers of Overloading
Overstuffing your bag is a quick way to ruin it. Forcing the zipper closed puts too much stress on the seams and zipper teeth. This pressure can cause the fabric to tear and the zipper to break, shortening the bag’s lifespan. An overpacked bag also compresses the insulation, making it less effective. To avoid this, pack smart and don’t pack it with heavy objects that strain the structure.
Routine Wear and Tear Inspection
Check your bag regularly for small issues before they become big problems. A quick monthly inspection helps you catch wear and tear early. Look for common failure points like seams, zippers, and the inner lining.
| What to Check | What It Means |
|---|---|
| Inner Lining | Cracks or peeling indicate the reflective layer is compromised. |
| Seams & Zippers | Loose threads or a stuck zipper can let cold air escape. |
| Padding | Flattened padding means the insulation has lost its effectiveness. |
| Handles & Straps | Fraying or loose stitching signals a weak point. |
Catching these issues early allows you to make simple repairs and keep your bag performing at its best.
Simple, consistent care is the most effective way to protect your lunch bag with cooler. This routine saves you money, keeps your food safe, and maintains your insulated cooler bag’s cooling power. You now have all the tools to keep your gear in top shape.
By applying these habits, you ensure your lunch bag with cooler serves you well every single day for years to come.
FAQ
How often should I clean my lunch bag?
You should wipe the inside of your bag daily after each use. This simple step prevents crumbs and spills from causing odors or stains. A deep cleaning session is a good idea every few weeks to keep your bag fresh and hygienic for long-term use.
What is the best way to remove a strong odor?
You can use baking soda to absorb bad smells. Sprinkle a generous amount inside your dry bag and let it sit overnight. The next day, simply vacuum or wipe it out. For very stubborn odors, a pouch of activated charcoal also works well.
Can I make my lunch bag stay colder for longer?
Yes. You can pre-chill your bag in the freezer for an hour before packing it. Always pack cold food and use high-performance gel packs. Placing one ice pack at the bottom and another on top surrounds your food, maximizing the cooling effect.
My zipper is stuck. How can I fix it?
First, clean any debris from the zipper teeth with a small brush. Then, you can lubricate the zipper. Gently rub a stick of paraffin wax or a pencil’s graphite tip along the teeth. Open and close the zipper a few times to spread the lubricant.

