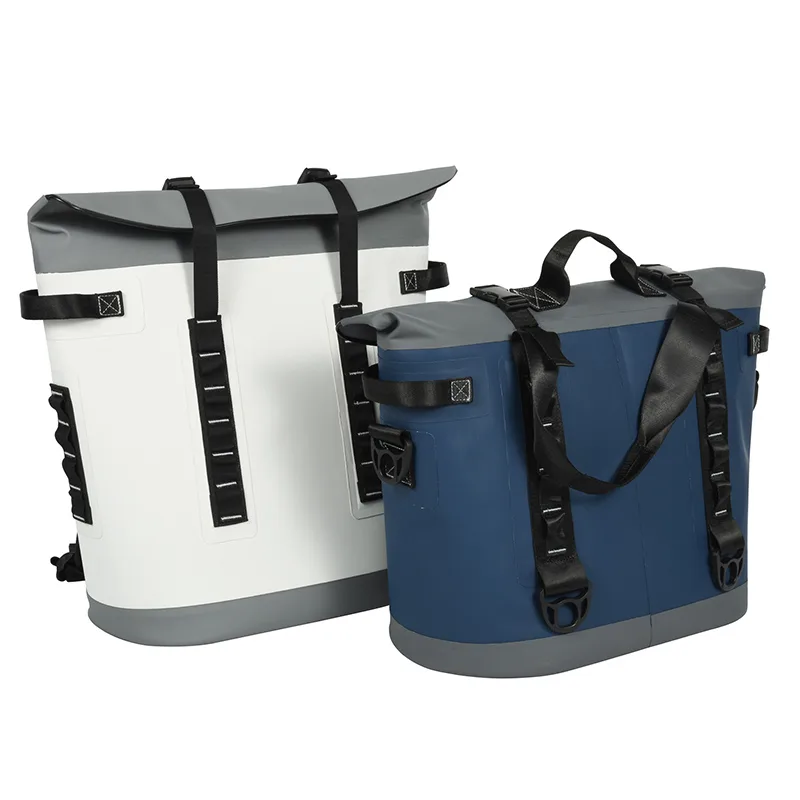
Many outdoor enthusiasts desire their cooler to keep ice longer, and the KUER Cooler Box excels in this area. This insulated cooler box features PU foam insulation that is over 2 inches thick, allowing ice to stay frozen for up to 7 days in outdoor conditions. The KUER Cooler Box is perfect for campers and fishermen, but it also stands out as one of the best coolers for construction workers who need reliable cooling solutions on the job. With simple DIY upgrades, anyone can enhance their hard coolers without requiring special skills or expensive tools.
Key Takeaways
-
Use foam tape to seal gaps around your cooler. This keeps warm air out and helps ice last longer.
-
Combine reflective foil and bubble wrap for better insulation. These materials are easy to find and help slow down heat.
-
Pre-chill your cooler with ice or frozen gel packs before packing. This helps maintain a cold temperature for longer.
-
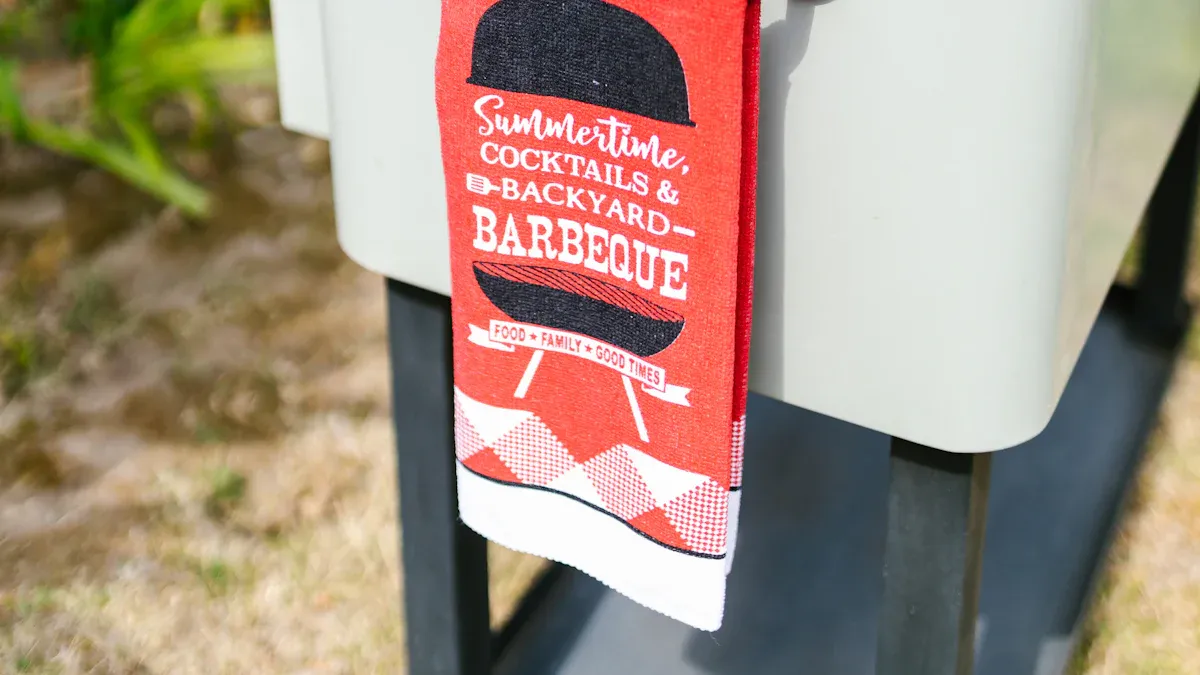
Wrap your cooler with insulated blankets or towels for quick insulation upgrades. This method is lightweight and easy to store.
-
Always clean and dry your cooler after use. This prevents mold and keeps it fresh for your next adventure.
Best Materials to Insulate a Cooler
The KUER Cooler Box uses polyurethane foam insulation and a tight gasket seal. These features help ice stay frozen for a long time. Picking good insulation materials makes coolers work better and easier to use.
Foam Tape and Seals
Foam tape seals gaps around the lid and edges. It blocks warm air from getting inside. Many people think foam tape is simple to use. It does not make the cooler heavy. Foam tape helps keep cold air in the cooler.
Reflective Foil and Bubble Wrap
Reflective foil and bubble wrap keep heat away from the cooler. You can cut these materials to fit inside or outside. Reflective foil has a lower R-value than foam insulation. It still helps slow down heat. Bubble wrap traps air and adds more insulation. These materials are cheap and easy to find.
Tip: Using both reflective foil and bubble wrap together makes insulation better.
Polyurethane and Expanding Foam
Polyurethane foam keeps things cold very well. It fills spaces and has a high R-value. This foam is used in coolers like the KUER Cooler Box. Expanding foam can be sprayed into cracks or added as a layer. Polyurethane foam is strong and does not let water in. People use it for upgrades that last a long time.
|
Material |
R-Value Range |
Pros and Cons |
|---|---|---|
|
Polyurethane |
R-10 or higher |
Fills spaces, high R-value, strong; harder to use |
|
Reflective Foil |
Lower than foam-based |
Keeps heat out, easy to use; lower R-value |
|
Foam Tape |
Moderate |
Simple to use, better seal; does not make cooler bigger |
Insulated Blankets and Towels
Insulated blankets and towels are easy ways to add insulation. You can wrap them around the cooler or put them inside. These materials trap air and slow down heat. Many people use them for short trips or quick upgrades. They are light and simple to store.
DIY Cooler Upgrade Methods
Lining the Interior
Adding a liner inside hard coolers helps them stay cold longer. Many people use foam insulation or shiny materials for this. Here are steps to line a cooler with aluminized mylar or foam:
-
Pick an aluminized mylar sheet, called a space blanket, to keep heat out.
-
Find the aluminum side by rubbing it or using a tool.
-
Spray glue on the inside of the cooler, not on the mylar.
-
Wrap the mylar around the sides and leave extra for the top and bottom.
-
Tape the edges and corners with clear packing tape.
-
For more insulation, cut Styrofoam sheets that are 2 inches thick to fit.
-
Glue the Styrofoam to the cooler with Gorilla Glue to make it stick.
-
Cut closed cell foam sleeping pads for the lid and glue them on.
-
Put more insulation under the cooler for better protection.
Tip: Always measure the inside before cutting foam. This makes sure the foam fits well and there are no gaps.
Wrapping the Exterior
Wrapping the outside of hard coolers gives more protection from heat. Many people use reflective foil or insulated blankets for this. The steps are easy:
-
Cut reflective foil or bubble wrap to fit the cooler.
-
Wrap the material around the cooler and cover all sides.
-
Use tape or straps to keep the insulation in place.
-
For short trips, wrap the cooler with towels or blankets for quick results.
This way is good for quick upgrades and does not make the cooler heavy.
Sealing the Lid and Gaps
Sealing the lid and gaps is important for hard coolers. Foam tape is a favorite for this job. It keeps warm air out and helps ice last longer. Here are the steps to seal a cooler:
-
Clean the lid and edges to get rid of dust and water.
-
Put foam tape along the lid’s edge and any gaps you see.
-
Press the tape down hard to make a tight seal.
-
Check for leaks by closing the lid and feeling for air.
Foam tape stops heat from getting in and makes the cooler work better.
Note: Always use weather-resistant foam tape outside. This keeps the tape from peeling and makes the seal last longer.
Removable Insulation Layers
Removable insulation layers let you change your cooler for different weather. Many people like layers they can add or take out. The table below shows some types and what they do:
|
Layer Type |
Functionality |
Material Examples |
Thermal Conductivity (W/m·K) |
Temperature Range |
|---|---|---|---|---|
|
Inner Layer |
Handles direct contact with hot or cold things |
N/A |
N/A |
N/A |
|
Insulation Core |
Main part that blocks heat |
Fiberglass, Ceramic fibers, Aerogels |
0.030-0.040 |
-70°C to 1000°C |
|
Outer Protective Layer |
Makes the cooler tough and keeps out chemicals |
N/A |
N/A |
N/A |
Removable layers help people change insulation for the weather or trip length. Many use fiberglass or aerogel cores for strong heat protection.
Tip: Keep removable layers in a dry place when not using them. This keeps them clean and ready for next time.
Safety and Common Mistakes
When adding expanding foam insulation, safety is important. People should follow these safety steps:
-
Wear gloves to protect your skin and clothes.
-
Use safety gear when putting on the foam.
-
Put cardboard under the cooler to catch extra foam.
-
Let the foam dry all the way before cutting or shaping it.
Some people forget to make enough holes for the foam to grow. Add foam slowly and give it time to expand to avoid problems.
Tip: Upgrade your cooler in steps. This helps the foam grow right and stops mistakes.
A diy cooler upgrade helps keep things cold and makes hard coolers work better. These ideas work for the KUER Cooler Box and other good coolers.
Maximize Insulation Performance
Pre-Chill Your Cooler
Pre-chilling helps a cooler keep things cold longer. Many outdoor fans put ice or frozen gel packs inside overnight. This makes the cooler cold before adding food or drinks. Block ice and reusable gel packs melt slower than ice cubes. Some people freeze water bottles to use as coolers and drinks. Putting the cooler in the shade keeps it colder.
Tip: Do not pour out melted ice water too soon. Cold water inside the cooler keeps things cold better than air.
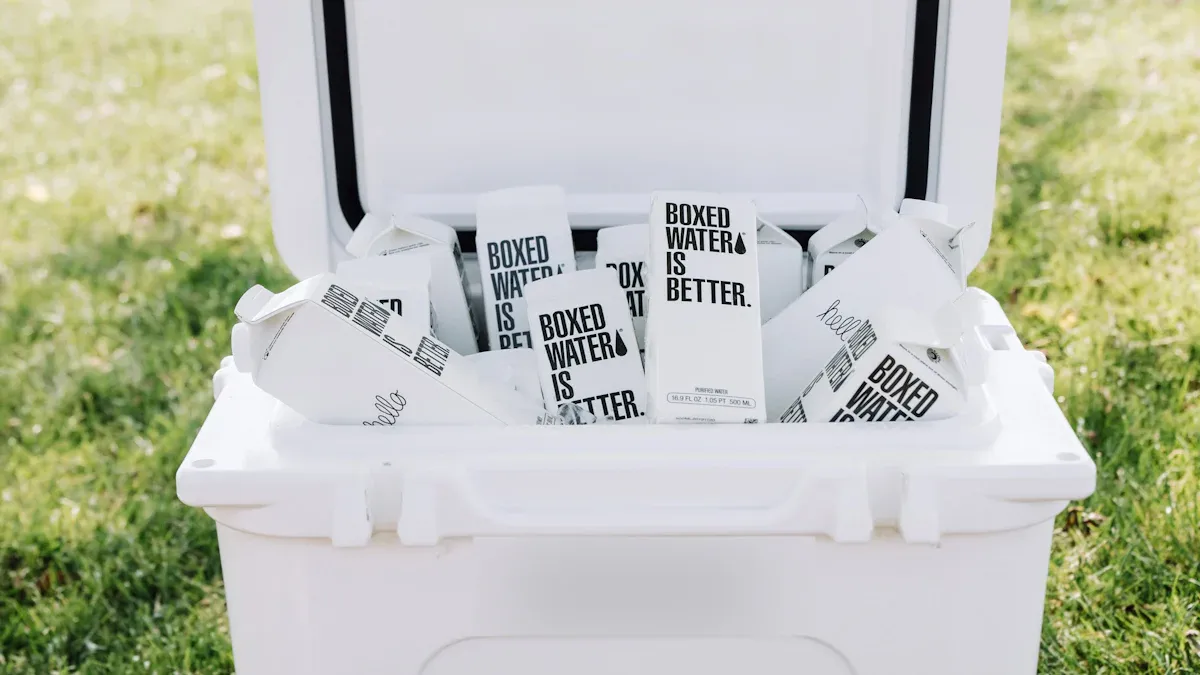
Smart Packing Techniques
Packing a cooler in layers helps it stay cold. People put ice at the bottom first. Then they add meats and other foods in the middle. More ice goes on top of that. Snacks or soft items go on the very top. KUER gel packs help keep things cold longer. Leaving some space for air helps cooling work well. Packing too tight can make the cooler less cold. Cooling the cooler and food in the fridge before packing helps keep things safe.
|
Packing Step |
Benefit |
|---|---|
|
Ice at bottom |
Makes the base coldest |
|
Perishables in middle |
Keeps food at safe temperature |
|
Snacks on top |
Easy to grab, less heat |
Manage Condensation
Condensation can build up inside after adding insulation. Vapor barriers on the inside and outside walls stop moisture from getting in. Sealing all edges tightly keeps humid air out. Some people make air gaps for airflow. This helps control condensation. These steps keep food dry and stop mold.
-
Vapor barriers keep out moisture.
-
Tight seals block air leaks.
-
Air gaps let air move.
Maintain Portability
Extra insulation should not make a cooler heavy. Many people use foam boards or polystyrene sheets for more insulation. These do not add much weight. Wrapping the cooler with Reflectix or cloth blocks sunlight and keeps it cool. Picking a rotomolded cooler like the KUER Cooler Box makes it strong and easy to carry. Pre-chilling the cooler before use also helps it stay light and work well.
Note: Light insulation materials make the cooler easy to carry on trips.
Troubleshooting Hard Cooler Upgrades
Fit and Usability Issues
DIY insulation upgrades can sometimes cause problems with fit. Foam insulation grows fast when you use it. If you do not use it carefully, it can hurt the cooler. Sometimes, the insulation is too thick or tall. This can stop the lid from closing all the way. Warm air can get inside if the lid does not seal tight. This makes the cooler not work as well. Foam is not always good for closed spaces. This can make more problems. Measure each spot before you add insulation. After each step, test the lid and handles to see if they work.
Common Fit Problems:
-
Foam insulation grows and can hurt the cooler.
-
Insulation may be too thick or tall, so the lid does not seal.
-
Foam does not always work in closed spaces, causing problems.
Tip: Put on insulation in thin layers. Check the fit before it dries.
Preventing Mold and Odors
Extra insulation can trap water inside the cooler. Mold and bad smells can happen if the cooler stays wet. Blown-in insulation makes a strong barrier. It stops wet air from getting in and making water on cold parts. This helps stop mold. It also fills spaces that other insulation might miss. This keeps water from building up. Good airflow is important. Add small vents or leave the lid open in a dry place. This lets water out. Clean and dry the cooler often to keep it fresh.
Steps to Prevent Mold:
-
Use insulation that fills spaces and blocks wet air.
-
Let air move by giving the cooler vents.
-
Clean and dry the cooler after you use it.
Note: Keep the lid open in a dry place until all water is gone.
Balancing Weight and Portability
Adding insulation can make a hard cooler heavier. Most hard coolers weigh 10 to 25 pounds when empty. A 20-quart cooler can weigh over 15 pounds before ice or drinks. Rotational molding and thick PU foam insulation add more weight. When full, the cooler may need two people to lift it. Pick light insulation to keep the cooler easy to carry. Store the cooler standing up and use a strong cover to protect it. Put the cooler in a safe spot away from the sun to keep it working well.
Portability Tips:
-
Pick light insulation materials.
-
Store the cooler standing up to stop bending.
-
Use a strong cover for long storage.
Tip: Clean and check the cooler often. This keeps it easy to carry and ready for your next trip.
Outdoor fans say cooler upgrades help ice last longer. This works even on long trips. They like coolers that are tough and easy to carry. Anyone can add more insulation with easy steps. You do not need expensive materials. A checklist helps you stay organized:
|
Step/Area |
Recommended Materials |
Key Actions |
|---|---|---|
|
Wall Insulation |
Rigid Foam Panels, Spray Foam |
Put panels on walls, seal all edges |
|
Floor Insulation |
Foam Boards, Polyurethane Foam |
Spread foam flat, cover with water-proof layer |
|
Ceiling Insulation |
Spray Foam, Foam Panels |
Fill gaps where ceiling meets the walls |
These upgrades help every trip be better.


 Request a quote