Taking care of your extra large ice chest keeps your cooler working like new. You need to focus on regular cleaning, odor control, proper storage, ice retention, and quick repairs. Many users report issues like clogged filters, drainage problems, and ice buildup if they skip maintenance. KUER’s high-quality cooler designs hold over 270 patents and meet ISO 9001 standards, so you can trust these steps. With proper maintenance, your cooler stays fresh, keeps beverages cold, and delivers longevity for every adventure.
KUER one of the leading cooler box manufacturers, our design ensure your cooler box performs at its best. If you wonder how does a outdoor ice chest cooler work, the answer lies in the science of insulation and smart engineering.
Cleaning Your Extra Large Ice Chest
Keeping your extra large ice chest clean is simple and helps you get the best performance every time you use it. KUER’s rotomolded construction makes cleaning your cooler easy and keeps it tough for years. Let’s break down the steps for cleaning your cooler inside and out.
Interior Cleaning
You should clean the inside of your cooler after every use. This keeps your ice chest fresh and stops bacteria from growing. Here’s a quick routine:
- Empty all ice and water from the cooler.
- Rinse the interior with warm water to remove loose debris.
- Wash with mild dish soap and a soft sponge. For tough stains or odors, use a mix of water and baking soda.
- Sanitize the inside with a diluted bleach solution (1 tablespoon bleach per quart of water) to kill germs.
- Let the cooler air dry completely before closing the lid. This prevents mold and keeps hygiene in check.
For thorough cleaning, do this at least once a month, even if you haven’t used the cooler much.
Exterior Cleaning
The outside of your cooler can get dirty fast, especially after outdoor trips. Wipe it down with a soft cloth and warm soapy water. KUER’s smooth rotomolded surface resists grime, so you won’t need to scrub hard. Avoid harsh cleaners that could damage the finish.
Drain Plug Care
Don’t forget the drain plug! Remove it and clean it separately. Check the gasket for wear and clear any debris from the threads. A little food-grade silicone grease on the threads helps prevent leaks and keeps the seal tight.
Cleaning Tools
Use a soft-bristle brush or non-scratch sponge for cleaning your cooler. Stay away from steel wool or abrasive pads. For stubborn spots, soak the cooler with warm soapy water for up to an hour. Always rinse well and let everything dry before storing.
Tip: Baking soda or crumpled newspaper inside your cooler can help absorb leftover odors between uses.
Odor Control
Keeping your extra large ice chest free from odors makes every trip more enjoyable. You want your drinks and ice to taste fresh, not like last weekend’s leftovers. Let’s look at how you can stop odors before they start, remove stubborn smells, and choose safe deodorizers.
Odor Prevention
You can stop most odors before they even begin. Always empty your cooler after each use and let it dry with the lid open. This simple step helps prevent mold growth and keeps your ice chest smelling clean. Wipe down the inside with a mild soap and rinse well. If you notice any leftover moisture, dry it with a towel. Store your cooler with the lid slightly open to let air flow inside. This keeps odors from building up while your cooler waits for your next adventure.
Tip: Place a small open box of baking soda inside your cooler between uses. Baking soda absorbs odors and keeps things fresh.
Odor Removal Methods
Sometimes, odors stick around even after cleaning. You can tackle these stubborn smells with a few proven tricks:
- Mix equal parts vinegar and water, then wipe down the inside of your cooler. Vinegar neutralizes odors, and the smell fades as it dries.
- Sprinkle Smelleze® Natural House Smell Deodorizer Granules inside your cooler. These granules trap and remove odors instead of just covering them up. Let them sit for 20-30 minutes, then vacuum or wipe them out.
- For deep cleaning, use a 3% hydrogen peroxide solution. It disinfects and removes odors safely.
If you use your cooler for fish or strong-smelling foods, repeat these steps as needed. You want your ice chest ready for any occasion.
Safe Deodorizers
You should always choose deodorizers that are safe for food storage. Force of Nature Spray works well because it uses only salt, water, and vinegar. It’s non-toxic and EPA-registered, so you can use it on surfaces that touch ice or food. Natural options like vinegar and hydrogen peroxide also keep your cooler safe and odor-free. Smelleze® granules are another great choice. They use eco-friendly ingredients and work in enclosed spaces like your extra large ice chest.
Remember: Avoid scented sprays or harsh chemicals. They can leave behind residues and unwanted odors.
With these steps, you can keep odors away and enjoy fresh ice every time you open your cooler.
Storage Tips
Storage Location
Where you store your extra large ice chest matters more than you might think. The right spot keeps your cooler in top shape and ready for your next adventure. Here are some things to look for when picking a storage location:
- Ambient temperature: Cooler spots help your ice chest last longer.
- Good airflow and ventilation: This stops heat from building up and keeps things fresh.
- Close to power and water sources: Makes cleaning and moving your cooler easier.
- Out of direct sunlight and away from heat sources: Sun and heat can wear down your cooler faster.
- Indoor storage: Offers a controlled environment and less stress on your cooler.
- Outdoor storage: Needs weatherproofing and protection from extreme weather.
- Shaded or insulated areas: These spots help keep your cooler cool.
- Follow local rules: Make sure your storage spot meets any building codes.
- Easy access: You want to grab your cooler without moving a bunch of stuff.
- Watch for noise and ventilation issues indoors: Keep your space comfortable.
Tip: A shaded garage or basement often works best for long-term storage.
Lid Position
Always store your ice chest with the lid open. This simple step lets air flow inside and dries out any leftover moisture. When you leave the lid closed, moisture gets trapped. That creates the perfect place for mold and bad smells to grow. Air drying with the lid open keeps your cooler fresh and ready for your next trip.
Avoiding Weight
Don’t stack heavy items on top of your ice chest. Extra weight can warp the lid or damage the seals. If you need to stack, use only lightweight gear that won’t press down hard. Protecting the lid and seals helps your cooler last longer.
Seasonal Storage
When you put your cooler away for the season, give it a deep clean first. Dry it completely and store it with the lid propped open. If you’re storing it outside, cover it with a weatherproof tarp. Check on your cooler every few months to make sure it stays dry and clean. This way, your ice chest will be ready whenever you need it!
Ice Retention
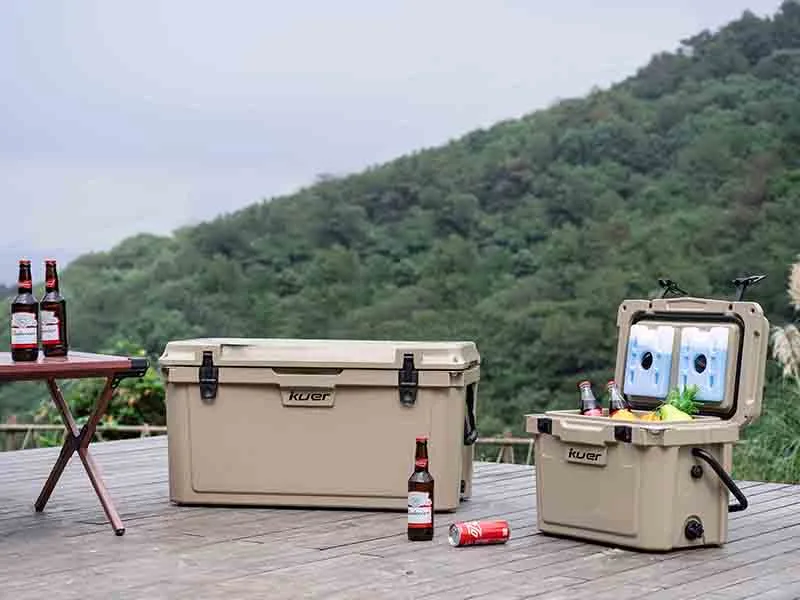
Keeping your cooler cold for as long as possible is all about smart ice retention. KUER’s thick insulation and advanced R&D mean you get long-lasting ice, but you can boost retention even more with a few simple tricks.
Pre-Chilling
Prechill your cooler before you pack it. Fill it with ice overnight or for at least 12 hours. This step cools down the insulation and pulls out stored heat. Use cubed ice for pre-chilling because it melts fast and chills the cooler quickly. After pre-chilling, dump out the melted water and add fresh block ice for better retention. Prechill your provisions too. Cold drinks and food help lock the cold in and keep the cooler cold longer.
Tip: Always prechill your cooler and your beverages for the best ice retention.
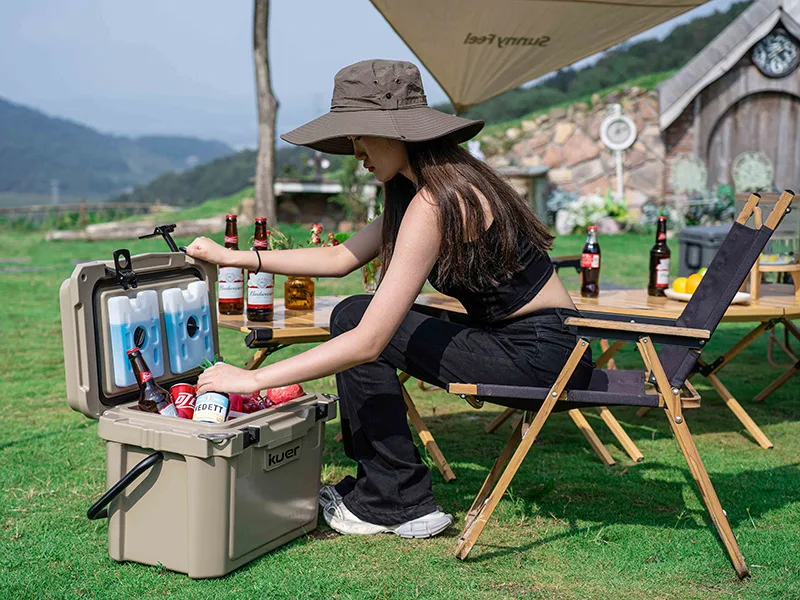
Packing Techniques
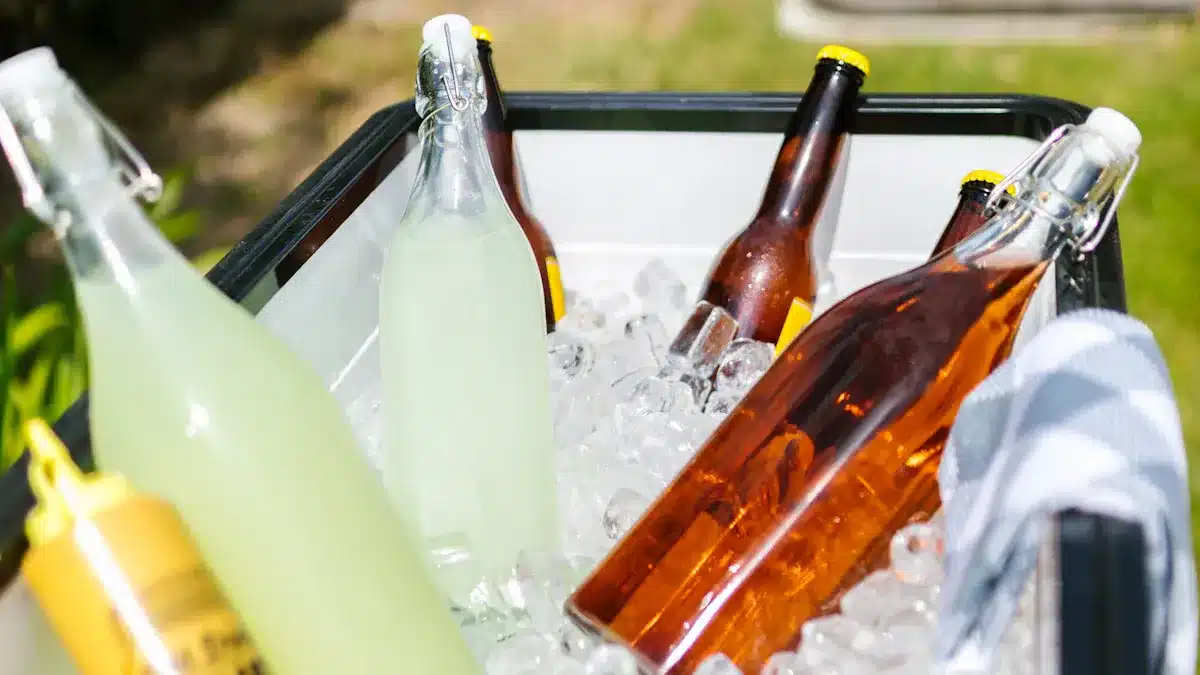
How you pack makes a big difference. Start with a base layer of large ice blocks. Add layers of pre-chilled food and drinks, then cover with more ice. Use a 2:1 ice to goods ratio for maximum retention. Add layers of ice cubes to fill gaps and minimize air gaps. Pack the cooler full. If you have empty spaces, fill them with towels or extra ice. This keeps warm air out and helps with retention.
Large Ice Blocks
Large ice blocks melt slower than small cubes. They have less surface area, so they last longer and keep your cooler cold for days. Use a mix of blocks and cubes. Blocks give you long-lasting ice, while cubes chill items fast. Here’s a quick comparison:
| Feature | Ice Cubes | Ice Blocks |
|---|---|---|
| Melting Rate | Fast | Slow |
| Cooling Speed | Quick | Steady |
| Retention | Short | Long |
Minimize Openings
Every time you open the lid, warm air rushes in and melts your ice. Try to plan ahead and grab everything you need at once. Keep the lid closed as much as possible. Store your cooler in the shade and off hot surfaces. This helps with retention and keeps your ice solid for longer.
With KUER’s advanced insulation, you can expect ice retention that rivals the best on the market. Some coolers with top insulation have kept ice for up to 12 days in mild weather. Follow these steps, and you’ll enjoy cold drinks and fresh food on every trip.
Inspection and Repairs
Keeping your extra large cooler in top shape means checking it regularly and fixing small problems before they get big. Let’s walk through what you should look for and how to handle repairs.
Seals and Gaskets
You want tight seals to keep cold air inside and your ice lasting longer. Every month, wipe down the gaskets with a soft cloth to remove dirt and debris. Look for cracks, tears, or spots where the gasket pulls away from the door. If you see any damage, plan to replace the gasket. Most gaskets last about a year, but if your cooler lid doesn’t close right or you notice cold air escaping, it’s time for a new one. Clean the seals with mild soap and warm water, not harsh chemicals. This keeps them soft and working well.
Hardware Check
Check the hardware on your cooler, like hinges, latches, and handles. Make sure everything moves smoothly and nothing feels loose. If you spot rust or hear squeaks, add a little food-safe lubricant. Look for these common issues during your inspection:
- Fans not running or making noise
- Drain line clogs or ice buildup
- Door not closing tightly
- Frequent lid openings causing temperature swings
Fixing these problems early helps your cooler last longer.
Minor Damage
Small cracks or dents can happen, but you can fix most of them yourself. For cracks, sand the area and clean it with acetone. Use epoxy resin with fiberglass tape to seal the crack. If you have a polypropylene liner, you can weld it with a heat gun and plastic rod. For dents, you might drill a small hole and inject filler to restore the shape. Always avoid using hot glue, as it doesn’t stick well. If you’re unsure, reach out to the manufacturer for patch kits or advice.
When to Repair
Some problems need a pro. If you hear strange noises, see water leaking, or notice frost building up, call for help. Poor cooling, overheating parts, or repeated circuit breaker trips mean it’s time for professional repair. Most repairs cost between $50 and $400, which is much less than replacing your cooler. If your cooler is over 10 years old or has major issues, replacement might be the better choice.
Tip: Regular inspections and quick repairs keep your cooler running smoothly and your ice cold for every adventure.
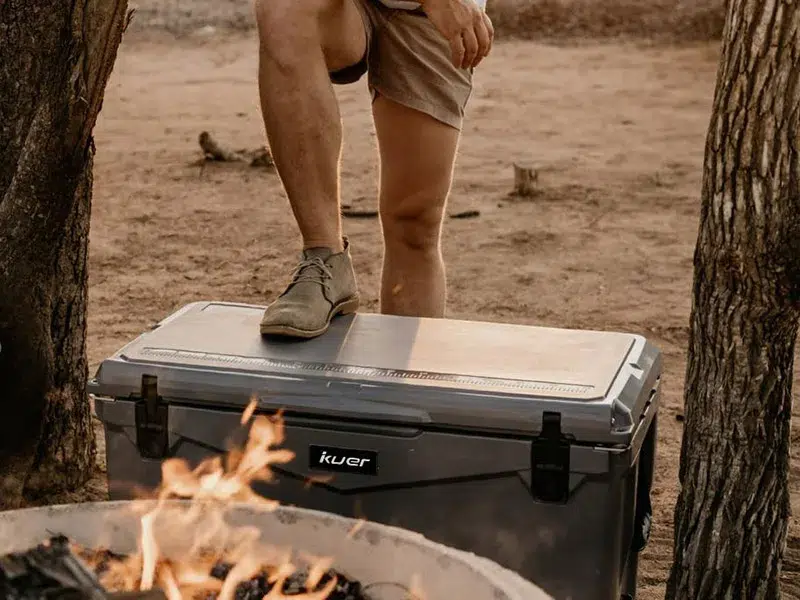
When you take care of your extra large ice chest, you get more years of reliable use and optimal performance. Regular cleaning and smart storage keep your cooler fresh and ready for any trip. KUER coolers stand out with rotomolded construction, leak-proof seals, and easy-to-clean handles. Check out how KUER compares to other brands:
| Cooler Model | Construction Type | Durability | Leak Proof Seal | Padlock Ready | Maintenance Ease Features |
|---|---|---|---|---|---|
| KUER 110-Quart Cooler | Rotomolded | High | Yes | Yes | Heavy-duty handles, easy cleaning |
Stick to these maintenance steps, and your extra large ice chest will always deliver cold drinks and food on every adventure.
FAQ
How often should you clean your extra large ice chest?
You should clean your ice chest after every use. For best results, deep clean it once a month. This routine keeps your cooler fresh and prevents bacteria or odors from building up.
Can you use bleach to sanitize your KUER cooler?
Yes, you can use a mild bleach solution. Mix 1 tablespoon of bleach with 1 quart of water. Wipe the inside, then rinse well. Let it air dry with the lid open. This method keeps your cooler safe and clean.
What is the best way to store your cooler when not in use?
Always store your cooler with the lid propped open in a cool, dry place. Avoid stacking heavy items on top. This prevents mold, odors, and damage to the seals.
How do you fix a leaky drain plug?
Check the gasket for cracks or debris. Clean it and apply food-grade silicone grease. If the leak continues, replace the gasket. KUER coolers use durable seals, so you can fix most leaks quickly.
Does pre-chilling your cooler really help with ice retention?
Absolutely! Pre-chilling your cooler pulls out stored heat. When you add fresh ice, it lasts longer. KUER’s thick insulation works best when you start with a cold cooler.

 Request a quote