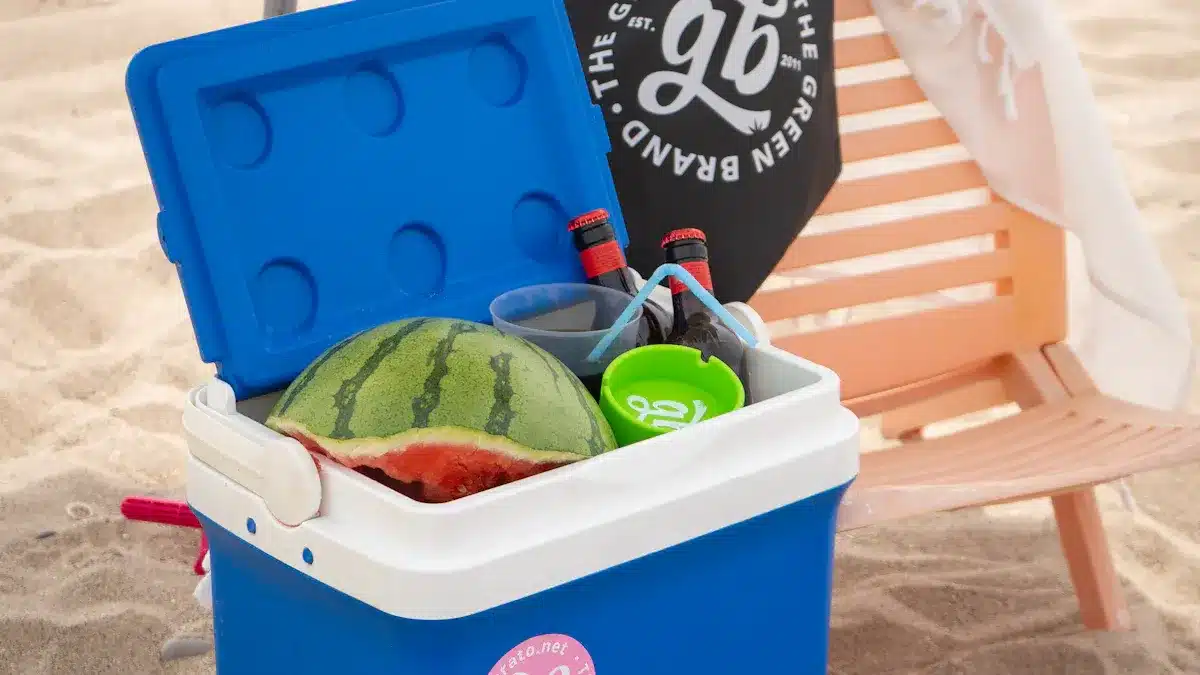
Packing big icebox cooler efficiently can make or break your outdoor adventure. Imagine opening your cooler to find perfectly chilled drinks and fresh food, even after hours in the sun. Sounds great, right? Studies show that portable coolers not only prevent food spoilage but also keep beverages at ideal temperatures, enhancing your overall experience. Ice packs, for instance, stay cold for up to 24 hours, making them a reliable choice for long trips. With the right strategies, you can maximize space, maintain cooling efficiency, and enjoy hassle-free outings every time.
Preparation: Getting Ready to Pack a Cooler
Choosing the Right Big Cooler Box
When it comes to outdoor adventures, picking the right large ice chest cooler is a game-changer. Start by considering the size and capacity you’ll need. Are you packing for a family picnic or a weekend camping trip? Larger coolers work well for extended outings, while smaller ones are perfect for day trips. Insulation quality is another key factor. High-quality insulation, like polyurethane foam, keeps temperatures low for days, ensuring your food and drinks stay fresh.
Look for features that make your life easier. Drainage systems help you get rid of melted ice without flipping the cooler. Portability is also important—handles and wheels can save you a lot of hassle. Brands like KUER offer durable, high-capacity big cooler boxes that combine excellent insulation with user-friendly features. They’re built to last and perform well in various conditions.
Pre-Chilling the Cooler
Pre-chilling your cooler is a simple step that makes a big difference. By cooling the interior before packing, you reduce the energy needed to maintain low temperatures. Studies show that pre-chilling can boost ice retention by up to 30%. To pre-chill, fill the cooler with ice or frozen water bottles and let it sit overnight. You can also use cold water immersion to quickly lower the temperature inside.
This step ensures your cooler is ready to keep items cold for longer. It’s especially useful for trips where maintaining freshness is crucial. Carolyn Shearlock, a cooler expert, recommends pre-chilling as an essential part of cooler prep to prevent food spoilage.
Gathering Essential Supplies
Packing a cooler efficiently starts with the right supplies. Ice is your best friend here, and you’ve got options. Block ice lasts longer and works well as a base layer. Crushed ice fills gaps and provides even cooling. Reusable ice packs are another great choice—they’re mess-free and easy to handle.
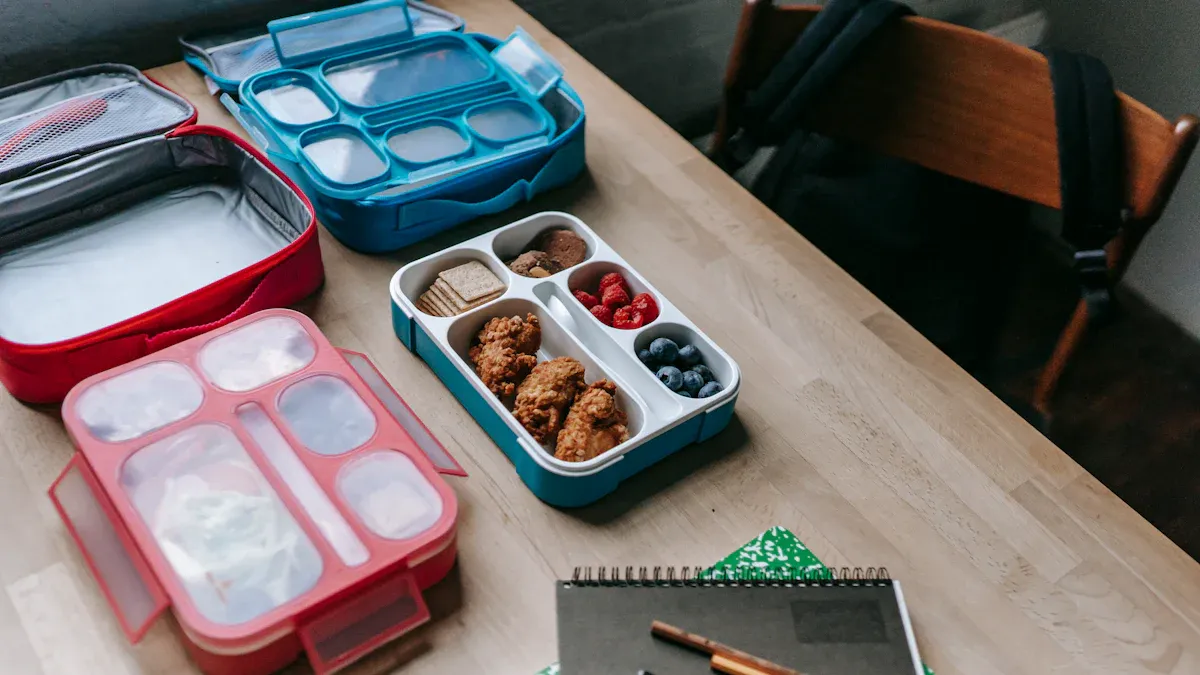
Organization is key to avoiding chaos inside your cooler. Use zip-top bags for smaller items and airtight containers for raw meats or leftovers. Towels can act as dividers and help absorb any spills. With these supplies, you’ll be ready to pack a cooler like a pro and enjoy a stress-free outing.
Packing Strategy: Maximizing Space and Cooling Efficiency

Building a Solid Ice Base
A solid ice base is the foundation of effective cooler packing. Start by using block ice or large ice packs. These last longer than crushed ice and provide a stable, cold base for your items. Spread the ice evenly across the bottom of the cooler to maintain consistent cooling. This setup ensures that the cold air rises, keeping everything chilled from the bottom up.
Strategic packing is crucial for effective cooling and even temperature distribution. Placing the heaviest and least perishable items at the bottom creates a stable foundation. Compact packing reduces air space, enhancing cooling efficiency.
To maximize cooling, aim for an ice-to-content ratio of about 2:1. This means using twice as much ice as the items you’re packing. Following this ratio helps maintain low temperatures for longer periods, even on hot days.
Layering Items Strategically
Layering is one of the best practices for cooler packing. Start by placing frozen items and raw meats at the bottom. These items benefit from the coldest temperatures and help keep the cooler chilled. Use airtight containers or double-bag raw meats to prevent leaks.
Next, add perishable foods like dairy, fruits, and vegetables in the middle layer. This placement keeps them cool without freezing. Finally, place snacks and drinks on top for easy access. No one wants to dig through layers of food just to grab a soda!
Organizing your cooler this way promotes proper airflow and ensures even cooling. It also prevents overcrowding, which can lead to temperature fluctuations.
Filling Gaps to Minimize Air Circulation
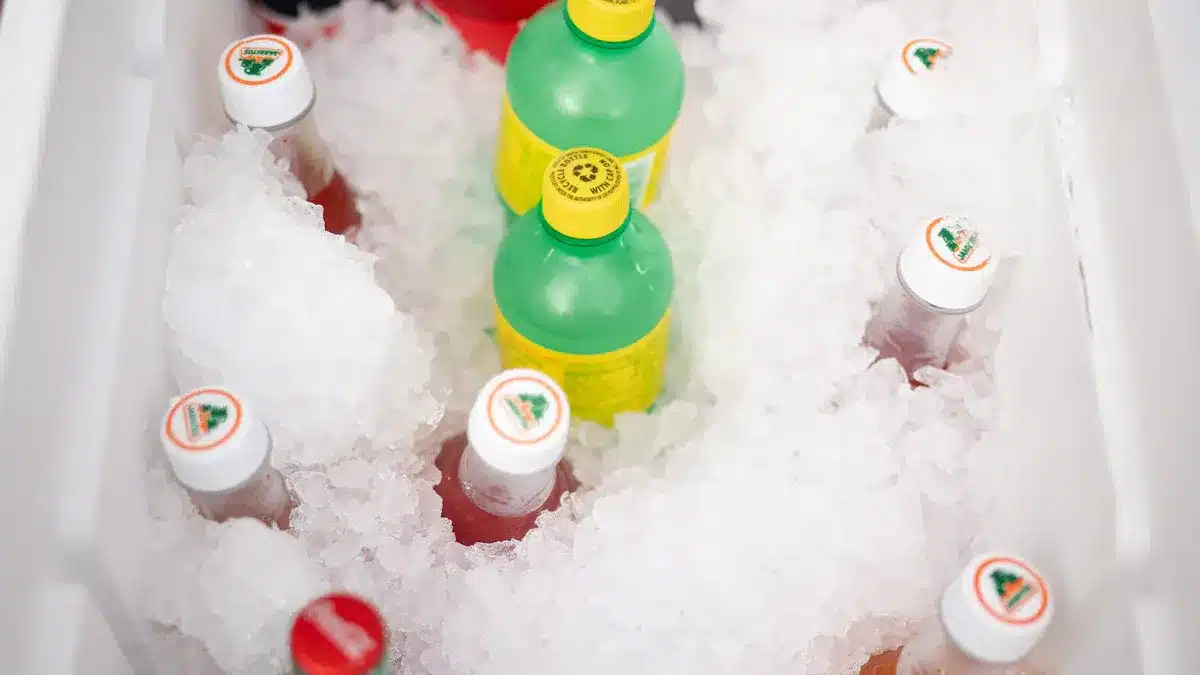
Empty spaces in your cooler can lead to warm air pockets, reducing cooling efficiency. Fill these gaps with crushed ice or smaller items like juice boxes. Crushed ice is especially useful for short trips, as it fills awkward spaces and keeps everything cold.
Studies show that minimizing gaps in storage improves airflow and temperature uniformity. Adjusting the arrangement of items can significantly enhance cooling performance.
Alternate layers of food and ice packs to maintain even cooling throughout the cooler. This method not only keeps your items fresh but also extends the life of your ice. Remember, a well-packed cooler is a happy cooler!
Organization Tips for Big Cooler Boxes
Keeping your cooler organized can save you time and prevent unnecessary messes during your trip. With a few simple strategies, you can make sure everything stays in its place and is easy to find when you need it.
Grouping Items by Type
Grouping similar items together is one of the best practices for packing a cooler. It makes finding what you need quicker and keeps everything neat. For example:
- Store raw proteins like meat, poultry, and seafood in one section. This prevents cross-contamination and keeps them at the coldest part of the cooler.
- Keep fruits and vegetables together to maintain their freshness.
- Place dairy products like milk, cheese, and yogurt in a designated area for proper air circulation.
- Dedicate a section for beverages so you don’t have to dig through other items to grab a drink.
- Group smaller items like condiments and sauces in one spot for easy access.
Using dividers or small containers can help you create these sections. This way, you won’t have to rummage through the cooler, and everything stays organized.
Preventing Leaks and Cross-Contamination
No one wants to deal with leaks or spoiled food during an outing. To avoid this, seal raw meats in double bags or airtight containers. Vacuum food sealers are a great option because they remove air, reducing the risk of contamination. Dedicated containers for raw proteins also ensure they don’t come into contact with other foods.
Place towels or absorbent pads at the bottom of the cooler to catch any spills. This simple step keeps the rest of your items dry and clean. Regularly check for leaks and adjust your packing if needed to maintain food safety.
Keeping Frequently Used Items Accessible
Packing a cooler isn’t just about keeping things cold—it’s also about convenience. Drinks and snacks are often the most accessed items, so keep them on top or in side compartments. This way, you won’t have to unpack the entire cooler just to grab a soda or a quick bite.
To minimize how often you open the cooler, plan ahead. Think about what you’ll need first and pack those items in easy-to-reach spots. This not only saves time but also helps maintain the cooler’s temperature by reducing warm air exposure.
Pro Tip: Evaluate your cooler’s layout before packing. Grouping items and keeping frequently used ones accessible can make your trip smoother and more enjoyable.
Common Mistakes to Avoid When You Pack a Cooler
Overpacking Big Cooler Boxes
Overpacking might seem like a good idea, but it actually reduces cooling efficiency. When you cram too many items into your cooler, you block airflow. This makes it harder for cold air to circulate, leading to uneven cooling. Plus, overpacking leaves no room for ice expansion, which can cause melted water to seep into your food.
Take a look at this table to understand how proper air circulation improves cooling performance:
| Arrangement | Average Air Velocity Increase | Cooling Rate Improvement | Chilled Crates Increase | Temperature Heterogeneity |
|---|---|---|---|---|
| CS1 | N/A | N/A | N/A | N/A |
| CS2 | 3.7% | N/A | N/A | N/A |
| CS3 | 7.4% | 25.2% | 20% | 3.59 °C |
Leave some space between items to allow air to flow freely. This small adjustment can make a big difference in how well your cooler performs.
Using the Wrong Type of Ice
Not all ice is created equal. Choosing the right type depends on your trip and what you’re packing. Block ice lasts longer and works great as a base layer in big cooler boxes. Crushed ice, on the other hand, cools items faster but melts quickly. Reusable ice packs are clean, mess-free, and ideal for short trips.
Here’s a quick comparison to help you decide:
| Cooling Method | Duration of Cooling | Messiness | Cleanliness | Reusability |
|---|---|---|---|---|
| Block Ice | Moderate | High | Low | No |
| Crushed Ice | Short | High | Low | No |
| Reusable Ice Packs | Long | Low | High | Yes |
For the best results, use block ice as your foundation and crushed ice to fill gaps. Reusable ice packs are perfect for keeping snacks and drinks cool without the mess.
Not Sealing Items Properly
Failing to seal items properly can lead to leaks and contamination. Raw meats, for example, can drip onto other foods, creating a health hazard. To avoid this, use zip-top bags or airtight containers. Double-bag raw proteins for extra protection.
Here are some best practices to keep your cooler clean and safe:
- Use zip-top bags and containers to prevent leaks.
- Label items to improve organization and reduce mess.
- Pack items tightly to minimize air space and enhance cooling.
Adding towels or absorbent pads at the bottom of your cooler can also catch spills. These simple steps ensure your food stays fresh and your cooler stays clean.
Opening the Cooler Too Often
How frequent opening causes temperature fluctuations
Every time you open your cooler, warm air sneaks in, and cold air escapes. This constant exchange makes it harder for the cooler to maintain a low temperature. The ice inside melts faster, and your food and drinks may not stay as cold as you’d like. Studies show that frequent opening can reduce cooling efficiency by up to 30%. Imagine packing block ice to keep everything chilled, only to have it melt quicker because the cooler lid keeps opening. That’s frustrating, right?
Temperature fluctuations can also affect food safety. Perishable items like dairy or raw meats need consistent cold temperatures to stay fresh. When the cooler warms up, bacteria can grow faster, putting your food at risk. Keeping the lid closed as much as possible is key to avoiding these problems.
Strategies to minimize cooler access during trips
You can take a few simple steps to limit how often you open your cooler. First, plan ahead. Think about what you’ll need during the day and pack those items on top or in an easy-to-reach spot. Drinks and snacks are usually the most accessed, so keep them separate from other items. This way, you won’t have to dig through layers of food just to grab a soda.
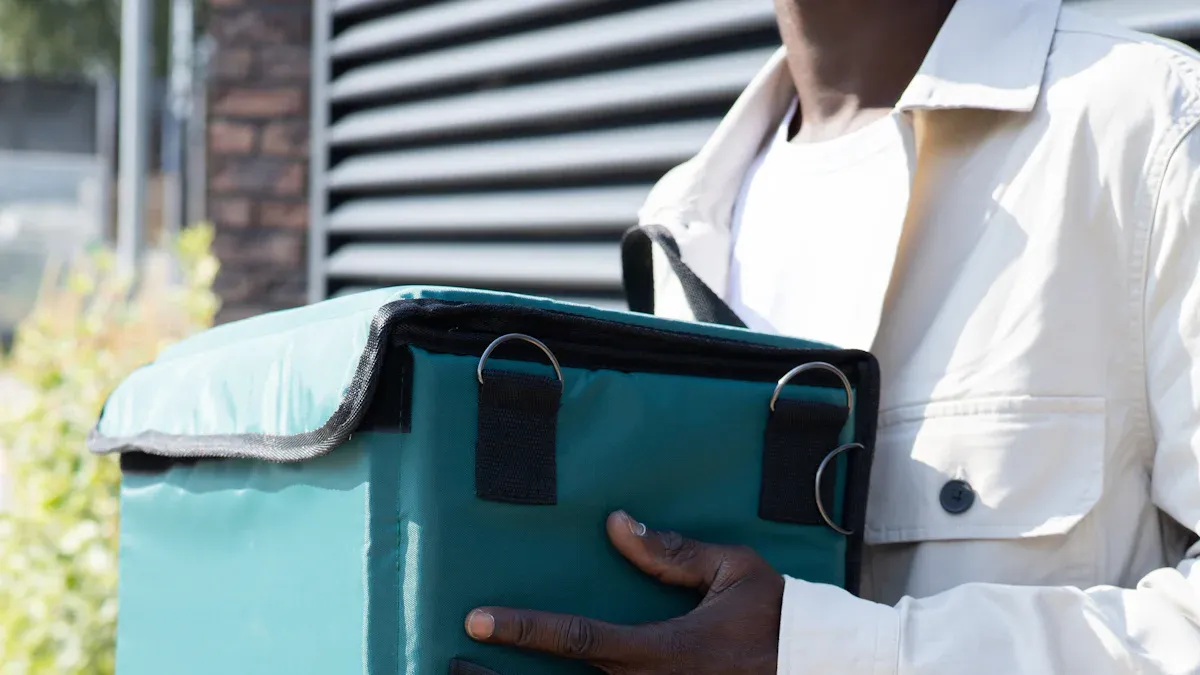
Another great tip is to use a second, smaller cooler for frequently used items. For example, keep drinks and snacks in one cooler and reserve the main cooler for perishable foods. This reduces the number of times you open the larger cooler, helping the ice last longer.
Finally, remind everyone in your group to close the lid quickly after grabbing what they need. A few seconds might not seem like much, but it makes a big difference in keeping your cooler cold. With these strategies, you’ll enjoy chilled drinks and fresh food for longer!
Packing your cooler the right way can make all the difference on your next trip. By organizing your items, using the right type of ice, and avoiding overpacking, you’ll keep everything fresh and chilled for longer. Big cooler boxes are perfect for maximizing space and staying organized. Remember to plan ahead and follow these tips to enjoy a stress-free adventure. Whether it’s a picnic or a camping trip, an efficiently packed cooler ensures your food and drinks stay just the way you like them—cold and ready to enjoy! 🧊
FAQ
How long can a cooler keep items cold?
The duration depends on the quality of your cooler insulation and how well you pack it. High-quality coolers with proper insulation can keep items cold for up to 3-5 days. Pre-chilling and using enough ice also help extend cooling time.
What’s the best way to clean a cooler after use?
Empty the cooler and rinse it with warm, soapy water. Use a sponge or soft brush to scrub away any residue. Rinse thoroughly and let it air dry completely before storing it. This prevents odors and mold.
Can I use dry ice in my cooler?
Yes, but only if your cooler insulation can handle extreme cold. Dry ice keeps items frozen longer than regular ice. Always use gloves when handling it and ensure proper ventilation to avoid gas buildup.
Should I pack food and drinks together?
It’s better to separate them. Drinks are accessed more often, which can warm up the cooler. Keep food in airtight containers to prevent contamination and maintain freshness.
How do I know if my cooler is good quality?
Check the cooler insulation, durability, and features like drainage systems or portability. A good cooler should retain ice for several days and withstand outdoor conditions. Brands like KUER offer reliable options for outdoor adventures.
 Request a quote