
You want your portable plastic cooler to stay fresh and ready for your next trip. Start by emptying it and giving it a good wash with mild soap and water. Household items can help you remove odors and stains. Dry it well before storing it in a cool, dry spot.
Tip: Regular care keeps your cooler smelling great and working like new!
Key Takeaways
- Clean your cooler after each use to keep it fresh and ready for your next adventure.
- Use simple household items like baking soda and vinegar to remove odors and stains effectively.
- Always air-dry your cooler completely before storing it to prevent mold and bad smells.
- Inspect your cooler regularly for damage to ensure it lasts longer and works well.
- Store your cooler in a cool, dry place to maintain its condition and avoid moisture buildup.
Quick Prep for Your Portable Plastic Cooler
Gather Cleaning Supplies
Before you start, make sure you have everything you need. Having the right tools makes the job faster and easier. Here’s a handy list to help you get ready:
- Soft-bristle brush: This helps you scrub away dirt and stains without scratching the cooler.
- Sponge or cleaning cloth: Use these for wiping down surfaces and reaching into corners.
- Warm water: Warm water loosens grime and makes cleaning simple.
- Mild dish soap: Gentle on your cooler but tough on messes.
- Baking soda: Great for lifting odors and stains without leaving any residue.
- White vinegar: Mix one part vinegar with two parts water to help remove smells and disinfect.
- Optional: Clorox™ Disinfecting Bleach (for deep cleaning). Mix 1/3 cup bleach with 1 gallon of water if you want to disinfect.
Tip: Keep your supplies together in a small bucket or tote. You’ll always be ready for a quick clean-up!
Empty and Drain the Cooler
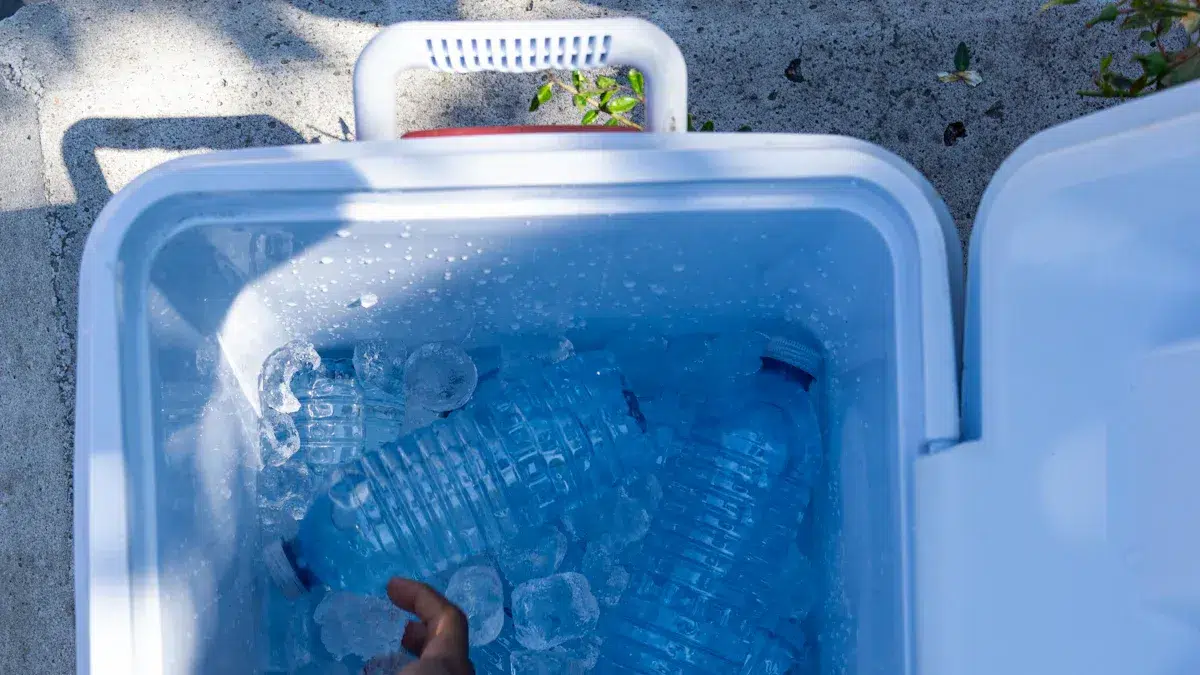
Now, it’s time to get your portable plastic cooler ready for cleaning. Start by taking out all food, drinks, and ice packs. Check every corner so nothing gets left behind. Next, tip the cooler over a sink or outside to drain any leftover water. If your cooler has a drain plug, open it up and let the water flow out. Wipe away any big crumbs or debris with a paper towel or cloth.
Note: Make sure your cooler is completely empty and drained before you move on. This step helps you clean every spot and keeps your cooler fresh for your next adventure.
Step-by-Step Cleaning for Portable Plastic Cooler
Wash the Interior with Mild Soap
Start by filling your portable plastic cooler with warm water. Add a few drops of mild dish soap. Grab your sponge or soft-bristle brush. Scrub every surface inside the cooler. Pay attention to the corners and the bottom. Food and drinks can leave sticky spots, so make sure you reach every area. If you see any stubborn spots, sprinkle a little baking soda and scrub gently. Baking soda helps lift stains and odors without damaging the plastic.
Tip: Let the soapy water sit for a few minutes if you notice tough grime. This makes it easier to wipe away.
Scrub the Exterior Safely
Move to the outside of your cooler. Dip your sponge or brush in soapy water. Wipe down the lid, handles, and sides. Dirt and dust can build up on the exterior, especially after outdoor trips. Use gentle pressure to avoid scratching the surface. If you spot any sticky residue, use a mix of vinegar and water to clean it off. Vinegar helps disinfect and leaves the cooler smelling fresh.
- Check the hinges and latches. Dirt can hide in these spots.
- Use a toothbrush for small crevices.
- Rinse your sponge often to avoid spreading dirt.
Note: Always use gentle motions. You want to keep your cooler looking new.
Rinse and Drain Completely
After cleaning, rinse the cooler with clean water. Make sure you remove all soap and cleaning solution. Tip the cooler to drain out the water. Open the drain plug if your cooler has one. Wipe the inside and outside with a dry cloth. Leave the lid open for a while to let air flow inside. This helps prevent moisture and keeps your cooler fresh.
| Step | What to Do | Why It Matters |
|---|---|---|
| Rinse | Use clean water everywhere | Removes soap and residue |
| Drain | Tip and open drain plug | Prevents water buildup |
| Dry | Wipe and air out | Stops mold and odors |
Callout: Never store your cooler while it’s wet. Drying it completely keeps mold away and helps your cooler last longer.
Odor and Stain Removal in Personal Air Cooler and Portable Plastic Cooler
Remove Tough Odors with Household Solutions
Sometimes, your cooler or personal air cooler can pick up a musty smell after a long trip or a day at the park. You do not have to worry. You can use simple household items to deodorize your cooler and keep it smelling fresh.
Here are some of the best ways to remove tough odors:
- Baking soda: Sprinkle baking soda inside your cooler. Let it sit for a few hours, then wipe it out with a damp cloth. Baking soda works well to neutralize odors and even helps with light stains.
- Vinegar: Mix one part vinegar with two parts water. Pour this mixture into your cooler and let it sit for about 10 minutes. Vinegar helps deodorize and disinfect at the same time.
- Lemon juice: Squeeze fresh lemon juice onto a sponge and wipe down the inside of your cooler. The natural acid in lemon juice breaks down odors and leaves a clean, fresh scent.
Tip: After using any of these solutions, rinse your cooler with clean water and let it air dry with the lid open. This helps keep your portable plastic cooler fresh for your next adventure.
Tackle Stubborn Stains Effectively
Stains can make your cooler look old and dirty. You can remove most stains with a few easy steps. These methods work well for both your portable plastic cooler and your evaporative air cooler.
Try these stain-busting tricks:
- Fill your cooler with hot water and add one cup of white vinegar. Let it soak for 30 minutes. Vinegar’s acidic power helps lift stains and kills bacteria.
- For tough spots, spray a mix of equal parts white vinegar and warm water directly on the stain. Let it sit for 10 minutes, then scrub with a soft brush.
- Make a paste with baking soda and water. Spread it on the stain and let it sit for 15-20 minutes. Scrub gently, then rinse with warm water.
- Use lemon juice for extra stubborn stains. The acid in lemon juice helps break down marks on plastic surfaces.
| Stain Removal Method | How to Use It | Best For |
|---|---|---|
| Vinegar Soak | Soak for 30 minutes | Deep stains, bacteria |
| Vinegar Spray | Spray, wait, then scrub | Surface stains |
| Baking Soda Paste | Apply, wait, then scrub | Odors, light stains |
| Lemon Juice | Wipe or soak, then rinse | Fresh scent, tough marks |
Note: Always rinse your cooler well after cleaning. This removes any leftover cleaning solution and keeps your cooler safe for food and drinks.
If you clean and disinfect your cooler after each use, you will prevent stains and odors from building up. Regular cleaning helps your cooler last longer and keeps it ready for every trip.
Drying and Storage Tips for Portable Plastic Cooler
Air-Dry Thoroughly to Prevent Mold
You want your cooler to stay fresh and clean. After you wash and disinfect it, always let it air-dry. Mold and mildew love damp places, so drying is a must. Open the lid wide and place the cooler upside down on a clean surface. This helps water drain out and lets air move inside. If you have a removable drain plug, take it out to speed up drying. You can also wipe the inside with a dry towel to remove extra moisture.
Tip: Never close your cooler while it is still wet. Even a little water can cause mold or bad smells.
If you want to dry your cooler faster, set it outside in the shade. Sunlight can warp plastic, so keep it out of direct sun. Make sure every part is dry before you put the lid back on.
Store Properly for Long-Term Use
Storing your portable plastic cooler the right way helps it last longer. You do not want to find mold or strange smells the next time you use it. Here are some easy steps to follow:
- Clean the cooler well before storing it.
- Let it air dry completely.
- Place a small desiccant pack inside to absorb any leftover moisture.
- Store your cooler in a cool, dry place. Avoid sunlight and extreme heat or cold.
- Check your cooler from time to time to make sure no moisture has built up.
If you follow these tips, your cooler will be ready for your next adventure. You will not have to worry about mold or odors. Your portable plastic cooler will stay in great shape for years.
Regular Maintenance for Personal Air Cooler and Portable Plastic Cooler
Clean After Each Use
You want your cooler to stay fresh and work well every time you use it. Cleaning after each trip makes a big difference. If you use your portable plastic cooler for food, drinks, or ice, rinse it out and wash it with a mild cleaning solution. Even if you only carry drinks, a quick rinse and dry keeps things clean. Wipe down the inside and outside, then let it air dry with the lid open. This simple habit helps prevent mineral build-up and stops bacteria from growing.
Here’s a quick checklist for cleaning:
- Empty the cooler completely.
- Wash with mild soap and warm water.
- Rinse and drain all water.
- Dry with a towel or let it air dry.
Tip: Deep clean your cooler at the end of each season or a few times a year. This helps remove any lingering odors and keeps your cooler ready for your next adventure.
If you use a personal air cooler, clean the water tank and reservoir at least once a month. Regular maintenance keeps both types of coolers working their best.
Inspect for Damage and Wear
Checking your cooler for damage is just as important as cleaning it. You want to catch problems early so your cooler stays reliable. Look for these common signs of wear:
- Cracked or warped lid hinges can make opening and closing tough.
- Tears or cracks in handles or straps may cause the cooler to drop.
- Cuts in the gasket can let cold air escape.
- Leaking drain plugs can lead to water inside the cooler.
- Deep gashes in the cooler wall can weaken the structure.
- General wear and tear shows up over time.
Note: About half of cooler failures happen because people skip regular maintenance. A quick check after each use helps you spot issues before they get worse.
If you find any damage, fix it right away or contact the manufacturer for help. Keeping your cooler in good shape means it will last longer and perform better on every trip.
Troubleshooting Common Problems with Portable Plastic Cooler
Lingering Odors
You open your cooler and notice a musty smell. This can happen if you store it while damp or after carrying strong-smelling foods. You want your cooler to smell fresh for every trip. Try these quick fixes to deodorize your cooler:
- Sprinkle baking soda inside and let it sit overnight.
- Wipe the interior with a mix of vinegar and water.
- Leave the lid open in a well-ventilated area.
If odors stick around, repeat the process or use lemon juice for a fresh scent. Always rinse and dry your cooler after cleaning. This keeps smells away and helps your cooler stay ready for your next adventure.
Tip: Dry your cooler completely before storing it. This simple step prevents most odor problems.
Stuck-On Grime
Sometimes, grime just won’t budge. You see sticky spots or dried spills after a long day out. Here’s how you can tackle stuck-on grime without damaging your cooler:
- Empty everything from the cooler.
- Rinse with warm water to loosen dirt.
- Mix dish soap with warm water for a cleaning solution.
- Scrub with a sponge or soft brush. Avoid hard brushes that might scratch the surface.
- Rinse and repeat if grime remains.
- Let your cooler air dry to stop mold from growing.
| Step | Action | Why It Helps |
|---|---|---|
| Empty Cooler | Remove all items | Prepares for cleaning |
| Rinse | Use warm water | Loosens stuck-on grime |
| Scrub | Use gentle tools | Protects plastic surface |
| Dry | Air dry thoroughly | Prevents mold and odors |
Note: Regular cleaning makes stuck-on grime less likely to build up.
Broken or Worn Parts
You notice a cracked hinge or a loose handle. These problems can affect how well your cooler works. You can fix many issues at home with the right tools. Here are some steps to repair broken or worn parts:
- Use a soldering iron with a flat tip to weld plastic cracks.
- Fill gaps with disposable plastic strips.
- Add staples or wire for extra strength.
- Hold parts together with instant glue before welding.
- Make sure you work in a well-ventilated area.
If you need to repair a large damaged section, cut out the bad part and fill the space with foam. Weld a new piece of plastic in place. Products like Solarez cure quickly and create a strong bond. These steps help your cooler last longer and stay reliable for every adventure.
Callout: Check your cooler after each trip. Fix small problems early to avoid bigger repairs later.
Recommended Products for Cleaning Portable Plastic Cooler
KUER Cleaning Solutions
You want your cooler to last for years and always look its best. KUER offers cleaning solutions that work well with portable plastic coolers. These products come from a company with years of experience in outdoor gear and plastic manufacturing. KUER’s cleaning solutions help you remove dirt, stains, and odors without harming the cooler’s surface.
You can use KUER’s gentle cleaners for both the inside and outside of your cooler. These solutions break down sticky messes and leave no residue behind. They also help keep your cooler safe for food and drinks. If you use your cooler often, you will find that KUER’s products make cleaning quick and easy.
Tip: Use a soft sponge or cloth with KUER cleaning solutions. This helps you avoid scratches and keeps your cooler looking new.
Here’s a quick look at what KUER cleaning solutions offer:
| Product Type | Best Use | Benefits |
|---|---|---|
| All-purpose cleaner | Interior and exterior | Removes stains and odors |
| Disinfectant spray | After messy trips | Kills germs, fresh scent |
| Plastic-safe wipes | On-the-go cleaning | Quick and easy to use |
Safe Household Alternatives
You might not always have special cleaners on hand. That’s okay! You can use simple household items to keep your cooler clean and fresh. These options are safe, easy to find, and gentle on plastic.
- Use soapy water to clean the inside, air filter, and water tank. Warm water and mild dish soap work best.
- For tough scale or mineral build-up, mix vinegar and water. Let it soak, then rinse well.
- Rinse the cooling pad with clean water. Avoid harsh chemicals to protect the material.
- Wipe the outer case with a wet cloth. This removes dust and dirt without scratching.
You can also use baking soda to fight odors. Sprinkle it inside, let it sit, then wipe it away. Lemon juice works well for a fresh scent. These household items help you keep your cooler ready for every trip.
Note: Always rinse your cooler well after using any cleaning solution. This keeps it safe for food and drinks.
You now know how simple it is to keep your portable plastic cooler in top shape. Clean it after each use, check for damage, and let it dry before storing. When you follow these steps, you get big benefits:
- Your cooler keeps drinks cold and safe.
- You avoid bacteria and mold.
- It looks great and lasts longer.
- You help the environment by reducing waste.
A little care goes a long way. Your cooler will always be ready for your next adventure!
FAQ
How often should you clean your portable plastic cooler?
You should clean your cooler after every use. Quick cleaning keeps it fresh and ready for your next trip. If you use it often, deep clean it once a month for best results.
What household items work best for removing odors?
Baking soda, vinegar, and lemon juice work great. Sprinkle baking soda inside, or wipe with vinegar and water. Lemon juice adds a fresh scent. Always rinse and dry your cooler after using these items.
Can you use bleach to disinfect your cooler?
Yes, you can use bleach for deep cleaning. Mix 1/3 cup bleach with 1 gallon of water. Wipe the cooler, then rinse well. Make sure you dry it completely before storing.
How do you prevent mold in your cooler?
Always dry your cooler with the lid open after cleaning. Store it in a cool, dry place. You can add a desiccant pack inside to absorb moisture.
What should you do if your cooler has a crack?
Check the crack. For small cracks, use instant glue or a plastic repair kit. For bigger damage, contact the manufacturer for advice or replacement parts.
 Request a quote